
AI old photo restoration is different from creative recoloring: the job is to repair damage while retaining the evidence in a fragile original. Scratches, folds, stains and missing corners are not all the same problem, and automatic reconstruction may invent parts of clothing or faces that were never captured. This practical guide combines a preservation-first scan, conservative Photoshop repair and a documented before/after handoff. It focuses on damaged prints rather than repeating a separate guide to black-and-white colorization.
Protect and identify the original before scanning
Start with the condition of the physical print. Photograph or document the front and back, inscriptions, date estimates, stamps and any family-provided context. A crack on an old postcard and the handwritten name on its back may both carry historical information. The Library of Congress digitization guidance emphasizes safe handling and appropriately sized scanning equipment for vulnerable material.
Do not push brittle photos through document feeders or peel mounted prints from backing without professional advice. Use a clean workspace and archival-safe storage. If the print is actively flaking, stuck to glass or unusually valuable, consult a conservator before scanning. Restoration software can wait; irreversible physical damage cannot. Record which alterations are already present in the source so later viewers do not mistake them for new editing artifacts.
Capture a high-quality archival master
Choose a scanner and settings appropriate to the object’s smallest relevant details. The Library of Congress guidelines for preservation digitization discuss resolution choices in relation to material content and intended use, rather than prescribing one magic setting for every original. Scan sufficiently to resolve film grain, handwriting and narrow cracks without adding unnecessary resampling.
Save a lossless master where feasible and record scanner, date, color handling, orientation and file dimensions. Do not crop away torn borders on the master: damage itself can explain the original artifact. Make a separate working copy for AI repairs, and compare both at identical zoom. If the original is a small low-detail print, increasing output pixels later will not prove absent facial information.

Classify defects before selecting repair tools
Make a damage map that distinguishes dust specks, narrow surface scratches, folds, missing emulsion and large absent regions. Dust can often be removed locally; wide missing areas need cautious reconstruction. Faces, medals, building signs and uniform insignia are high-risk zones because an invented detail changes the record. Not every mark should disappear; original edge wear may be part of the image’s history.
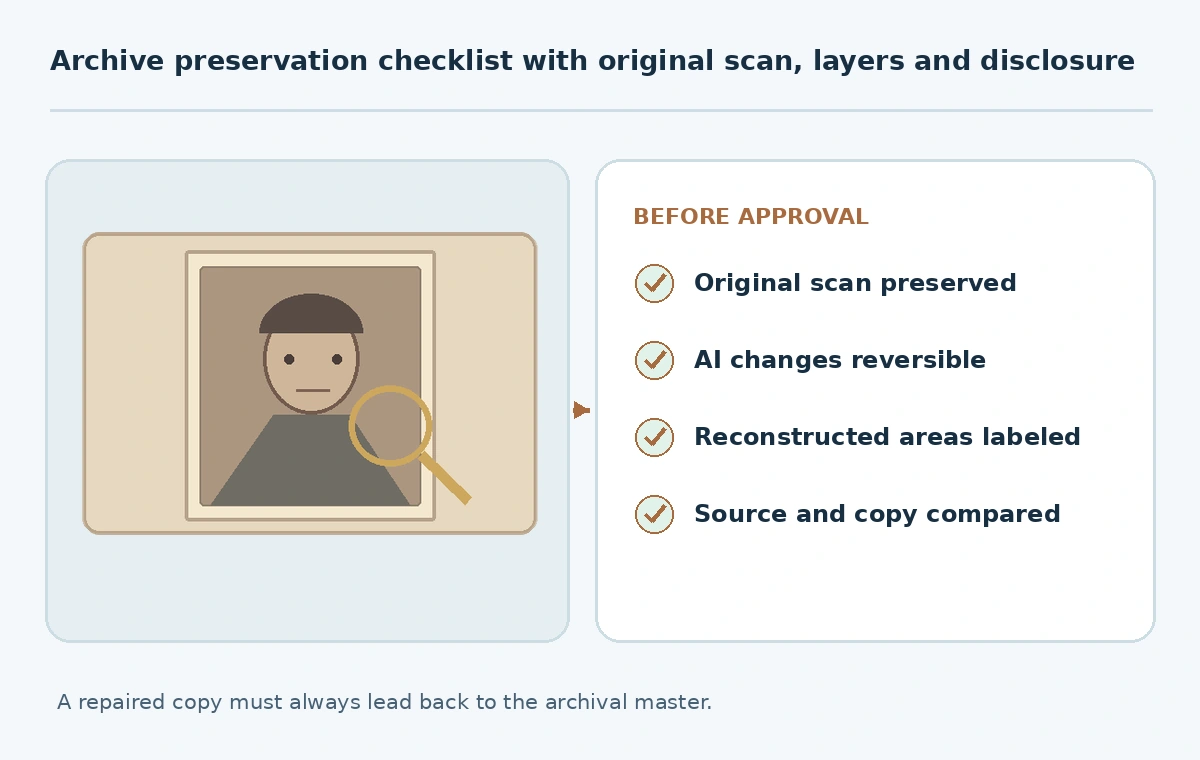
Prioritize cleanup outside important subjects first. Work on a duplicate layer and mask individual areas so adjustments are reversible. For a severe tear, place untouched and repaired views side by side. Do not use a one-click “enhance” pass and overwrite the master, because later reviewers need to see what the source actually contained.
Use Photoshop restoration tools with cautious settings
Adobe lists Photo Restoration among the Photoshop Neural Filters; its official Neural Filters gallery describes it as AI-powered reconstruction for older or damaged images and notes that filter availability may vary by version. This is a feature description, not a guarantee of historically accurate reconstruction or a command to run it at maximum intensity.
Apply the filter to the working copy if available, and inspect the affected area at full resolution before accepting. Prefer localized spot corrections for straightforward dust or thin cracks; broad automatic face enhancement can silently change age, expression or distinctive features. Keep both before and after outputs, note which filter and settings were used, and avoid presenting a synthetic repair as an original photograph.
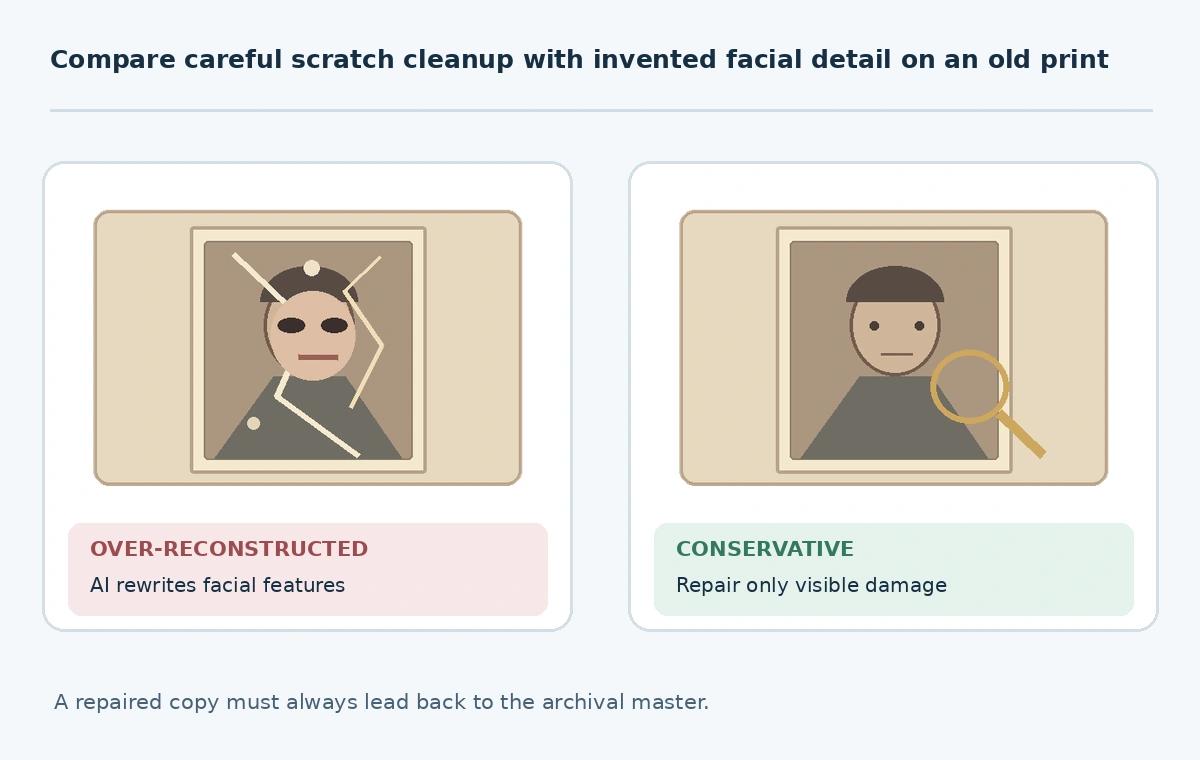
Verify faces, lettering and geometry independently
Review the nose bridge, eyes, jaw, hairline and hands against the source; generative reconstruction may create symmetrical features where the photo provides no evidence. Old street signs and handwritten captions are another danger. Never publish guessed letters as recovered facts. If a sign is unreadable, say that it remains unreadable. If an altered brick line bends across a repaired tear, revise the mask or leave the damage visible.
Use a transparent annotation or sidecar note for large reconstructed regions: “missing lower-right corner recreated for visual continuity.” Distinguish confirmed details from plausible design choices. For genealogy and museum uses, preserving uncertainty is more valuable than producing a flawless modern-looking portrait. Family memories can help identify people, but should be cited as oral context rather than treated as pixel-level image proof.
Decide whether to colorize only after repairing damage
Damage removal and colorization are separate editorial decisions. A repaired black-and-white master can retain more documentary value than a fully recolored scene. If color is desired for presentation, make a clearly labeled derivative instead of replacing the monochrome record. Paint, textiles and skin tones generated by a model are hypotheses unless contemporary references establish them.
Arrange deliverables in a folder with original scan, conservative repaired copy, optional creative colorized version and a short change log. Use consistent naming and avoid hidden overwrites. The reader should be able to move from an attractive print back to the documented source. This is especially important when images are used in historical exhibits or factual reporting rather than private decoration.
Handoff a reversible archive package
Before exporting, inspect repairs at full size and print size. Open the layered source again to confirm every major change can be disabled. Check that the repaired photo has not lost crop margins, handwritten notes or period artifacts; such details can carry provenance. The Library of Congress digital preservation advice recommends keeping copies on separate storage media and maintaining them over time.
Create a change log with capture source, date, editor, damage types, AI tools used, which regions were synthesized and where the untouched master is stored. When circulating a restoration, label it as edited. A successful result is a more readable image whose historical claims remain auditable—not proof that an AI has recovered every missing pixel.
How We Research
We used the Library of Congress scanning guidance, its digitization framework, digital-preservation advice, and Adobe Photoshop Neural Filters description, checked October 27, 2026. Damage examples are explanatory illustrations. No historical photographs were tested and no recovery accuracy is claimed.
Frequently Asked Questions
It can invent a plausible face, but it cannot establish the lost person’s true features; label reconstruction clearly.
Yes. Protect the print and keep an unaltered high-quality digital master.
Availability can vary by Photoshop version and processing requirements; check Adobe’s current help.
Colorization is optional and interpretive; retain the original monochrome record.
Keep original scan, layered repair, final derivative and written record of changes and tools.