
An AI 3D character maker can turn a single reference image into a useful prototype, but one attractive front-view rendering cannot certify the back, joints, mesh topology, or animation readiness. Meshy documents image-to-3D, text-to-3D, remeshing, texturing, and rigging paths; it also distinguishes fast concept work from CAD-precision modeling. This guide uses a fictional robot courier character to build a validation process from reference image to export. The point is to reduce avoidable rework, not to promise a production-ready game asset from one click.
Define the target asset before opening Meshy
Begin with a short technical brief rather than a vague character prompt. Specify whether the output is for a still image, a game prototype, a poseable animation, or a 3D print. A still render can tolerate geometry that a moving shoulder cannot. For a robot courier, list essential recognition features: rounded helmet, single shoulder badge, narrow waist, backpack, and high-visibility boots. Specify the target engine, file format, approximate scale, and whether arm or leg joints must bend. These conditions guide decisions about topology and rigging later. Meshy’s documentation positions its tools for creative assets and explicitly warns that text-to-3D is not CAD-precision engineering, so do not infer exact measurements from a visually appealing model.
Prepare a reference that gives the model a chance
A clean front-facing reference with a plain background is recommended in Meshy’s Image to 3D help. For character work, remove unrelated scenery and avoid cropping hands, boots, or backpack straps. Use an owned or appropriately licensed illustration, and document any original artist approval. Front-only concept art leaves the back uncertain, so identify regions that require human redesign rather than claiming the model has inferred a canonical view. If the intended job is animation, an A-pose or T-pose gives clearer separation at the joints; Meshy’s documentation notes pose-related options can depend on the selected model and account. A concise reference checklist includes silhouette completeness, joint visibility, material notes, and the difference between known and imagined back surfaces.

Select Image to 3D or Text to 3D deliberately
Choose Image to 3D when the approved visual identity matters and an illustration already exists. Choose Text to 3D for open-ended concept exploration when exact visual matching is less important. Meshy’s current documentation describes High Detail and Smart Topology paths, alongside model-specific options, so avoid assuming every model exposes the same polygon, pose, and texture controls. Review the generation cost shown in the actual interface before submitting and do not copy an old credit number into a long-lived budgeting sheet. For the robot courier, begin from the approved image and retain the original prompt as a reference. Exporting the first pretty result without a silhouette audit is a common failure mode: rear-mounted gear can merge with the torso or become asymmetrical without being visible in the preview.
Audit the mesh from every angle
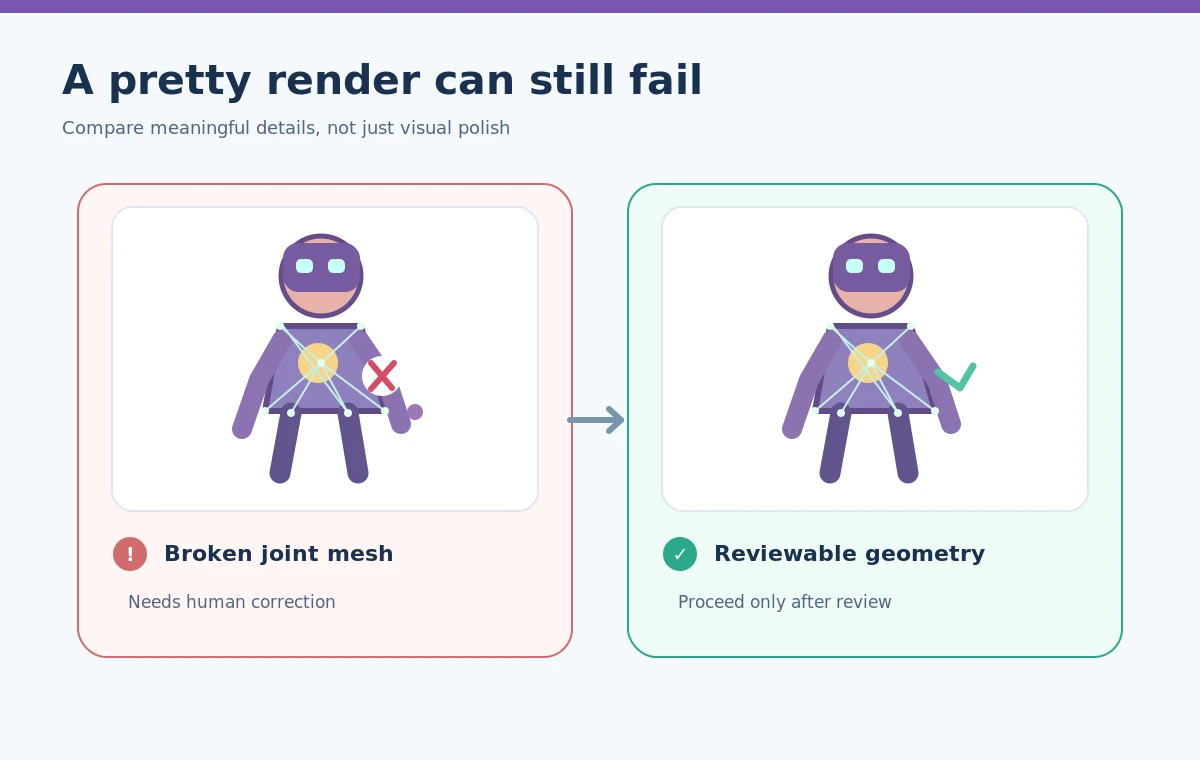
Rotate the result through front, back, side, top, and three-quarter views. Inspect floating components, holes, doubled surfaces, fused fingers, unsupported straps, and intersections between the helmet, arms, and chest. Meshy’s help specifically calls out extra fingers and gaps as potential issues and provides retry or repair paths depending on account and mode. For an animation target, compare the shape around elbows, knees, shoulders, and hips, where deformation will expose poor geometry. A surface that renders well can still have unusable topology. Do not record a made-up polygon count; capture the count reported by the mesh viewer or downstream application. Flag back surfaces that do not match any approved reference, then decide whether to remodel them by hand.
Remesh, texture, and test a basic deformation
Meshy’s documentation describes Remesh and Texturing as distinct steps. Treat them separately: retopology changes the mesh structure, while textures change the surface appearance. Preserve a geometry-only version before applying generated color. For a robot courier, inspect whether small decals are baked into textures and whether the shoulder badge remains legible at the final viewing distance. If animation is needed, test a modest shoulder raise and knee bend before authoring a full motion set. Look for collapsing sleeves, stretched UVs, or intersecting pieces. No AI tool’s promotional description substitutes for a test in the engine or DCC package you will actually ship. A screenshot of a good idle pose is not proof the character is riggable.
Choose the correct export and preserve provenance
Meshy’s documentation lists formats such as GLB, FBX, OBJ, STL, and 3MF, each with different downstream uses and texture handling. For a game prototype, confirm the importing engine supports the selected file and that separate texture maps arrive intact. For a print, geometry closure and real-world scale are more important than an attractive shaded preview. Keep the licensed reference image, the generated draft, the revised mesh, the source tool version, and the human approval. Document the tool’s current licensing terms for the account being used; do not assume a public demo license grants exclusive rights. The key deliverable is a verified, editable asset handoff, not simply a downloadable compressed file.
Use a production-readiness gate rather than a star rating
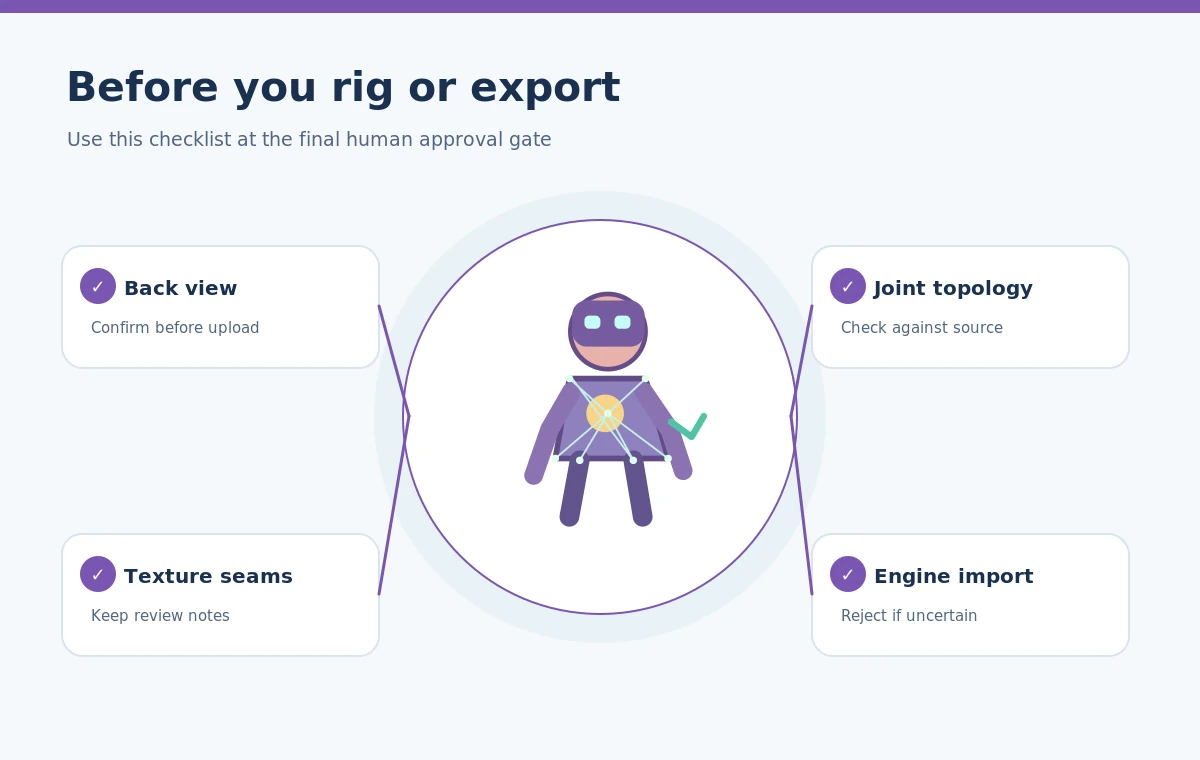
Score the result against the job’s requirements, not generic visual attractiveness. A useful decision sheet has six tests: approved silhouette, complete geometry, reasonable topology, clean texture seams, expected pose behavior, and correct export. Mark each as verified, fixable, or blocked. For a prototype, one fixable texture blemish may be acceptable; for a player character that appears throughout a game, deformation problems are a release blocker. The gate also prevents fictional performance claims: polygon limits and frame-rate budgets belong to the project’s target engine and device. If the model fails, return to cleaner reference art or a manual modeling pass rather than paying for endless random generations. This is where AI speeds ideation without replacing the craft of character production.
How We Research
We reviewed Meshy’s official Image to 3D guide (help.meshy.ai), Text to 3D guidance (docs.meshy.ai), and getting-started documentation (docs.meshy.ai). The robot courier is an illustrative brief; no physical model, animation benchmark, or firsthand production test was performed. Model options and usage fees must be reconfirmed in the workspace.
Frequently Asked Questions
Not reliably. Inspect geometry, rigging, joint deformation, and export in your target application before relying on it.
Use an approved image when identity matters; text is useful when exploring new concepts without a fixed reference.
Meshy documents its creative model-generation workflow as different from CAD-precision engineering.
Choose a format supported by your engine, often GLB or FBX, and verify textures and orientation after import.
Approve the reference, intended pose, required geometry, license, and acceptance checklist so retries address specific flaws.