
A craft cooperative wants a clean image of a handwoven basket for a catalog. Adobe Express Remove Background can isolate the product quickly, but fine grass fibers at the handle, open weave, and soft cast shadow can disappear along with the table. A tidy-looking cutout is not automatically an accurate product image. This hypothetical workflow uses Adobe’s current editor instructions, preserves the original photo, inspects a checkerboard-style transparency preview, and checks a final Transparent PNG against the actual weave. The goal is an honest cutout, not an AI-redesigned basket or a new texture that customers will not receive.
Prepare the source photograph and preserve fidelity
Use an original photograph that shows the full basket at a practical catalog resolution. Keep the unedited file with its copyright and product information, and create a copy for background removal. Look at the handle gaps, frayed fiber tips, and contact shadow while the background is still visible. Those details help distinguish genuine basket edges from background texture later. Do not retouch away authentic imperfections merely because they interrupt a smooth silhouette. If the weave and background are nearly the same tone, take a better photo under even lighting when possible; the AI mask cannot recover information that never appears in the pixels.
Use Remove Background in the current Express editor
Adobe documents opening a design in the web editor, selecting an image, and choosing Remove Background in the Image panel. The editor automatically identifies a subject and attempts to remove the rest. Adobe warns that low-contrast areas and fine details can be lost. The visible controls can vary between web and mobile interfaces; check your own version rather than searching for an obsolete menu name. Work on a duplicate design and keep the unmodified image accessible. Before accepting the result, zoom into the basket opening and compare the shape of each handle arc to the source photograph.

Inspect the high-risk gaps and overlapping fibers
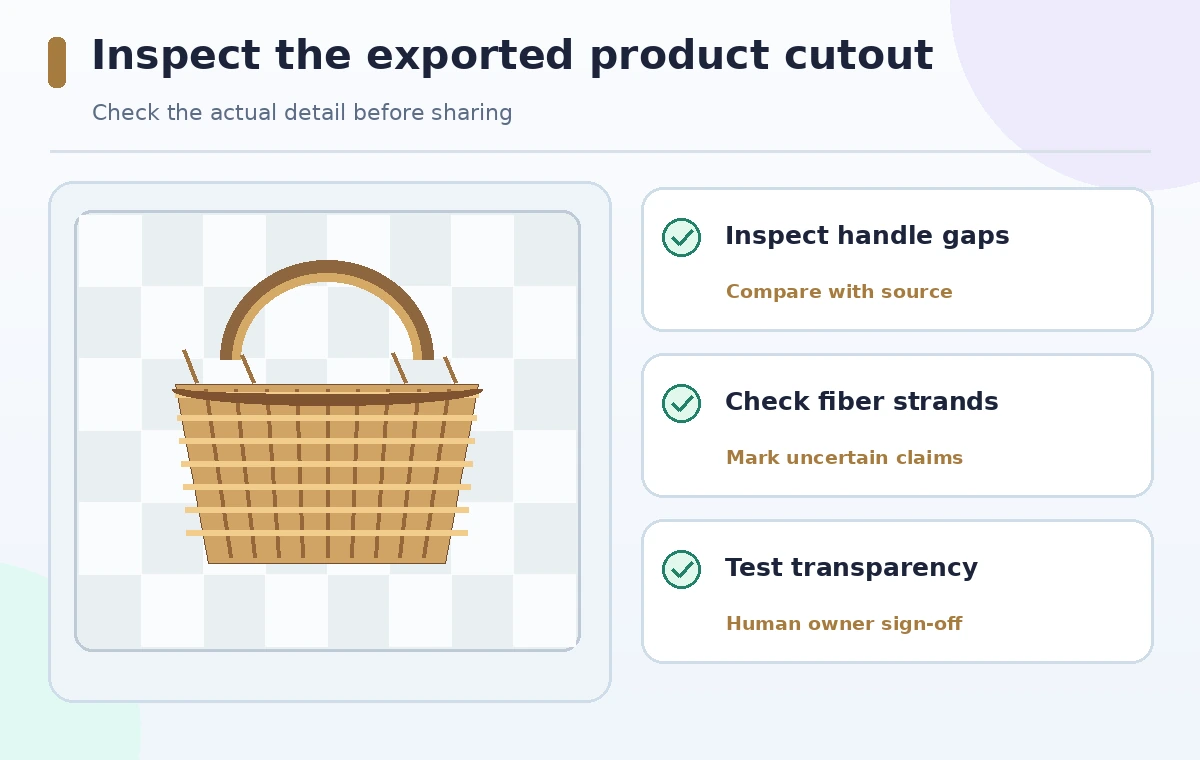
The hardest regions are not always the visible outer contour. Open basket handles contain narrow background openings, and loose fibers create thin foreground lines. A mask can fill a gap with product color or erase a strand as if it were clutter. Review these regions at 100 percent or greater zoom; a small preview can hide missing structure. Check where the basket meets the table. Removing the shadow may make the object seem to float in a later layout, but retaining a false solid brown patch is also misleading. Use a contrasting temporary backdrop to reveal holes, halos, and hard cut edges.
Restore only what exists in the original photo
If the mask removes a distinct fiber tip, compare it against the source and use available editing or an external pixel editor to restore that existing geometry. Do not draw a new handle or invent basket strands to make the silhouette look more symmetrical. Adobe Express’s Remove Background function is an automated cutout, not a guarantee of detailed manual masking features in every plan. When corrections are too difficult, try another source photo rather than making unsupported product changes. Keep an audit copy showing the problematic crop and the genuine texture that must survive. Product representation should remain faithful.
Compare the dropped detail with the corrected edge
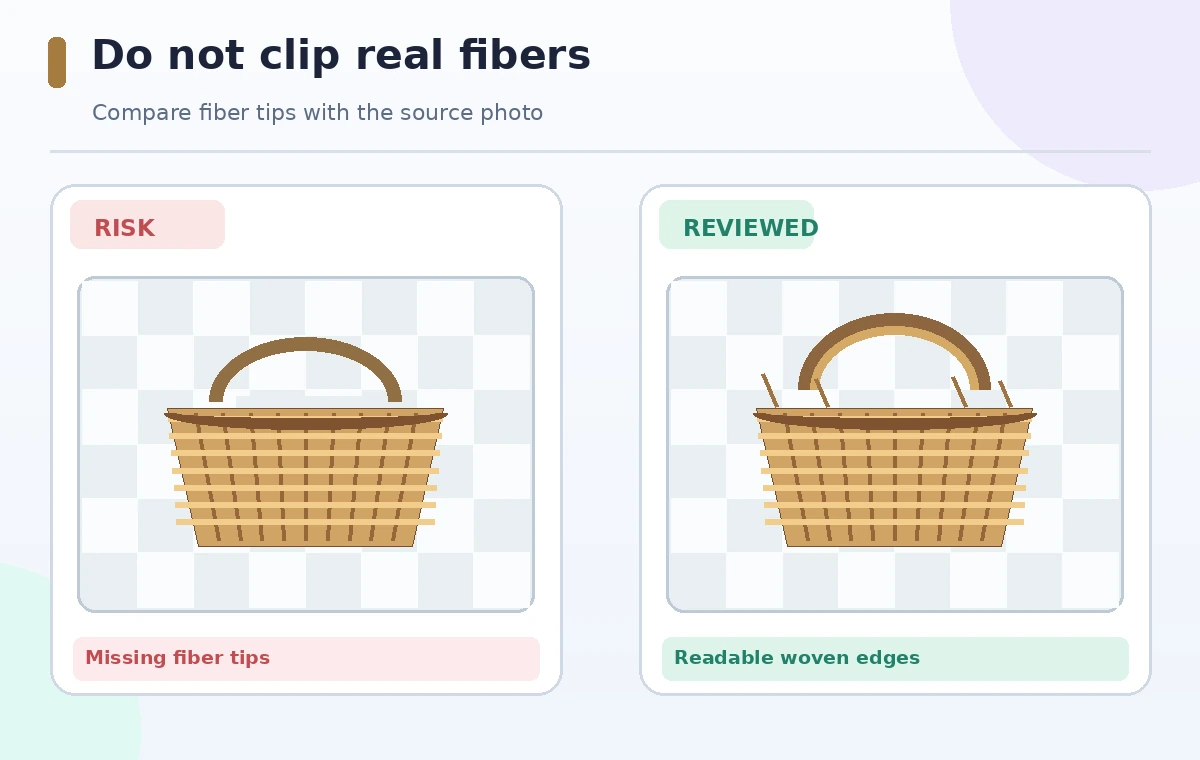
The comparison illustration shows an invented weave where fiber tips vanish in a poor cutout and remain visible in the reviewed version. It is a teaching drawing, not a measured Adobe Express result. Look at the handle opening, the outer rim, and the contact point at the base. A perfect-looking geometric outline can actually be worse than a slightly irregular authentic edge. If some loose fibers are genuine, preserving them matters; if they are only pieces of background lint, removing them may be appropriate. Use the full-resolution original to decide, not the apparent cleanliness of the AI result.
Export transparency intentionally
Adobe documents a specific transparent export path: click outside the canvas, use Background in the left panel, choose No fill, then select Transparent PNG for download. Removing an image background is not identical to making the final canvas transparent; an opaque canvas color can still be exported unless configured correctly. After downloading, open the PNG against both light and dark backgrounds. A checkerboard in the editor does not always tell you how the file will render in a retailer’s template. Do not use a JPEG when a transparent product cutout is required, because that format has no alpha channel.
Check product scale and catalog context
Place the PNG into the actual card or website layout. Compare it to the source photo at a size a customer will see. Look for fringing on pale backgrounds, an unnaturally floating base, or tiny missing fiber loops that become obvious when zoomed. Make sure the caption, product dimensions, and material description are verified separately. The cutout should support the listing rather than make claims about weave tightness, quantity, or finish. If a drop shadow is added for design, keep it subtle and do not misrepresent the original product’s physical shape.
Approve the final asset and retain the evidence
Save the source image, transparent PNG, any corrections, and a quick comparison crop under clear names. Ask someone familiar with the actual woven item to check the handle, rim, and fiber pattern before uploading. If the image is intended for an accessible catalog, write useful alt text describing the basket rather than the editing process. Confirm photography rights and seller permissions. A successful export is not simply one with transparency; it is an image where customers can recognize the item as manufactured. If important details cannot be preserved, use the original photo with its background.
How We Research
We consulted Adobe’s official Remove background in Adobe Express guide (April 2026), including its warning about fine details and instructions for a Transparent PNG, and the mobile removal instructions to note interface differences. The basket and before/after diagrams are instructional artwork. We did not process a real merchant image or inspect a live Adobe account.
Frequently Asked Questions
Yes. Adobe cautions that fine or low-contrast details may be lost, so review handle gaps and fiber tips.
Not necessarily. Set the canvas to No fill and select Transparent PNG at download.
No. JPEG does not support transparency; use PNG with alpha instead.
Restore only verified source detail. Never invent construction features that do not exist in the product photo.
Choose a clearer original photograph or publish the authentic background photo instead of a misleading cutout.