
A small community ceramics studio recorded an instructor beside a tiled wash station. The session has useful advice about handling wet clay, but every quiet answer bounces off hard walls. A natural-sounding interview should preserve the pauses and soft consonants even when some room echo remains. A cleaned-up track that makes the instructor sound metallic or drops “not” from a sentence is not a successful repair.
Adobe Audition offers a DeReverb effect under Noise Reduction/Restoration. Adobe says the effect estimates reverberation and gives a percentage control for processing, as well as frequency-focus options and output-gain controls. This article uses an illustrative scene and conceptual audio drawings, not a recording we actually processed. The listening method matters more than claiming an improvement in decibels that was never measured.
Map the source and protect the words before editing
Keep the original recording unchanged and create a working duplicate. Listen once on speakers and again on headphones, identifying the room reflections after words such as “clay” and “water.” In a source log, write down the timestamps of quiet answers, strong consonants and sentences with negation. These become your comparison points.
Mark overlapping water taps and footsteps separately; room reverberation is not the same problem as independent background noise. A single aggressive preset can make both worse. If the recording is part of an oral history, document permission and preserve the original as the reference for any transcript.
Open DeReverb and choose a gentle starting point
In the Audition Effects menu, navigate to Noise Reduction/Restoration and select DeReverb. Adobe describes an amount control from 0% to 100% and a processing-focus selector for the full spectrum or targeted frequency regions. Do not assume 100% represents the correct setting.
Begin with a conservative amount and compare the processed sound to the bypassed original. A room with flutter echoes may behave differently from a cavernous hall, and a high frequency-focus setting can change the natural brightness of speech. Save the initial effect settings before experimenting so the editor can return to the starting state.

Decide whether the echo is being reduced or simply hidden
Listen to a word followed by silence. Does its reflected tail get shorter while the word itself retains body? If the direct voice becomes thin, hollow or indistinct, the processing may be removing important material.
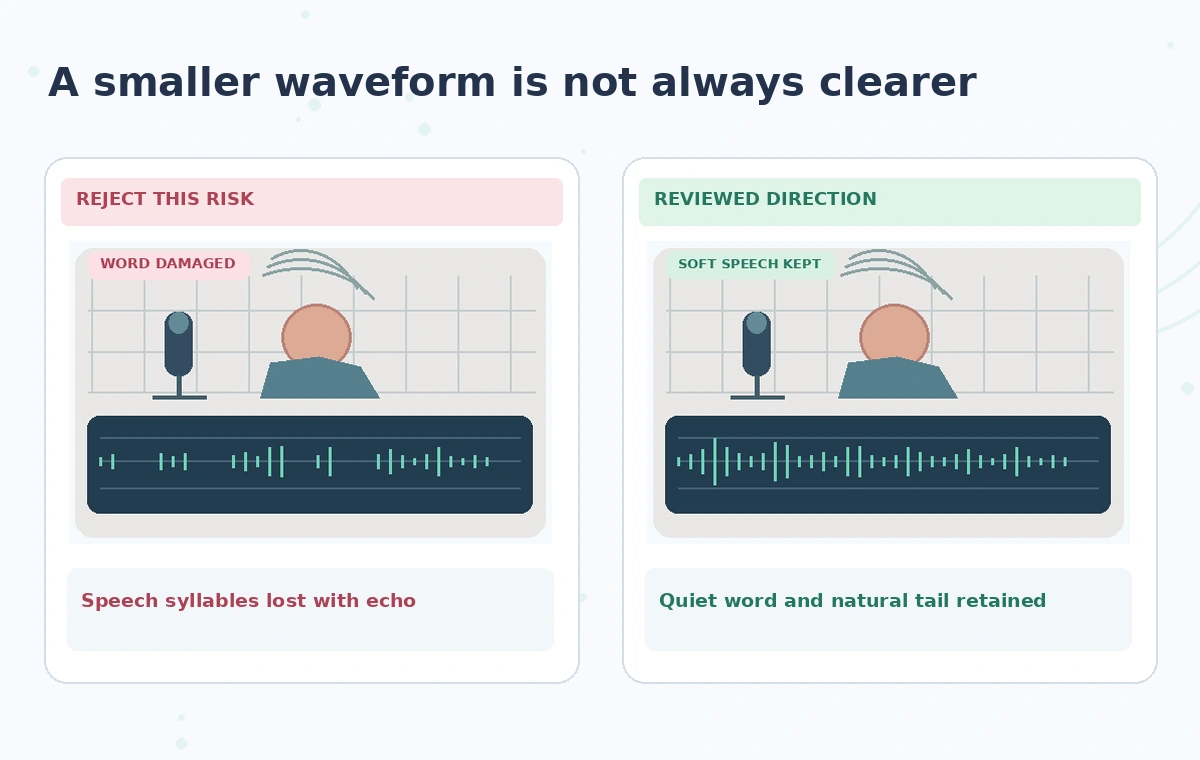
The example illustration contrasts an extended echo tail with a hypothetical overprocessed waveform and a restrained version. It does not represent actual output from Audition or a measured improvement. Avoid interpreting a flat-looking display as evidence of clear speech. Language intelligibility, consistent room tone and source preservation are better acceptance criteria than visual smoothness alone.
Audit quiet syllables and recording artifacts at matched level
Loop identical source and edited passages at matched perceived loudness. Audition notes that DeReverb may reduce output level and provides manual output gain or Auto Gain to compensate. Set that deliberately before judging which version sounds clearer; the louder track can seem preferable even when it contains defects.
Listen for softened final consonants, musical warble, unnatural pumping and clipped breaths. In the teaching scenario, the phrase “do not rinse yet” is a critical check. Do not let improved average clarity conceal the loss of a short instruction that changes meaning.
Use frequency focus only for a defined problem
Adobe documents focus modes for all frequencies, high frequencies, high and low, midrange and low frequencies. A particular tiled room may concentrate unpleasant ringing in part of the spectrum, but without a measured recording there is no universal correct button.
Compare each candidate with a fixed test phrase, note the settings and stop when the speech begins to change character. A bright hiss may call for a different restoration process; a door slam is not reverb. Separate these issues into independent steps rather than stacking several effects until the voice sounds disconnected from its setting.
Check ambience continuity between the edited sections
Where a conversation jumps between speakers, processing different passages too heavily can make one sound like a radio call and another like a live studio. Compare room tone during pauses and inspect transitions at edit boundaries. Preserve meaningful workshop sounds that establish context, such as the gentle movement of a pottery wheel.
If a section has no usable dry voice, label the limitation rather than producing a voice that falsely appears to have been rerecorded. Avoid adding AI-synthesized syllables or rewriting the transcript to match an imagined cleaner version. This is restoration, not reconstruction of missing speech.
Run a second-listener approval pass before export
Ask an independent listener to read the source transcript and compare the low-level statements in both recordings. A reviewer unfamiliar with the intended message is particularly useful because they cannot unconsciously fill in missing words.
Flag doubtful phrases, change the DeReverb amount if needed and recheck after any downstream compression or loudness adjustment. The illustration labels the danger zones—echo tails, quiet consonants, and abrupt room-tone gaps. Do not substitute automated transcription confidence for a real listening test; speech recognition can be just as confident about an error.

Export with a repair note and the untouched source
Export to the required delivery format, then listen to the resulting file from start to finish. Check that channels and synchronization remain correct and no processing artifacts appear only after rendering.
Store the original audio, working session, key DeReverb settings, approval timestamps and a clear description that the dialogue received echo reduction. Avoid claiming a specific percentage of improvement unless you ran a defined and reproducible measurement. A modest reduction that keeps every audible word is a more valuable archive master than an artificially dry result with uncertain meaning.
How We Research
This guide was prepared on November 4, 2026 from official vendor documentation: Adobe Audition: Noise Reduction and Restoration effects; Adobe Audition: Essential Sound panel. We reviewed documented controls, availability caveats, workflow boundaries and the ways the described task could mislead readers. We did not log into an account, test a real output, interview actual participants, or measure feature performance. Each diagram is purpose-made explanatory artwork; risky candidates are fictional teaching examples, not evidence of a particular vendor failure. Interface labels, quotas, subscriptions and permissions can change. Before acting, recheck the current documentation and seek approval from the people responsible for any factual content, rights or sensitive source material.
Frequently Asked Questions
Adobe lists it under Effects > Noise Reduction/Restoration > DeReverb; available controls can differ across releases.
No. Strong processing can change timbre or weaken soft consonants; audition conservative settings against the unprocessed track.
It compensates for output-level changes; use matched loudness when evaluating processing, rather than confusing loudness with quality.
Not reliably. Those separate noises need their own carefully evaluated approach, not a more aggressive reverb setting.
No. They are conceptual teaching illustrations of possible echo tails and artifacts, not empirical results from Audition.