
A museum owns a single front-facing photograph of a cream-colored teapot. A designer wants a second angle for an exhibition panel, but the museum has not photographed the underside or the complete back. A new angle can be persuasive, yet any maker stamp that appears on an unseen surface is only a model’s suggestion unless it is supported by a real source.
Adobe documents Rotate Object for a pixel or Smart Object layer: it previews an object as a rotatable form on the canvas and renders a full-resolution result after Done. That feature is useful for visual exploration, not for authenticating unknown surfaces. The hypothetical workflow below distinguishes a clearly labeled interpretive view from documented catalog photography and gives the editor an exit when geometry changes.
Establish what the photograph actually records
Photograph or obtain the approved source view and make a simple object record: one loop handle on the right, a short spout on the left, cream glaze, and a documented maker mark visible only in a separate base photograph. Record which parts of the pot have not been photographed. The blank reverse side is missing evidence, not a place where the image model is free to supply a historically plausible emblem.
Ask the collections manager whether the project needs a true catalog view or merely a presentation concept. For a factual identification panel, additional photography is preferable whenever the real object is accessible. A generated three-quarter view may be acceptable as labeled interpretive art, but it must never silently replace archival photographs in the collection record.
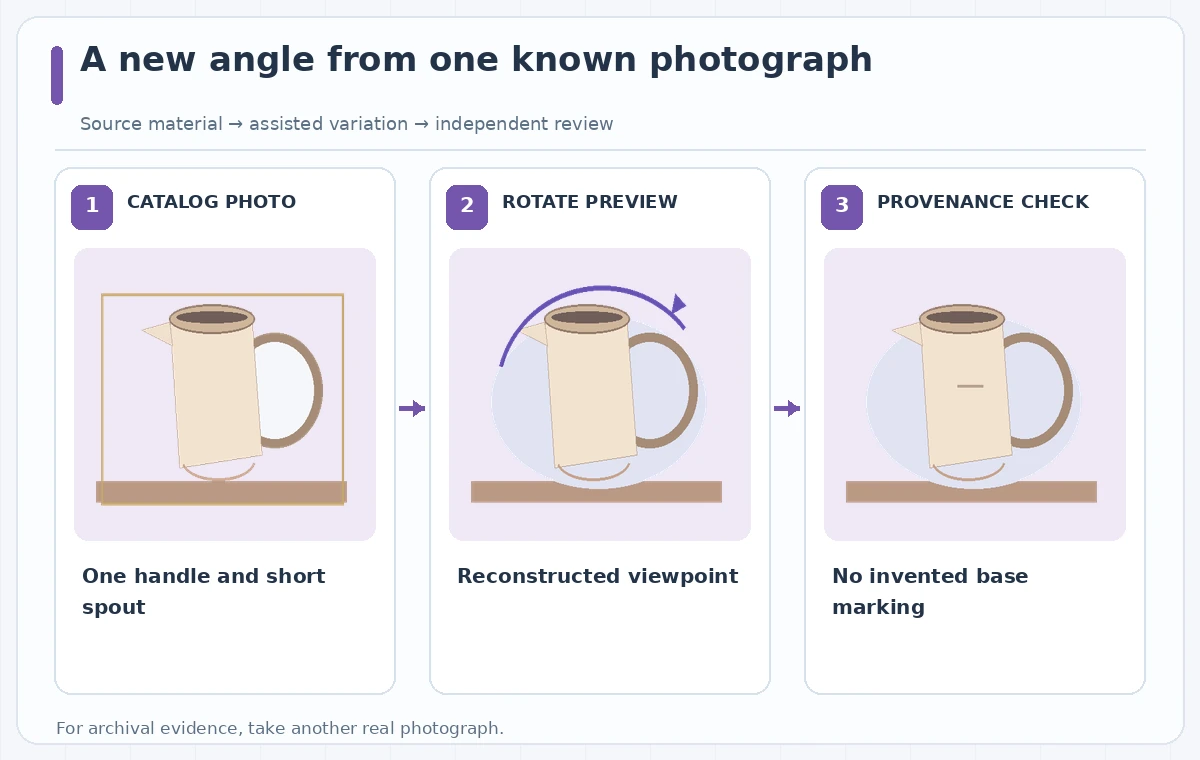
Prepare an isolated, non-destructive object layer
Open the image in a compatible desktop Photoshop version and keep an untouched original. Adobe specifies selecting a pixel layer or Smart Object layer before using Rotate Object. Remove the surrounding background carefully on a duplicate, leaving the pot silhouette intact. Do not crop away the spout tip or handle attachment; those are the first places an invented contour may appear.
Use a neutral checking background and retain the original source nearby. If the object includes a plaque with text, keep that plaque out of the generated rotation and rebuild it from verified typography later. A real maker stamp should be sourced from the museum’s photograph, not produced by a prompt that merely requests an old-looking mark.
Rotate with a limited purpose and log the change
Adobe documents accessing Rotate Object from the Contextual Task Bar or Edit menu. Drag the on-canvas controls, choose Rotate or Tilt, or enter adjustment values in the Properties panel. Preview a modest angle first; deeper rotation exposes more surfaces the original photograph never described. Save the angle choice and compare it with the unmodified source before clicking Done.
The initial preview is lower resolution; the full-resolution render follows when the editor finishes. Do not judge tiny linework or ceramic stamping from the preview. Keep a separate source photo visible throughout and note explicitly that the rotated image is computer-generated rather than a photograph from a second camera position.
Look for invented geometry and maker marks
The comparison illustration deliberately depicts a wrong version with an extra stamp and a reshaped pouring lip. Review the handle opening, neck width, rim ellipse, foot ring, and glaze pattern in the rendered image. A realistic highlight does not validate the shape. If the tool shows the underside, assume its surface details are unverified unless the collections record confirms them.
Inspect for bent lines where the spout joins the body, repeated chips, and marks that change position. Compare close-up crops with any genuine side or base photographs available. If an invisible underside becomes prominent in the composition, reduce the rotation, hide that face, or use a diagram explaining the uncertain region rather than asserting that the reconstruction is exact.
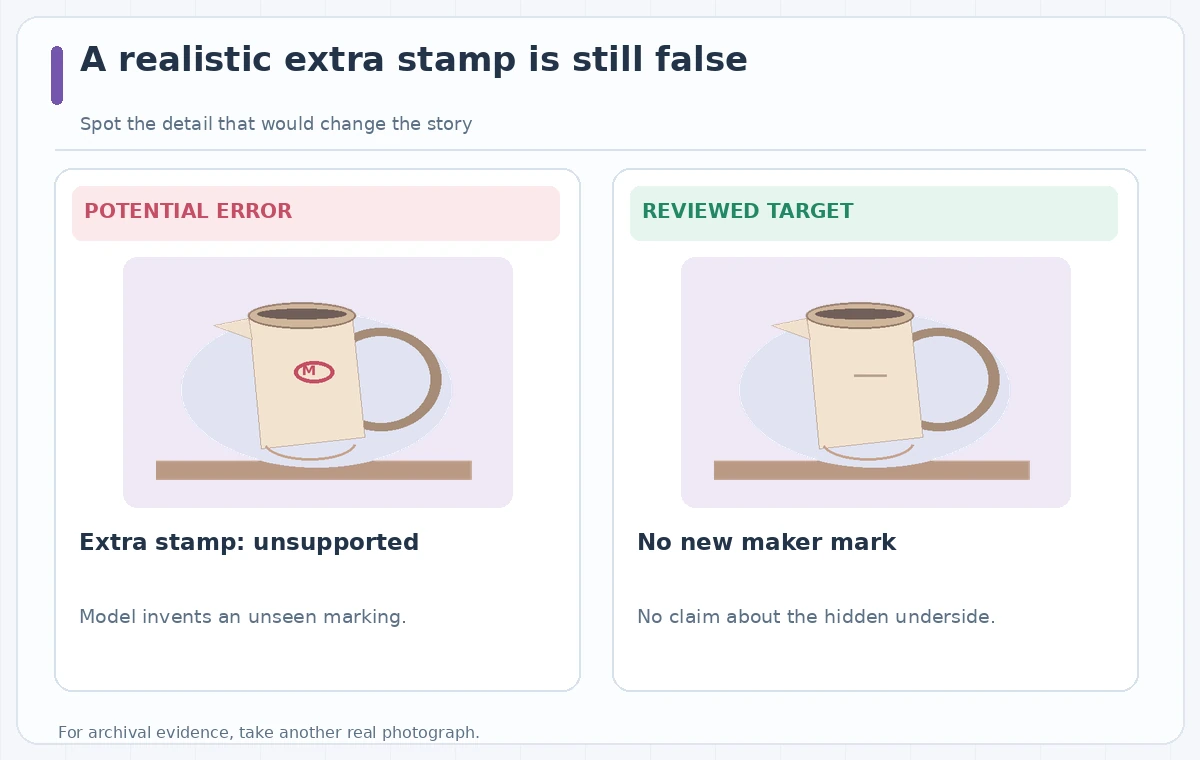
Compose a label that tells viewers what they see
Keep the museum’s real object number and maker attribution in selectable text outside the generated picture. Use a caption such as “AI-assisted angle study based on a single catalog photograph” when that accurately describes how the view was made. A generated perspective should not carry a photo-credit line that implies a new documentary photograph was taken.
If a graphic shows a stamp, place only a verified cropped photograph or trace of the real stamp, with a clear source credit. Never paste an artist’s guess into a catalog record. Adobe suggests using Harmonize after rotation to blend lighting into a composition, but better lighting still does not establish historical truth or physical measurements.
Arrange separate quality and provenance reviews
An image editor should examine halos, sharpness, edge continuity, and background integration. A collections expert should review the object’s physical identity and any claims about period, maker, or construction. These two approvals answer different questions. Technical attractiveness is not evidence that a newly exposed part of the teapot was ever photographed.
Preserve the source file, the rotated layer, a note of the angle, and an explicit description of generated details. If the room panel will be printed large, check at final print scale; details that look convincing on a laptop can become obvious inventions on a wall. Record objections in the approval file rather than discarding them when the image is resized.
Publish a concept, not a substitute for the object
Only release the rotated illustration when its labeling, scope, and approval fit the intended use. For inventory, conservation, acquisition, or insurance documentation, use factual photographs and professional measurements. For a visitor-facing explanation, the image can help communicate how the pot might appear from another angle, provided the source limitation is visible.
If the generated angle changes the spout or invents a maker’s mark, reject it even when the composition looks more polished. The correct fallback is a smaller rotation, a traditional composite, or a new photograph of the actual object. This example is conceptual; it does not report measured Photoshop rotation fidelity or a real museum test.
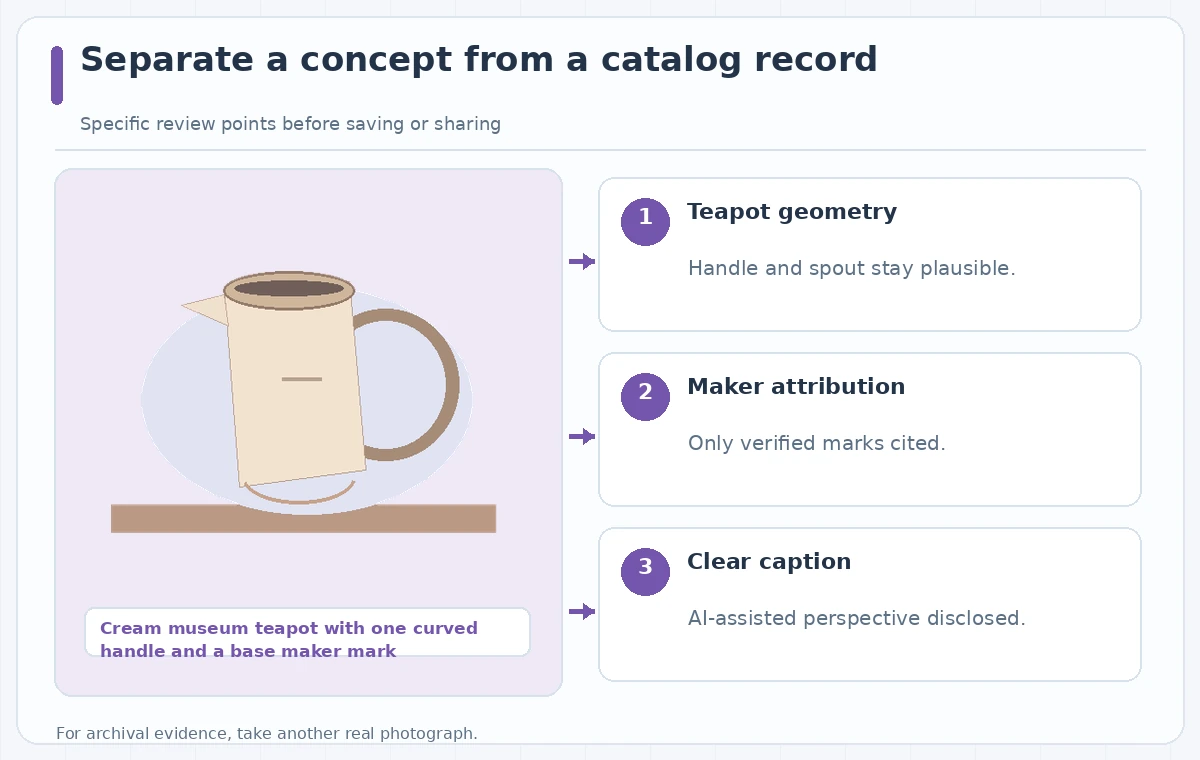
How We Research
We reviewed official product documentation on November 4, 2026: Adobe Help — Rotate objects; Adobe Help — Photoshop desktop release notes. We compared the supported workflow, permissions, constraints, and ways an editor can separately verify the output. The scenario of cream museum teapot with one curved handle and a base maker mark is fictional. We did not log into a subscription, run a live tool experiment, measure visual or audio accuracy, establish image rights, or verify any real venue, performer, or object record. The diagrams are original explanatory illustrations of possible problems and desired checks—not application screenshots or measured software results. Recheck feature availability, account terms, and source facts before publication.
Frequently Asked Questions
No. Adobe describes a feature that synthesizes different object viewpoints from a selected layer, beyond a simple two-dimensional turn.
No. A surface not shown in the original photo cannot be treated as authenticated by the generated perspective.
Adobe documents pixel layers and Smart Objects for Rotate Object; shape or type layers may need rasterization.
Adobe states that an initial low-resolution preview is followed by a full-resolution render when Done is selected.
No. Keep real photographs as evidence and label synthesized perspectives as interpretive illustrations when they are used.