
A landscape photographer has an evening view of a lake framed by dark pine branches. The sky is dull, but the tree silhouette and pale water are already convincing. Adobe Lightroom’s Select Sky mask can isolate much of that sky for selective editing; it cannot guarantee that fine needles, gaps, and reflections remain untouched. This hypothetical editing lesson keeps the changes modest and treats the outline of each branch as the real quality test. Illustrations show an intended workflow, not an actual Lightroom result or measured mask accuracy.
Define what must stay unchanged
Before moving a slider, make a reference copy and note the elements that should not shift: pine trunks, needle clusters, far shoreline, and reflections on the water. The aim is a warmer sunset and slightly better separation between clouds, not an orange filter over the whole picture. The visible sky between branches is a difficult area for automatic segmentation, especially when small needles are close in color to clouds. Judge the edit at full composition and at close zoom. If the original scene never had pink clouds, do not claim the generated-looking palette is documentary truth.
Create a Select Sky mask in Lightroom
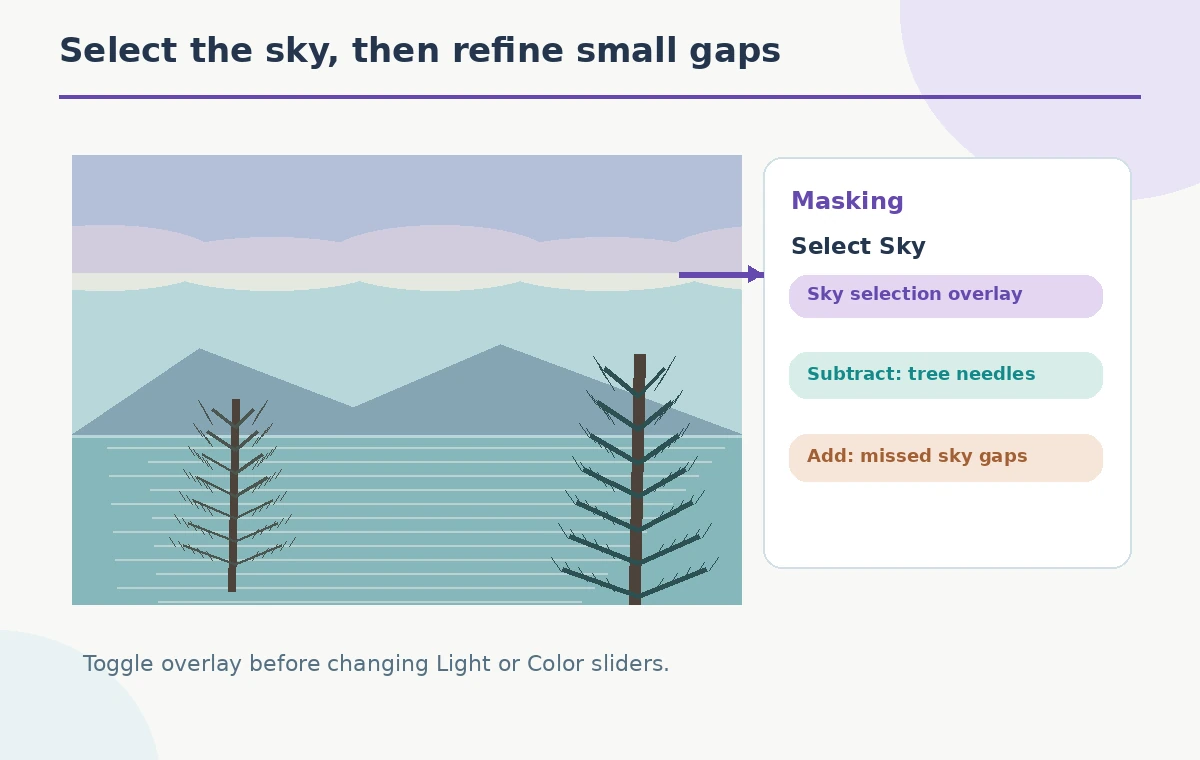
Open the photograph in Lightroom’s edit view and select Masking, then Select Sky. Adobe says Lightroom analyzes the photo and builds a sky selection automatically. Turn on the overlay and inspect what was selected before changing exposure, temperature, highlights, or dehaze. Avoid stacking large adjustments until you understand the overlay. The mask should cover the open sky above the lake and gaps between trees; it should not paint the trunks or the water. If a menu differs between desktop and mobile versions, use the instructions for the specific edition rather than guessing that controls are identical.
Inspect branches before refining the mask
Zoom into a branching area near a bright cloud. Look for colored overlay sitting over needles, missing pockets of sky inside the branches, or a hard uniform boundary around a tree. Use Lightroom’s Add and Subtract controls where needed to correct the selection. A brush can be more precise for a localized edge problem than another broad AI selection. Make each correction in a small section and toggle the overlay again. The schematic callouts mark risk zones; they do not represent pixels sampled from any specific sensor or measured algorithm performance.
Change the sky without replacing its character
With the selection confirmed, make a small temperature or color adjustment, then judge the sky’s relationship to the ground. Raising saturation too far may create neon edges on cloud highlights; lifting exposure can flatten the skyline. Start with the largest tonal issue and make one change at a time so you know which slider caused an artifact. Keep the existing cloud shapes instead of trying to manufacture weather that was not there. This is a local adjustment workflow, not a sky replacement. Compare the image with the unedited version at normal viewing size after every major change.

Watch for halos on backlit needles
Bright sky adjacent to dark evergreen needles is an especially revealing stress case. A halo can appear when a warm adjustment leaks into the branch boundary or when dehaze and sharpening emphasize that boundary too aggressively. Inspect the left edge, the thinnest tips, and any patches where three branches overlap. A practical check is to turn the mask visibility off and on without changing zoom, observing whether the tree shape seems to grow, shrink, or acquire a new outline. If it does, reduce the adjustment and refine or subtract from the mask instead of hiding the problem with global contrast.
Keep the lake reflection logically consistent
Sky color influences the look of water, but Select Sky ordinarily targets the sky region rather than its reflection. After warming the sky, the water might appear unnaturally cold or, conversely, painting the water with the sky mask may create a false color band. Decide whether a separate, restrained water adjustment is justified. Trace the horizon at normal size and inspect any vertical reeds that cross it. Never label the tutorial’s warm and cool rectangles as an exact measured color conversion; they are only visual reminders to compare related parts of the scene.
Compare two restrained versions
Save one subtle interpretation and another slightly warmer alternative rather than chasing a single maximum-impact output. In the first, preserve the original twilight mood; in the second, emphasize clouds but keep the branch edges dark and clean. Look back at the source between comparisons. If both look plausible at a glance, choose the one requiring fewer edge repairs. A dramatic thumbnail is not necessarily a faithful photograph. The comparison illustration uses two purpose-built paintings of the same pine-and-lake scene to demonstrate where tonal changes belong, not before-and-after files exported from Lightroom.

Prepare export and viewer-size checks
Review the adjusted image at the resolution intended for the website or print, and separately at 100 percent for damaged edges. Halos that vanish in a small preview can become conspicuous on a large monitor, while painstaking microscopic differences may not affect the final layout. Export a copy instead of overwriting the original raw capture. Record which masks were used so another editor can revisit the decision. When the image has documentary or conservation value, keep a clearly identified unaltered version and do not imply that the adjusted colors prove the weather on the day.
Use a final visual acceptance checklist
Inspect the open sky, the thinnest needles, the tree trunk edge, the horizon, and the water reflection in that order. There should be no luminous outline around the pine, sudden color seams, or accidental warm tint on the foreground. Compare the approved export with the source at both small and large sizes. If you cannot repair an obvious boundary without making another part worse, prefer a weaker adjustment. The goal is a believable scene with its original structure intact, not a claim that Select Sky can automatically separate every intricate object without human review.
How We Research
We checked Adobe’s Lightroom masking guide for the Select Sky workflow and Add/Subtract refinements, along with its create-masks documentation for supported AI-assisted selection types. No Lightroom account was opened, no output photo was rendered, and no mask precision or photographic authenticity was experimentally tested. Tree and water examples are original instructional drawings.
Frequently Asked Questions
Do not assume it does. Inspect the mask overlay and handle reflections separately only if the composition needs them.
No guarantee. Use zoomed inspection and the Add or Subtract mask tools when boundaries are imperfect.
Use restrained changes; heavy local contrast can emphasize halos along dark branches.
No. Select Sky creates a local adjustment mask; the illustrated method preserves existing cloud structure.
No. They are original conceptual illustrations, not claims of real before-and-after generation.