
A designer has a simple flat cactus illustration created in an AI image session and needs a larger web graphic. The cactus has three arms, two green tones and a cream pot; extra needles or fuzzy outlines would ruin its purpose as clean, friendly spot art. Krea documents a Quick Upscale action for finished generations as well as a separate Enhance tool for uploaded images. This guide separates those two workflows and gives a practical edge-and-color checklist rather than assuming any upscale is automatically better.
Begin with the intended use rather than a maximum resolution
Define the target output: for example, a 1,200-pixel-wide section illustration on a responsive site. If the existing result is already large and clean enough, do not enlarge it just because the app offers the option. Note the exact number of cactus arms, intended fill colors, outline width and negative space around the pot. Keep a master source and a color swatch reference. Flat artwork reveals invented details quickly: a few unrequested needles can change the style more than a blurry photographic texture would. Our cactus is an original vector-like concept, not an output captured from Krea, and the diagrams intentionally highlight what to inspect rather than an imaginary performance win.
Use Quick Upscale only for a finished Krea generation
Krea’s June 2026 Quick Upscale guide, updated September 10 says the action appears when hovering over an already completed result in an Image session. It adds an upscaled version in the same session. That is a convenient finishing step when the composition is approved and only a cleaner, larger version is wanted. It does not replace design review. Check that the source variant is the approved one before clicking the control. If it is a rough draft with the wrong arm count or bad text, fix the concept first; enlarging a flawed image makes the defect easier to notice. Avoid claiming a universal factor for every model when the guide does not promise one.
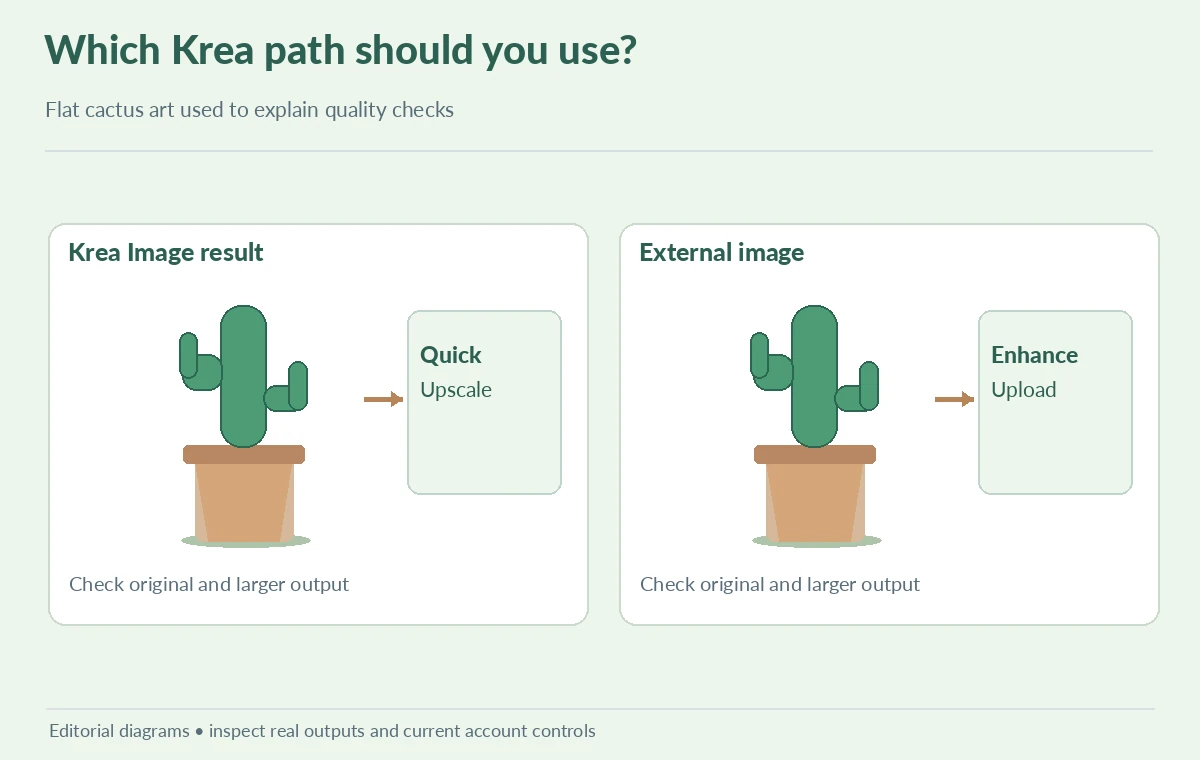
Use Enhance for images coming from elsewhere
The separate Krea Enhance page supports uploading an image and improving its resolution and clarity. It lists common upload formats and a simple upload–enhance–download process. This is the relevant path for an external PNG or an approved illustrator export, rather than assuming it belongs in the Image session Quick Upscale workflow. Check current account usage, processing allowances and upload privacy before sending client artwork. Do not treat a promotional claim of artifact-free enhancement as a guarantee. Preserve the original file so that any introduced fuzzy outline, palette shift or strange pot texture is immediately visible by comparison.
Inspect silhouettes, edges and negative space at two scales
Create three checks: a full-width view, a 100-percent close-up of the left arm, and an icon-sized thumbnail. In the full view, check whether the cactus still has three arms and the pot is centered. At 100 percent, inspect for double outlines, sharp halos, stray dots and texture appearing in a previously flat cream area. At thumbnail size, see whether the outline collapses into the fill. These are observations available to any editor, not a lab benchmark. The diagram includes an intended silhouette and example red-flag marks; it is a quality-control teaching graphic rather than a real before/after Krea sample.

Compare whether reconstruction is even appropriate
If the source is a true SVG with clean paths, export the SVG at the required raster size instead of using AI to invent pixels. Krea is more relevant when only a low-resolution raster remains or the designer is working from an image-generation output. For a flat icon, manual tracing may be preferable to repeated enhancer passes; for a painterly illustration, some new texture may be welcome. Write a stop rule: reject the result if arm count changes, outlines double, or brand colors shift materially. Compare these observable facts against the brief, not a subjective sharpness percentage. The decision tree shows SVG export as a separate option, not an AI mode.
Export in a form the website can use
Prepare the approved image at the actual display width, retain adequate contrast on the page background and add descriptive alt text. Choose lossless PNG where sharp transparency edges matter; WebP can also work when tested at the final compression setting. Inspect the compressed output, since a clean working file can acquire ringing after export. When adding text to the site, keep it outside the illustration so it remains editable, scalable and accessible. If a transparent background is required, test it over both white and dark sections. The export diagram shows a flat illustration preserved through delivery, with the check passing only after visual review.

Keep the source, selected tool and rejection notes
Archive the original raster or SVG, selected Krea workflow, completed output, QA crops and final web asset. Note whether Quick Upscale or Enhance was used, because another designer may need to repeat the route. Do not claim that the same quality will occur for every model, device or image type; Krea’s documented interfaces and quotas may change. The visually useful handoff is an accurate cactus silhouette, clean color fills and a record of what was changed. The four accompanying illustrations were constructed specifically for this tutorial and should not be mistaken for real Krea screenshots or paid test results.
How We Research
On October 28, 2026 we reviewed Krea’s Quick Upscale article and the official Enhance page. The former documents one-click upscaling inside a finished Image session; the latter documents a separate upload workflow. The cactus and edge defects are editorial illustrations, not measured Krea outputs. We did not make a Krea account, perform paid generations or verify account-specific quotas.
Frequently Asked Questions
No. Quick Upscale is documented inside Image sessions; Enhance supports uploads.
Usually not. Export from the editable SVG at the required dimensions first.
Added texture, halos, changed silhouettes and unexpected colors.
No. Compare the final output with approved swatches and the original.
Keep the source, selected workflow, accepted export and annotated QA crops.