
A wildlife educator wants to brighten a white egret in a shaded marsh video without changing the entire background. Final Cut Pro’s Magnetic Mask uses machine learning to isolate a subject and follow it through a clip. The difficult part is not the bird’s bright body; it is the slender legs, wing tips, and momentary overlap with reeds. This hypothetical workflow shows where an editor should inspect the matte, what to preserve in the original footage, and how to avoid turning an illustrative color adjustment into an inaccurate nature record.
Set a narrow editorial purpose before masking
Start with the untouched camera file and write a one-sentence goal: lift the egret’s shadow detail while leaving the water and habitat credible. A selective exposure adjustment can help viewers follow the subject, but changing the setting or erasing other animals may make a documentary shot misleading. Record the camera frame rate, clip duration, and sequence where legs pass through reeds. Put a duplicate of the source in the editing project so a reviewer can compare each decision with the original rather than relying on memory.
Choose three reference moments: a stationary pose with both legs visible, a wing movement that exposes feathery edges, and an occlusion when a reed crosses the subject. These should be actual times from the editor’s clip; this example provides no measured frames or results. Ask whether isolating the bird is even necessary. If a conventional color correction improves the image without a mask, that simpler method may protect the natural background and avoid tracking artifacts.
Choose Magnetic Mask for an actual tracking problem
Apple documents Magnetic Mask as an effect that isolates people, objects, and shapes through machine-learning analysis, propagating the result across a video clip. It can create a foreground matte for compositing or restrict a video effect to a selected region. Final Cut Pro also has Auto Mask for recognized objects and a Scene Removal Mask for other circumstances; the tools are not interchangeable promises of a perfect cutout. For a bird against varied marsh textures, examine the available masking controls in the installed Final Cut Pro version.
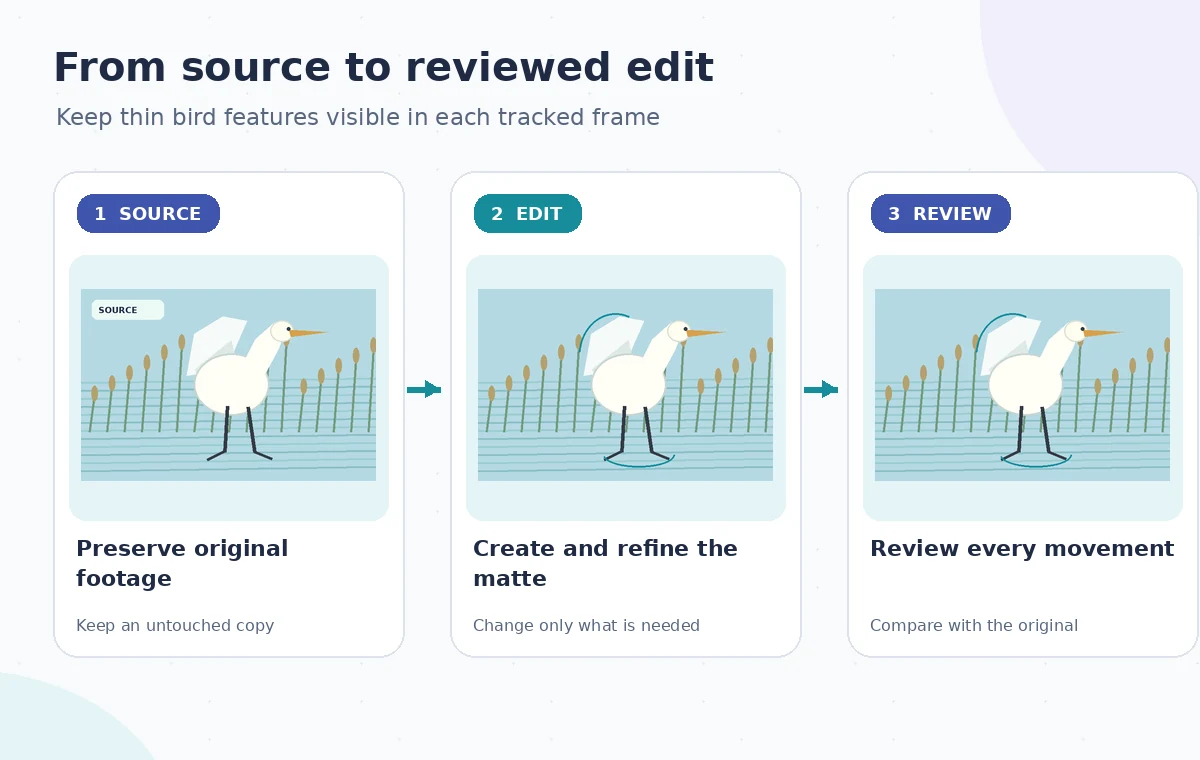
Place the source clip on the timeline, select a frame where the egret’s full silhouette is readable, and apply Magnetic Mask following Apple’s current guide. Keep the viewer sufficiently large to inspect the edges rather than making selections in a tiny preview. The initial mask is a proposal, not a finished alpha channel. A white body against dark reeds may be easy to distinguish while the lower legs merge into reflections; those thin areas should receive special attention during refinement.
Build the initial subject selection and track it
Use the mask’s onscreen controls to identify the intended bird and exclude background patches that the model mistakes for the subject. After creating the initial selection, let Final Cut Pro analyze the applicable portion of the clip. Review the result at the starting frame before applying any dramatic effect. A crisp matte can still be wrong: water highlights can join the wing, or a small toe can be excluded even while the bird’s body appears correctly isolated.
Advance through the shot in small intervals and identify the first place where the selection slips. Note whether the error happens at a silhouette edge, an overlapping reed, or a sudden wing movement. Refine the selection where needed and allow the tracking to update according to the application’s controls. Do not assume that a single still-frame correction repairs the full sequence. The test is continuous motion and believable compositing, not a beautiful frame saved in isolation.
Use the AI tool selection checklist
Inspect the legs, beak and feather tips at full resolution
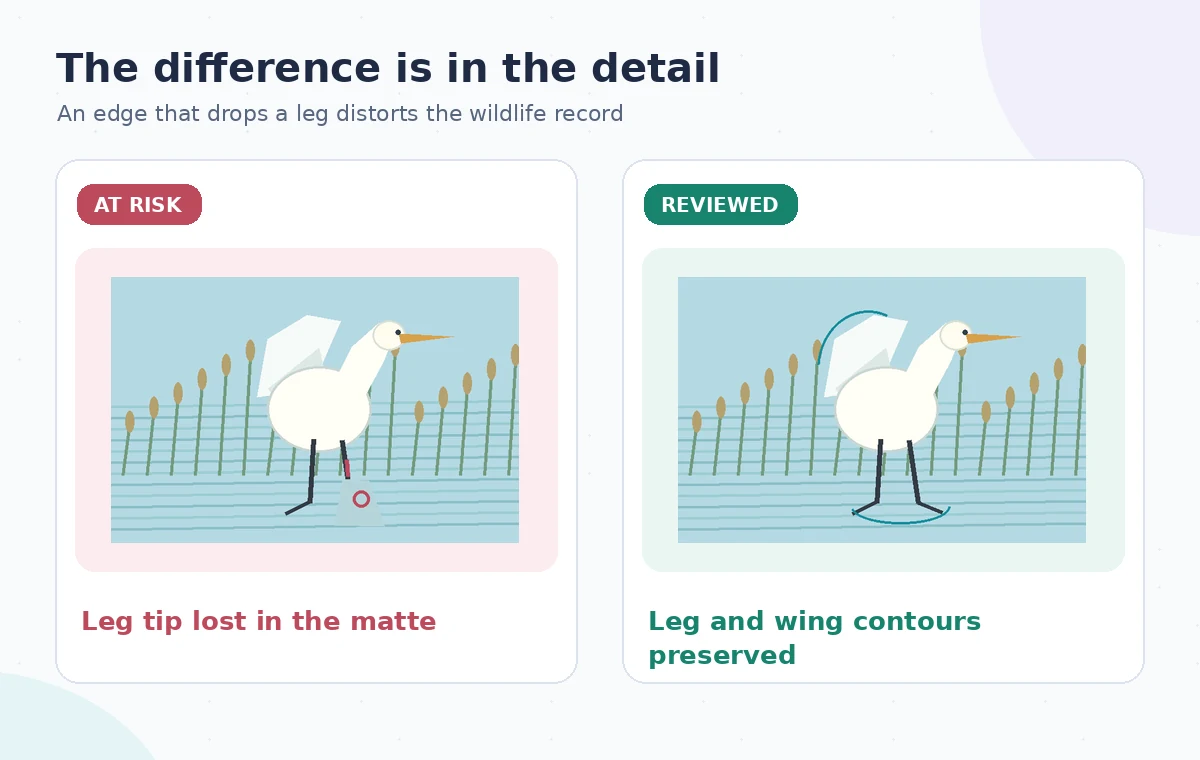
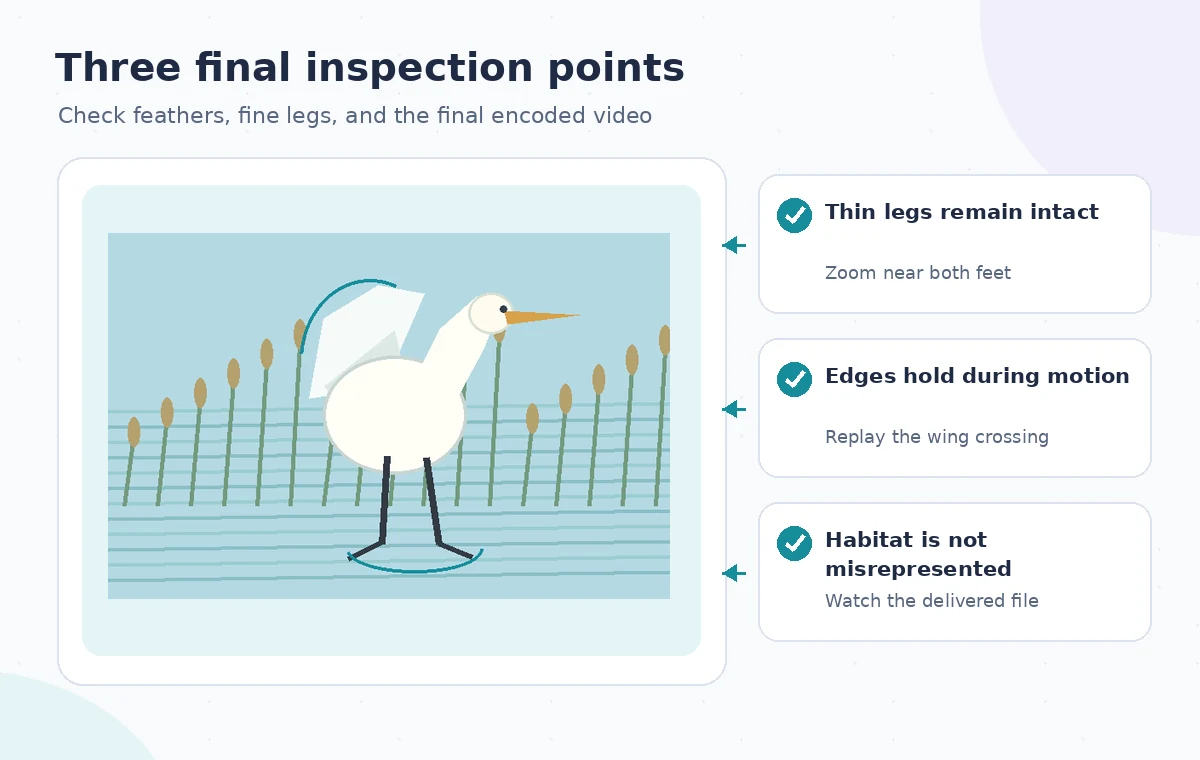
Thin shapes are especially vulnerable because small changes in the matte can eliminate several pixels that carry their identity. Zoom in around the egret’s knees and feet, then compare the mask with the unaltered footage. Look for legs that flicker, suddenly shorten, or disappear as they cross patches of light. Examine the beak at turns, the feather fringe during flaps, and any motion blur that should remain gradual rather than becoming a hard digital outline.
The conceptual comparison diagram in this article exaggerates a missing leg tip to demonstrate what to inspect; it is not an output from an actual Apple rendering test. If the mask cannot retain the slender features, reduce the correction’s strength, add a targeted manual adjustment where supported, or abandon the isolation in favor of a broader correction. A slightly less selective edit is preferable to a bird with a visibly truncated limb.
Apply a restrained correction instead of replacing the scene
With the matte reviewed, apply a modest exposure or color adjustment to the bird while preserving highlights in the white plumage. Check that the corrected body does not glow against the water. If the bird appears unnaturally bright relative to the scene, lower the adjustment and compare to the source again. Apple also describes using Magnetic Mask to limit the area affected by video effects, so a subject-only color correction can be more relevant than replacing the entire background.
Keep the marsh and surrounding animals in the frame unless the editorial purpose explicitly permits a composite and it is clearly labeled as one. Do not create a background that makes the egret appear to have been filmed elsewhere while presenting the video as field documentation. Show viewers visual context when it matters to behavior or habitat interpretation. This is a workflow about perceptual clarity, not evidence that a particular bird or location looked a certain way.
Plan a safer multi-tool workflow
Review the timeline, export and a separate playback copy
Scrub slowly at the three reference moments, then watch the entire sequence at normal speed. Motion can expose a flaw that is invisible in a still: the matte might shimmer on one leg, lag behind a turning wing, or jump to a reed. Compare against a split-screen or toggled original and check both full-frame and zoomed views. Inspect transitions into adjacent clips so the color of the egret does not abruptly change at the edit point.
Export a review file using the project’s intended settings and open it outside the editing viewer. Confirm that the final encode retains the slender lines and contains no unexpected crop or compression breakup. Where footage is for education, retain the source, versioned project, and a note about selective adjustments. A successful preview in the editor is not proof that the delivered file is clean; the release copy deserves its own inspection.
Decide when the mask should be rejected
A moving foreground in low resolution, heavy blur, or dense overlapping vegetation may defeat useful automatic tracking. Reject the effect if the egret’s legs repeatedly vanish, if another bird gets absorbed into the mask, or if the correction implies a scene that was never recorded. Set these stop conditions before investing time in polishing. An editor who knows the acceptable boundary can make a reliable decision even when the automatic tool produces imperfect suggestions.
Apple’s help pages describe tool behavior, not verified success on this egret clip. We have not run Final Cut Pro on wildlife footage and cannot claim accuracy, a tracking speed, or an artifact-free output. The example illustrates a reproducible review procedure, and any public release should also respect the footage owner’s rights and the documentary’s disclosure standards. The safest edit is the one whose changes remain visible, explainable, and reversible.
How We Research
We checked the named vendor documentation: Apple Support: Add Magnetic Masks in Final Cut Pro and Apple Support: Use Auto Mask or Magnetic Mask for color correction. We compared its stated user controls, availability warnings, workflow stages and limitations against the concrete scenario described here. We then developed original educational diagrams and a separate human-review procedure for the materials that need independent evidence. The scenario is hypothetical: we did not sign into a paid account, upload a real customer asset, operate the feature on the example, or measure output quality. The figures are schematic, not actual interface captures or recorded processing results. Product menus, permissions and plans can change; verify the current installed edition and applicable policies before relying on this method.
Frequently Asked Questions
Apple describes machine-learning subject isolation and tracking across video frames, but results still require review, especially around thin moving edges.
No. Apple documents them as distinct masking tools. Choose based on the subject and controls available in your Final Cut Pro version.
Inspect the feet, thin legs, beak, wing tips and occlusion points at full size and during normal-speed playback.
Yes. Apple describes applying a Magnetic Mask to control where a video effect, including color correction, operates.
Return to the source, revise or remove the selective effect, and export again. Never release an evidently damaged documentary silhouette as unaltered footage.