
An AI line art generator can sketch a useful engraving concept, but the output does not automatically contain clean vector paths or safe laser instructions. LightBurn distinguishes following vector lines from scanning raster pictures, and a visually pleasing preview cannot predict exactly how wood, acrylic, or coated material will react. This guide uses a fictional leaf design on a wooden coaster to explain line cleanup, trace decisions, job preview, and the boundary between digital artwork and a supervised material test. It does not supply machine power settings or claim a successful physical engraving.
Define whether the job is marking, engraving, or cutting
Start with the intended result and the exact machine and approved material. A shallow decorative line on a wooden coaster is different from a deep cutout contour. Do not ask an image model for machine power, speed or pass counts: such numbers depend on device, laser class, stock, focus, ventilation and verified material parameters. Obtain operating instructions from the equipment manufacturer and the shop’s trained operator.
Write a design brief specifying one leaf silhouette, few interior veins, no tiny disconnected fragments, and enough separation that the result remains legible at coaster size. The source illustration should be a black-and-white creative draft. Keep it separate from any machine job file and do not treat an AI-generated apparent “SVG” inside a picture as an actual editable vector document.
Generate a graphic optimized for readable paths
Request high contrast, continuous outlines, limited detail and a plain backdrop. For example: “single original oak leaf, simple botanical line engraving, bold continuous perimeter, five broad veins, no lettering, no gray texture, centered.” Do not prompt for a known logo or brand mascot that you lack rights to reproduce. Save the artwork with the source prompt and your intended physical dimensions.
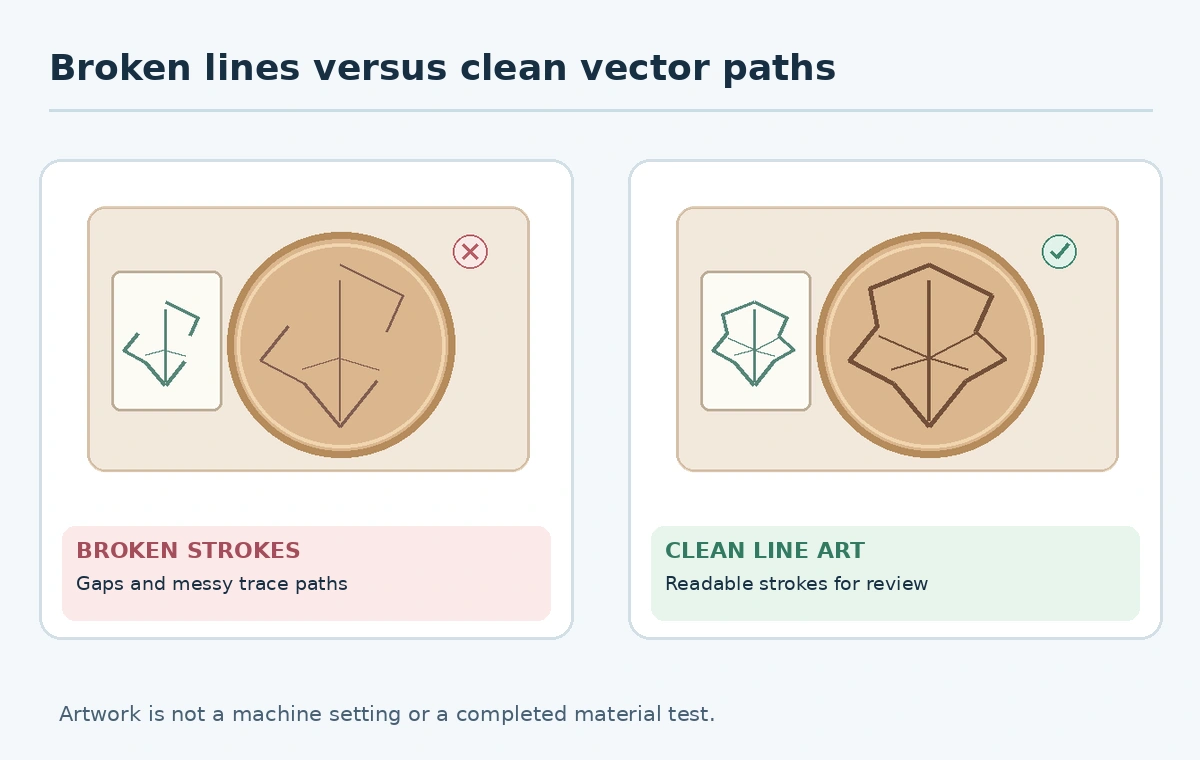
Inspect it at final product size rather than merely at 200 percent zoom. A thin vein that looks elegant on a monitor may vanish or merge into the outline during engraving. Trace over ambiguous corners manually and remove isolated specks. If you need filled shading rather than line marking, plan a raster-engraving workflow deliberately instead of pretending all dark pixels are cut paths.

Separate vector Line mode from raster Image mode
LightBurn’s layer-mode documentation explains that Line mode follows vector contours, whereas bitmap content uses image-engraving processing. A generated PNG is raster even when it visually resembles a pen illustration. Convert carefully with a trace tool if you need editable paths, and inspect the resulting nodes and open segments before assigning any machine operation.
The LightBurn image workflow describes image tracing for well-defined edges, while cautioning that results vary with content. Do not assume tracing a shaded source yields one clean contour. Decide which dark areas are paths and which should be scanned as a tonal image. A project may combine different modes, but every layer needs an explicitly reviewed operation.
Audit paths, scale and unintentional shapes
Zoom into each bend of the traced leaf. Look for overlapping duplicate paths, doubled borders, gaps, excessively dense nodes, and tiny free-floating islands. Convert or clean those in a vector editor rather than hoping they disappear during cutting. If a line must stay open, record that intent so a later operator does not “fix” the artwork by connecting endpoints that should remain separate.
Inspect the actual job in the machine software’s preview with correct physical units. Check that the coaster blank and design boundaries are aligned and that no forgotten construction rectangle is assigned to a cutting layer. A perimeter guide line intended only for placement can otherwise become an unwanted burn or cut. Keep a separate non-output layer or file for guides where the equipment software supports it.
Use the right contrast preparation for raster engraving
For artwork intentionally engraved as a grayscale raster, the Glowforge engraving guide recommends high-resolution source bitmaps, grayscale preparation, and strong contrast. It also notes the advantages of vector sources for scalable designs. Those are general image-preparation principles, not machine-specific settings transferable to every laser system. Confirm final line density and dithering against the software and material.
Test a small crop containing the thinnest vein and most closely spaced strokes. If nearby lines merge, simplify the art or ask the trained operator to adjust the approved job parameters. Do not compensate by guessing high-power settings. For unfamiliar or coated materials, confirm that the laser manufacturer explicitly permits the stock and that exhaust and supervision are appropriate.
Approve a small controlled material proof
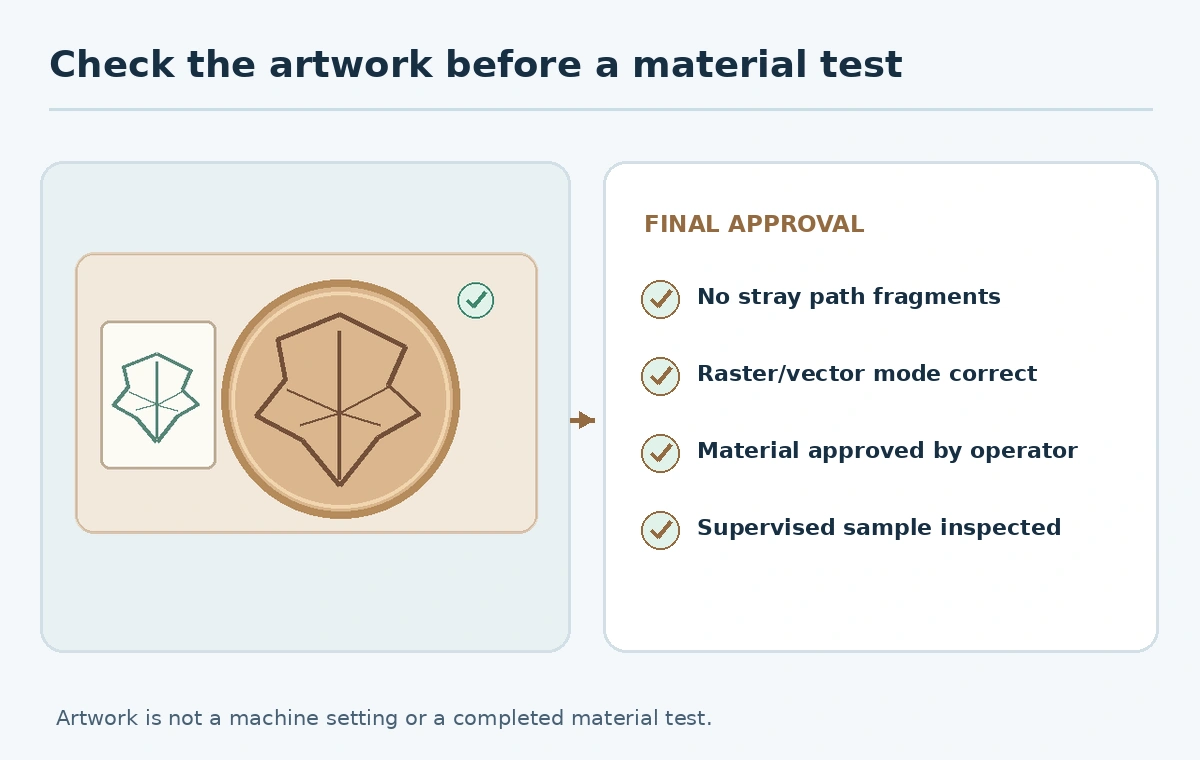
Before a full set of coasters, let a qualified operator perform a supervised sample using approved hardware procedures and ventilation. Inspect line continuity, scorch marks, registration, scale, surface finish, and whether the engraving remains readable without harsh contrast lighting. A digital image of a polished wood coaster is not evidence of real material behavior. Save the physical proof or a labeled photo of it with the material specifications.
The handoff should include source artwork, cleaned vector or raster output, intended physical size, machine-software preview, permitted material record, and signoff from the operator. Mark any image that is only a concept illustration. Recheck the process if the wood species, finish, machine, or lens changes. This keeps the design guide practical without pretending to certify laser safety remotely.
How We Research
We read LightBurn’s explanation of vector and image layer modes, its image-tracing documentation, and Glowforge’s preparation advice on October 27, 2026. The oak-leaf coaster and QC criteria are editorial examples. We did not operate a laser, test any substrate, certify settings, or assess machine safety.
Frequently Asked Questions
No. A raster file can look like line art; tracing or redrawing is required for true vector contours.
No. Line mode follows vector paths; raster images use image-processing modes.
Do not. Use approved material settings and qualified supervision for your exact machine.
Their real size, raster processing, spot width, and material response may merge or erase small detail.
Clean source art, correct file type, size, layer preview, approved material, and a verified sample record.