
A school garden trip produces dozens of similar images. An automated selection pass might prefer a crisp close-up of a shovel while overlooking a slightly soft frame showing the entire class planting its first seedlings. The close-up may look technically stronger, but it does not tell the same story. A photo editor needs both efficiency and a way to recover meaningful exceptions.
Adobe Lightroom documents Assisted Culling for analyzing images against selected preferences such as subject and eye focus. This walkthrough uses a fictional trip and drawn illustrative frames, not a measured benchmark of the feature. The goal is to make technical filtering a first pass, then protect documentary relevance, permissions, and source-file integrity before sharing photographs.
Keep a complete source set before any cull
Import the full shoot into a dedicated album and make sure the originals remain preserved. Include consecutive exposures and the quiet moments between planned poses; these often show the context behind an event. Give the album an event identifier and note who captured the images and which publication permissions have been confirmed. A missing consent record is a release issue, not a photography-quality score.
Before automatic review, identify a few non-negotiable story beats: the class arriving, a teacher explaining the planting depth, the first shared planting action, and a closing group view. Some will be technically imperfect. The editor should know these moments exist so a fast cull does not accidentally erase their only representation.
Start Assisted Culling using documented filters
In Lightroom desktop, Adobe describes opening an album and using Assisted Culling, then choosing Select or Reject criteria to begin analysis. Options can include subject focus and eye focus where applicable. These are tools for filtering candidates; not every garden photograph contains a face or has the same reason to be selected. Review supported options in the installed release.
Use narrow criteria for a first pass, such as rejecting obvious misfires while retaining images with clear action. Avoid stacking so many preferences that a documentary scene is discarded merely because it lacks a conventional portrait composition. Document the settings used, so another editor can understand why the short list looks different from the original contact sheet.
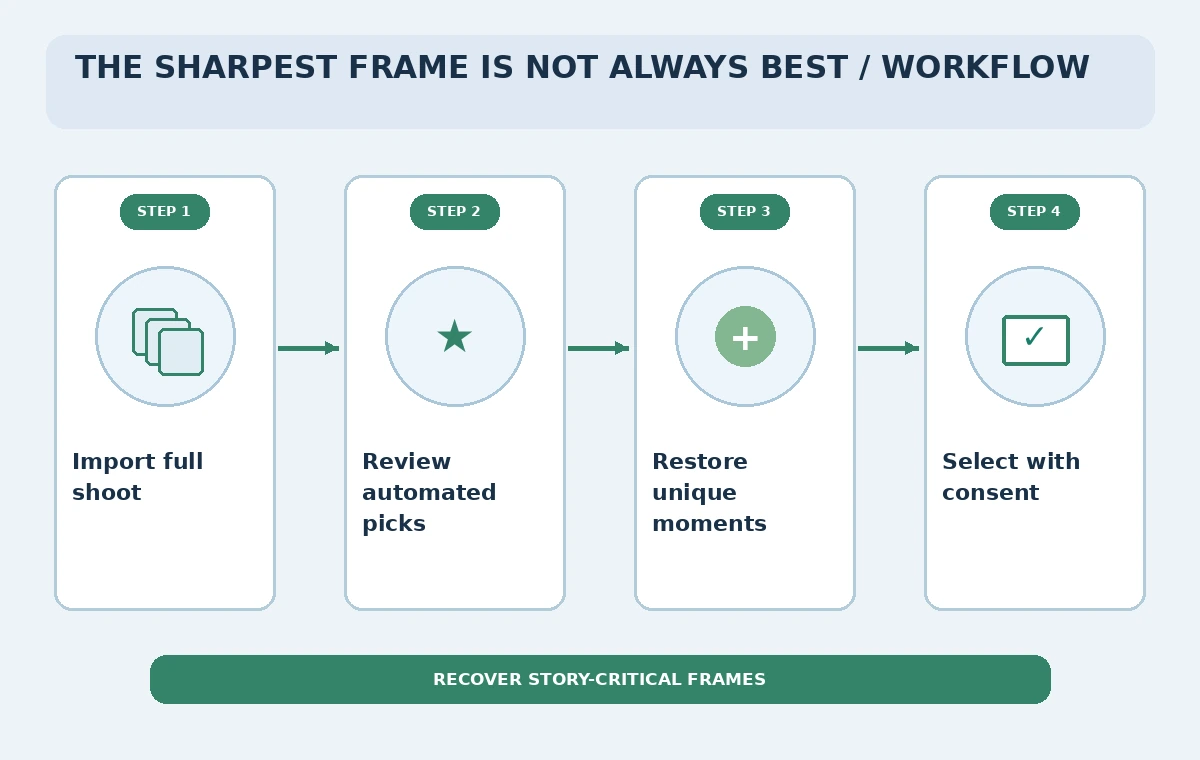
Compare the high-score frame with the important frame
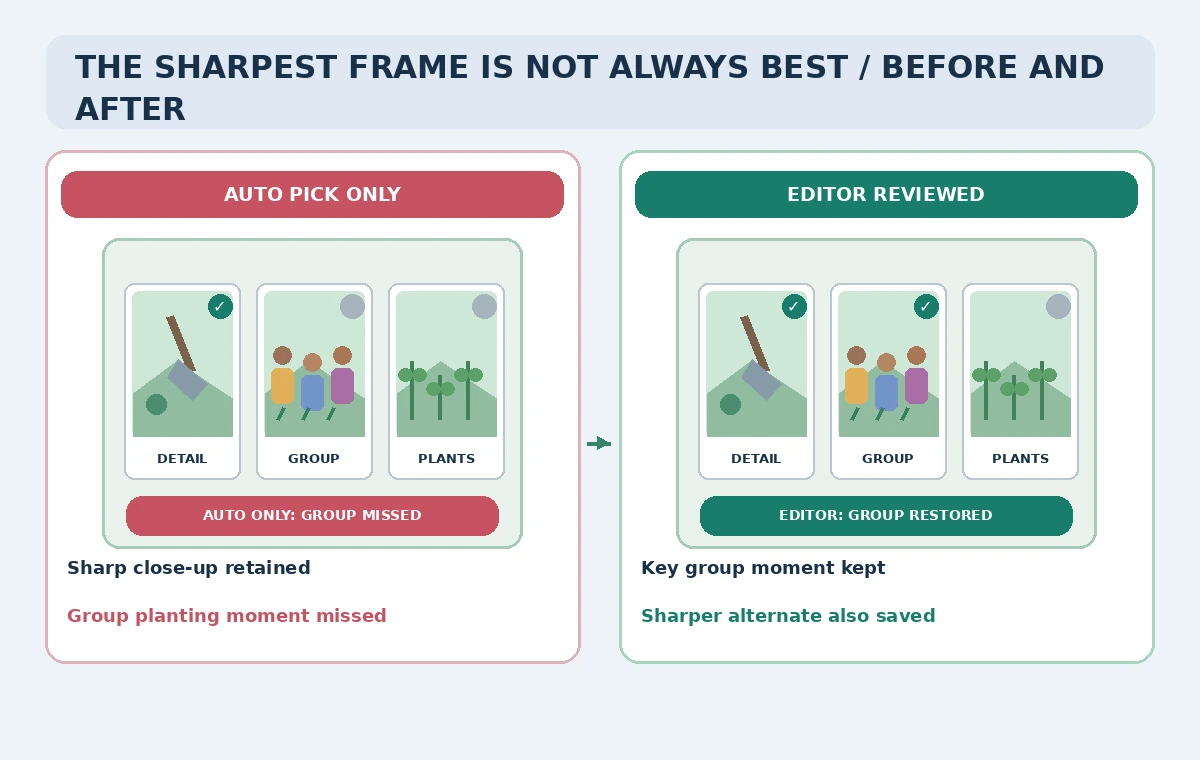
In the example, Frame A is a tack-sharp close-up of soil and a hand trowel. Frame B is slightly softer but shows eight students coordinating around a garden bed. Neither is a universal winner. If the publishing goal is to explain how the group planted together, Frame B may be the only image that supports that statement. A camera-quality ranking cannot answer the editorial question by itself.
The side-by-side visual comparison shows a fictional automatic-only selection and a human-revised shortlist. It is not a screenshot of Lightroom or a claim about how the model would score specific pixels. Keep at least one alternate for each major moment; if a single image is ambiguous, a second angle can help establish what actually happened.
Review rejects and near-duplicates manually
Open rejected and low-scored candidates at a useful zoom level. Check whether blur obscures critical details or simply communicates movement. Look for accidental blinking, distracting background faces, incorrect orientation, and mismatched sequences. A photo with technical issues can still have documentary value, while an immaculate photograph can omit the action needed for an accurate caption.
When a useful frame is near a burst of similar images, compare the sequence rather than choosing the first thumbnail with a favorable badge. Preserve metadata and sequence numbers so the published edit can be traced to the original capture. Avoid deleting source frames as a shortcut to making the album tidy.
Protect image integrity when adjusting the shortlist
Assisted Culling is a selection aid, not permission to invent content. Do not use generative edits to add missing seedlings, participants, safety equipment, or accomplishments that were not captured. If a frame needs a minor exposure or crop adjustment, keep an export and the original separately. Any crop should preserve enough surroundings to convey the action fairly.
Caption the selected image from event notes and source files rather than inferring identity, roles, or dates from appearance. If the exact event sequence is uncertain, confirm it with the organizer. The more a photograph is used as evidence of a real activity, the more important provenance becomes.
Balance faces, permission and storytelling
Check school and guardian permissions before external sharing and use the organization’s approved procedures for images of children. A technically perfect picture can still be unpublishable if consent is missing or the context is sensitive. Do not rely on the culling tool to know who may be shown. Give the editor a visible release-status column or separate controlled approval record.
When consent is uncertain, consider a different frame showing hands, tools, or the garden bed without identifiable faces, provided it still honestly depicts the event. Do not claim that a crop automatically solves privacy concerns; check the actual policy and the remaining visible details. Store approved exports in a location distinct from the review album.
Use a final visual inspection grid
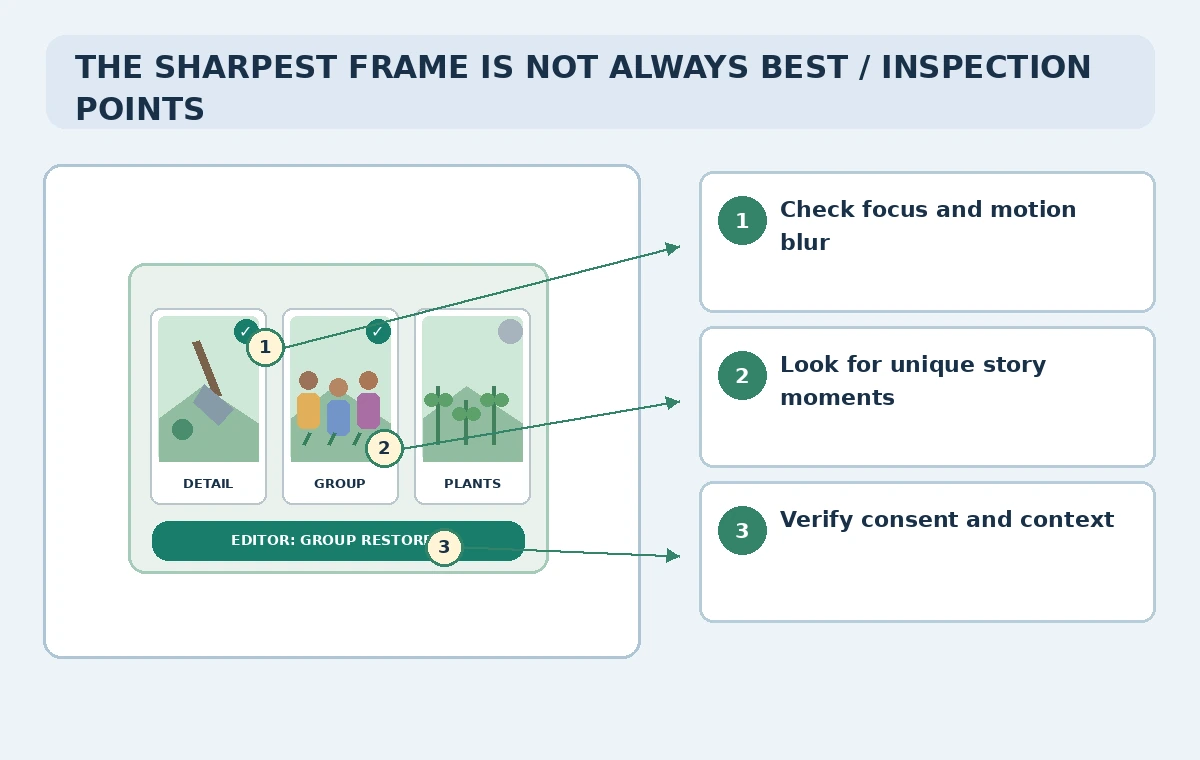
Compare the provisional short list against the event brief: do you have an overview, a clear planting step, a team moment, and a result shot? The checkpoint illustration points to focus, distinct subject matter, and documented permission. A good set can contain both a crisp detail photograph and a softer unique moment when each serves a defined purpose.
Inspect images at intended publication size. A photo that appears acceptable as a tiny thumbnail might show motion blur or a misleading crop at full width. Confirm that every caption refers to its actual frame and that the image sequence does not imply a different order of events. This check should happen even after automated review passes.
Evaluate assisted culling against your actual shoots
Choose a small, consent-safe shoot with diverse scenes and compare the assisted shortlist to a human-curated reference. Note missed story moments, repetitive picks, and time required to review rejects. Do not publish an invented accuracy percentage or imply this walkthrough tested Adobe’s selection algorithm; the criteria and outcomes here are explanatory.
If review costs more time than it saves for a particular event type, adjust the filters or use manual selection. Before scaling up, check Lightroom plan and platform availability, team asset permissions, and export requirements. The measurable success condition is an accurate, usable story set—not simply fewer thumbnails in the album.
How We Research
For our November 5, 2026 documentation review, we consulted these named official sources: Adobe: Choose the best photos with Assisted Culling; Adobe: Organize photos in Lightroom; Adobe: Export photos from Lightroom. We compared vendor-described features, access prerequisites, and limitations with the steps of a carefully scoped fictional scenario, emphasizing which observations require verification. We did not sign in to a paid account, process private data, run uploaded code, select a real school photo, search an actual organization, deliver an email, or measure performance. The images are original instructional drawings, not screenshots or evidence of tests. Product versions, supported plans, data permissions, and legal obligations can change; verify current vendor help and organizational policy before adopting any step.
Frequently Asked Questions
No. It filters candidates using specified criteria; a person still chooses the story and checks release requirements.
Yes, if it is uniquely important and still represents the event accurately. Review suitability at publication size.
Do not assume it will. Consent and publication rights require a separate verified process.
Keep originals and source metadata until the organization’s retention process allows removal.
No. The illustrated photo sequence is fictional, not a measured software test.