
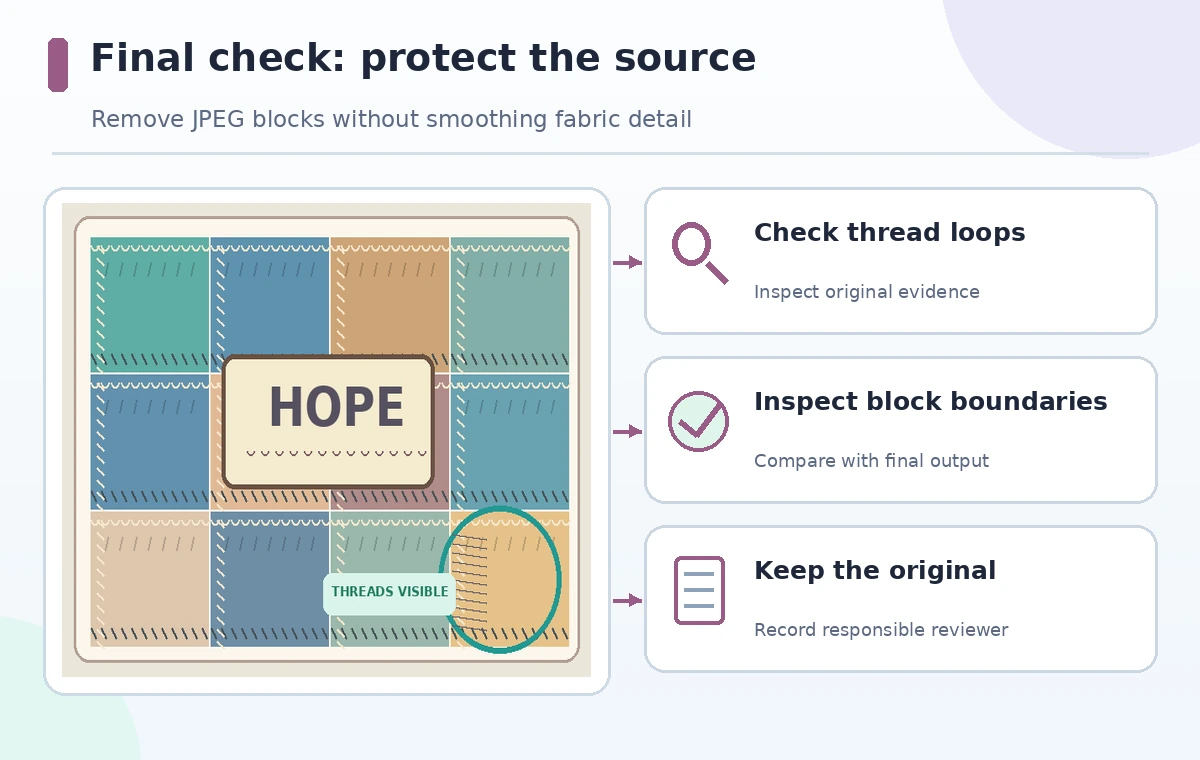
A community auction coordinator receives a heavily compressed photograph of a handmade quilt. The picture looks acceptable at thumbnail size, but blocky JPEG patterns appear around each patch and the embroidered lettering. Photoshop’s JPEG Artifacts Removal can reduce visible compression damage; it cannot reconstruct threads that were never captured. The practical goal is a more readable catalog image, not a fabricated restoration of the maker’s work. In this hypothetical workflow, a reviewer compares the original and processed crop at the same scale, checks the seam geometry, and preserves the untouched file before releasing a new export. The illustrations are teaching diagrams, not real Photoshop processing results.
Separate compression damage from actual textile detail
Begin by zooming into a seam where dark thread meets light fabric. Blocky square edges, mosquito-like halos around lettering, and flat patches across smooth color fields suggest JPEG compression. Individual stitch loops, needle holes, frayed fibers, and fabric grain are part of the object, not flaws to erase. If the only source is a small social-media copy, ask the quilt owner for the original camera file or a fresh, permissioned photograph. Record its pixel dimensions and whether it was previously resized. An AI cleanup tool should be a last-mile repair step, not a substitute for obtaining better evidence. Decide which details a buyer must recognize before editing.
Prepare a reversible comparison inside Photoshop
Duplicate the photograph or open it as a new document and save a working copy. Adobe documents JPEG Artifacts Removal as a quick action in the Discover panel and as a Neural Filter with Low, Medium, and High strength options. If the filter needs an initial download, allow that only on an approved workstation. The quick action can create a corrected layer while preserving the original. Name the layers clearly, and make a separate crop centered on an embroidered word and another on a solid fabric patch. Compare like-for-like pixels rather than a resized browser preview. Avoid painting over uncertainty or claiming that the filter identified the true historical stitching.

Choose strength by evidence instead of maximum sharpness
Apply the medium setting as a starting comparison, then inspect the same two crops at 100 percent. Low may retain distracting blocks; High may look cleaner from a distance while removing fine thread texture. Adobe explicitly warns that stronger reduction can soften intricate details, including fabric weave. Rather than turning every control up, toggle the processed layer on and off, then test a lower setting if stitch edges become broad or plastic. Keep a narrow review note: which artifact was reduced and which original feature may have changed. If a patch contains important text, treat letter shape as fixed evidence. A pleasant-looking image can still be an inaccurate catalog image.
Handle embroidery and printed labels differently
The edge of an embroidered letter may consist of many small thread segments that vary in direction. Those segments cannot be evaluated like straight vector type. Inspect curves, intersections, and the inside of closed letters for merged gaps. Printed maker labels often have much sharper boundaries; examine whether tiny digits, dates, or initials changed legibility after filtering. Never type a guessed label back onto the photograph and present it as recovered information. If the text is unreadable, include a verified transcription beside the image only if the maker or catalog record supplies it. The visible photograph and the written catalog description serve different evidentiary roles and should not silently replace each other.
Inspect the background for subtle artificial texture
Large fabric panels and the tabletop around the quilt are useful diagnostic areas. JPEG ringing around a dark seam can resemble a pale outline; reducing it may improve the image. At the same time, some processing choices flatten neighboring fibers or make repeated patterns overly uniform. Compare a shadow corner, a bright patch, and a diagonal seam so a single attractive crop does not dominate judgment. Use matched zoom, screen brightness, and viewing conditions. If the piece has a complex woven surface, prioritize a clean original photograph over increasingly strong correction. Record any remaining artifacts in a private editorial note rather than making a confident claim about a restoration that did not occur.

Create a transparent before-and-after proof
A fair comparison shows identical image regions at the same resolution, with processing noted in the image caption outside the artwork. Do not place the original at 200 percent and the repaired image at 50 percent, because the result would appear better solely due to scale. For a buyer-facing page, use the reviewed version as the primary image but retain the original for the maker and catalog editor. The schematic graphic in this article contrasts hypothetical block noise and hypothetically softened stitches; it does not represent measurements made with Photoshop. If the repair compromises the embroidered name, publish the original or request a new photograph. Preservation of the craft is more important than a smooth-looking background.
Check export behavior and rights before publication
Export an appropriately sized catalog copy and reopen it, since a second aggressive JPEG compression can reintroduce visible squares. Review at the actual layout size and on a phone display, especially where small text appears. Confirm color handling has not shifted the patch palette, and keep the original filename and attribution in the media record. The photographer and quilt maker may have separate rights; obtain publication permission instead of assuming an image editor grants it. Alternative text should describe the quilt and any verified details, not claim that neural filtering repaired missing stitches. Preserve the source, revised file, export settings, and reviewer sign-off as a small audit trail.
Decide when not to use neural cleanup
Skip the filter if the source is already sharp or if a two-step resize and re-export would do more harm than leaving mild compression blocks. For particularly fine embroidery, a clean photographic re-shoot with controlled lighting and focus is often safer. The tool also cannot fix motion blur, inaccurate white balance, or an unrecorded part of the quilt. Document the limits in plain language to the catalog team: the image may look cleaner, but no missing seam, maker mark, or provenance was reconstructed. The release decision belongs to a person who can compare the artifact with the original object or a reliable photograph.
How We Research
We reviewed Adobe’s JPEG artifacts removal quick action, its known Neural Filters limitations, and the filter gallery for supported controls, versions, and texture-loss cautions. This article proposes a review method for an imaginary auction photograph; we did not process a real quilt image or perform a controlled image-quality benchmark. Availability, device performance, and feature names can change.
Frequently Asked Questions
No. It can reduce compression artifacts but cannot verify or restore thread paths absent from the recorded source.
Adobe documents a Discover-panel quick action and Filter > Neural Filters > JPEG Artifacts Removal with Low, Medium, and High strength options.
No. Adobe warns that aggressive correction can soften fabric weave, hair, and other intricate details.
No. Keep an untouched source and review an edited copy or layer, then export a distinct final file.
No. Verify stitch shapes, lettering, color, permissions, and the actual exported image before using it.