
A museum team needs a wider photograph for a folded visitor brochure. The available gallery image shows a doorway labeled EXIT 2 near its right edge, and the design frame requires additional space on both sides. Adobe InDesign Generative Expand can synthesize background beyond an image’s existing border, but a new painted wall, doorway, or sign may look plausible without being real. This hypothetical workflow protects the original exit label and treats generated edge content as a visual composition, not documentary evidence. The illustrated comparison uses invented gallery geometry and is not a screenshot or measured InDesign output. The editor verifies the frame, critical signage, and print proof before allowing the generated image into public-facing visitor materials.
Establish which pixels are factual
Identify every element in the original gallery photograph that carries factual information: exit labels, accessible-route signs, object captions, room numbers, and directional arrows. Keep the unedited photograph and a copy of its source attribution. If the brochure’s purpose is practical visitor wayfinding, consider using a different real photograph or a plain background rather than generating new architectural details. When extending a decorative gallery photograph, mark the outer strips as design filler and avoid placing operational labels inside generated areas. Confirm that the original image is licensed for brochure use. A content-generation tool does not grant permission to change a museum’s representation of its physical space.
Fit the frame before generating new content
Adobe’s InDesign documentation describes Generative Expand for filling empty space when a placed image is smaller than its frame. Place the image, enlarge the image frame, then use Generative Expand from the Contextual Task Bar or the Generate controls. Adobe notes the need for an internet connection because processing is cloud-based, and says the feature is not available in mainland China. Confirm your installed version and enabled services before designing around it. Do not begin by stretching the photo itself: that distorts door proportions and wall art. Instead, create a well-defined empty margin that the generative function can fill while the original subject remains protected.
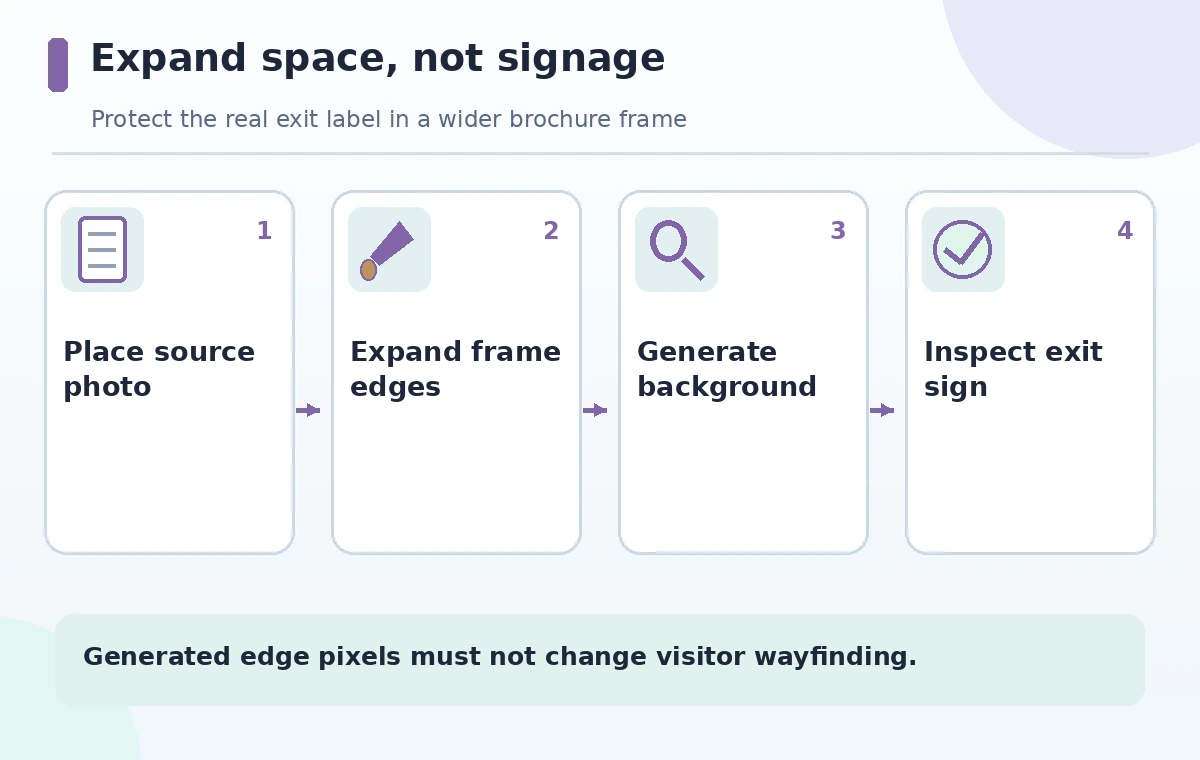
Keep the original exit sign out of the generated margin
Reposition the source photo so EXIT 2 and the door remain entirely inside the original pixels. If the label touches the expansion boundary, change the crop or select a different image; the model may invent extensions that resemble letters. Avoid prompts such as ‘add museum corridors and signs,’ which invite the system to create operational features. Prefer a minimal background continuation—neutral wall, floor, or soft light—subject to curatorial approval. Compare the generated version with a transparent overlay of the original crop and watch for altered sign color, number, arrow direction, or door configuration. For a visitor brochure, even a minor invented label can convey false wayfinding information.
Generate several variations without assuming realism
Use Generate to produce candidates and inspect each variation at a useful zoom. Adobe documents variation arrows for selecting between results; the chosen variation replaces the image in the current workflow. Save the original separately rather than relying on a single undo step. Compare how the floor lines meet the source boundary, whether lighting changes abruptly, and whether a new wall feature has appeared. In a purely decorative brochure hero, a subtle texture discontinuity may be fixable in layout. But a false exit icon or duplicated directional plaque is not an acceptable artistic flourish. Reject candidates that introduce plausible but nonexistent spatial cues.
Watch the specific rotated-image limitation
Adobe cautions that Generative Expand does not function correctly on rotated images. This matters when a brochure design uses a tilted photo collage or angled panel. Perform expansion on an unrotated placed image first, inspect and approve the result, and only then apply layout rotation if the composition requires it. Do not troubleshoot inconsistent edges by repeatedly increasing prompt detail while keeping the unsupported rotated setup. A stable workflow separates image generation from final graphic treatment. Confirm that the crop visible in the working spread matches the approved image and that no extra signage enters the visible bleed after rotation.
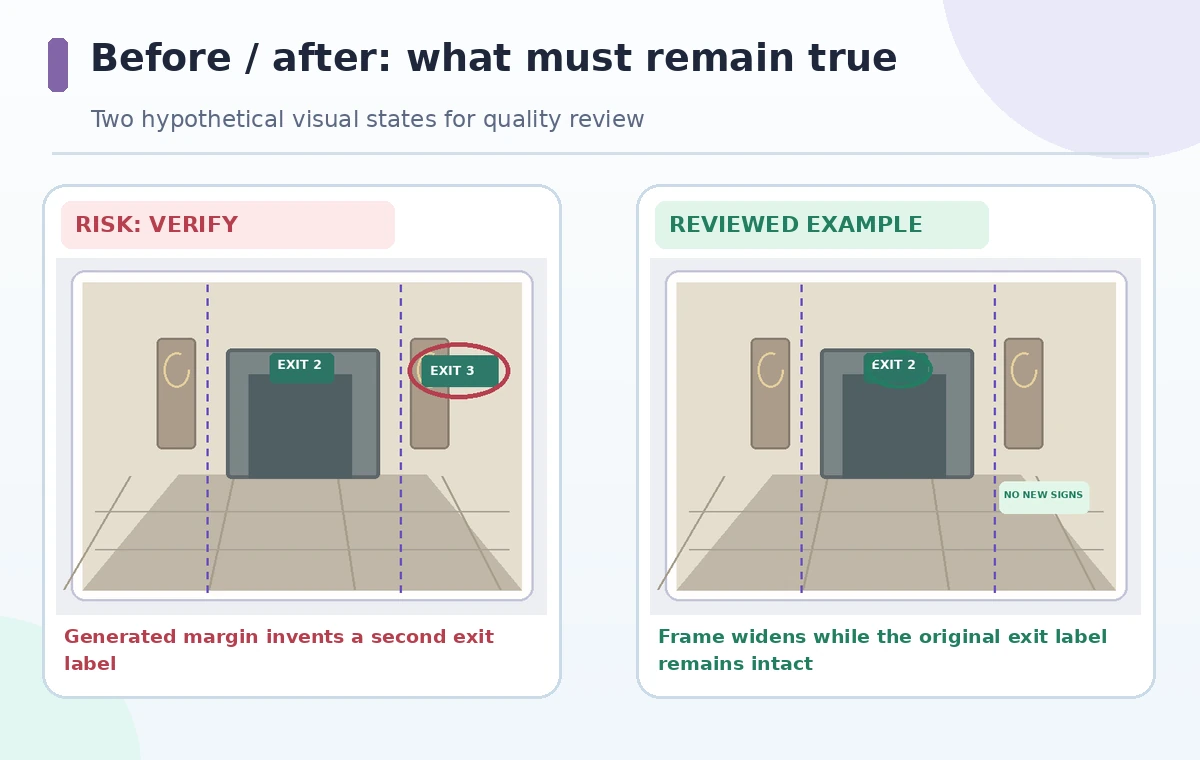
Inspect seams and repeated architecture
At full view, scan the generated left and right margins for repeated columns, shifted floor tiles, changing grout lines, impossible door frames, or duplicated wall labels. Zoom in where original pixels meet generated ones; compare color balance and perspective rather than judging only the overall mood. If a new pictogram resembles a safety symbol, remove it by choosing another variation or use a more neutral layout solution. The accompanying comparison deliberately shows a fictional extra EXIT 3 label as a design error, not a real outcome of InDesign. The proof standard is simple: generated material must never become mistaken for a real museum room feature in a visitor-information piece.
Prepare export and physical print checks
Confirm trim, margins, and bleed with the printer’s specifications; do not assume a particular bleed size without the actual job ticket. Open the exported PDF and inspect the entire image across fold lines. A gallery photo may be split between panels, making a seemingly harmless generated edge appear to continue into another room. Test at print scale to see whether the original EXIT 2 text remains legible and whether new shapes resemble competing directions. Ask the museum’s visitor-services reviewer to inspect the proof, not just the designer. Archive the source photo, approved expansion, exported PDF, and a note that edge content was generated.
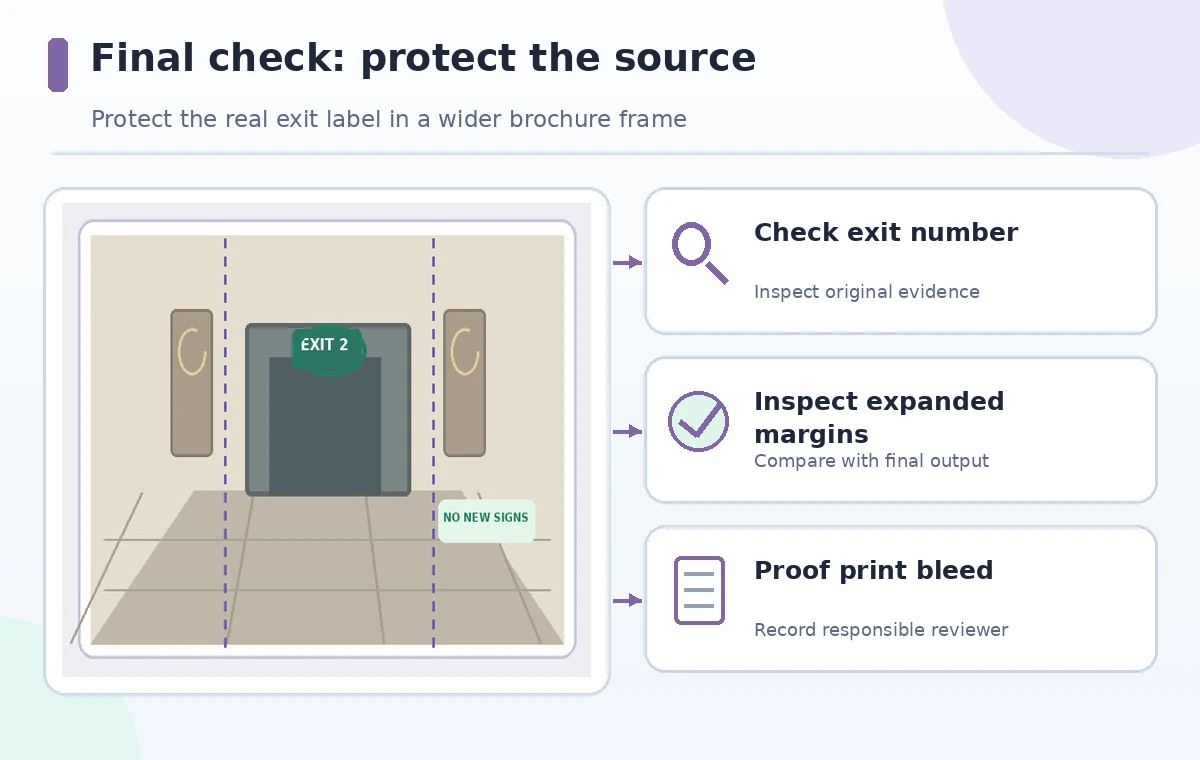
Choose a non-generative layout when risk is high
If the only composition requires inventing corridors, safety signs, doors, or object descriptions, use a wider real photograph, a deliberate crop, or a graphic background instead. A safe expansion can supply neutral visual space for a heading, but it cannot certify what exists outside the camera frame. Keep generated areas free of factual claims and do not label the output as a documentary panorama. Record who approved the visual change and whether any museum-specific disclosure is required. The final release gate is not ‘looks realistic’; it is that factual signage, wayfinding, licenses, and print geometry survive review unchanged.
How We Research
We checked Adobe’s InDesign Generative Expand instructions, feature overview, and generative AI FAQ for frame workflow, cloud processing, rotation limits and availability. The museum and EXIT 2/EXIT 3 example are illustrative; we did not generate or print an actual brochure. Printer-specific bleed and venue signage must be checked with the appropriate owner.
Frequently Asked Questions
No. It synthesizes content to fill the frame; it is not documentary recovery.
Adobe documents the Contextual Task Bar and Generate controls after selecting a placed image with empty frame space.
Adobe warns that it does not work correctly on rotated images. Generate first, then compose the rotated layout.
Yes. Adobe says Generative Expand uses cloud processing and requires an internet connection.
Protect genuine signs, compare margins and perspective, and obtain a venue review of the printed proof.