
A neighborhood maker shop photographs a row of jam jars on a display shelf. A torn piece of cardboard behind the jars distracts from the scene, but the product labels and ingredient text must remain intact. Photoshop Generative Fill can replace content within a selected area, making a background repair possible without recreating the entire photograph. The challenge is specifying a conservative region and catching changes at its edges. This fictional walkthrough treats generated pixels as a visual suggestion rather than documentary evidence. It protects the original image, compares versions, and keeps product claims anchored to the actual packaging.
Choose which parts of the photo can legitimately change
Write down the editing boundary before touching the image. In the example, the repair area is torn cardboard behind a fixed row of jars. The jar rims, labels, dates, ingredient statements, glass reflections, and contact shadows are protected. If a photographer lacks permission to change a commercial image or the marketplace requires unedited evidence, obtain approval first. Saving the original and noting the intended cosmetic change helps avoid later confusion about which file reflects the actual display. Do not ask a model to make a partly obscured ingredient list readable: that would be inventing information rather than restoring a known fact.
Make a precise selection with room for natural blending
Adobe’s Photoshop selection documentation describes using a selection tool before Generative Fill and then generating variations for the chosen region. Duplicate the layer or save a versioned working file first. Outline the ripped backdrop rather than selecting the entire jar scene. Leave an appropriately small edge for background blending while excluding visible text and the real contact surfaces of the jars. If a reflective curve crosses the selection, zoom in and refine it before generation. This is more predictable than a broad prompt such as ‘make this product photo professional,’ which may invite changes to composition, typography, or object identity that an advertiser cannot truthfully support.
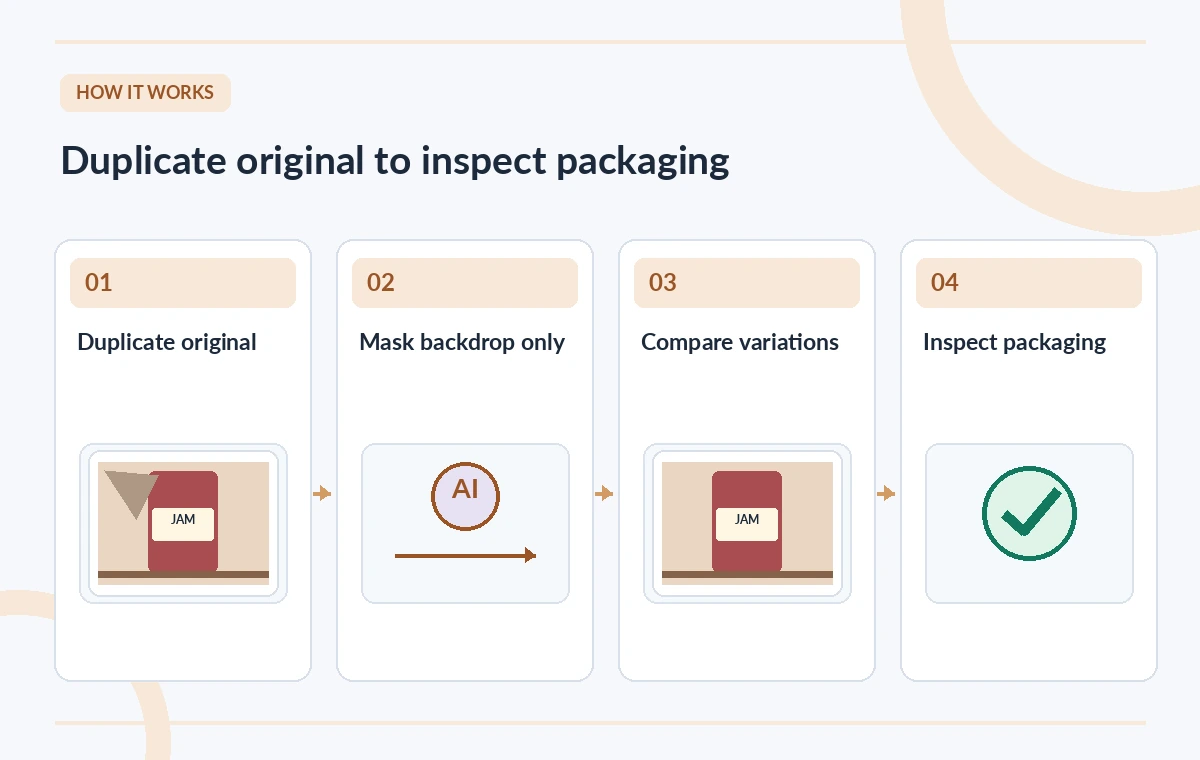
Prompt for the missing background, not a new product
Describe the intended continuation of the existing shelf wall in neutral terms: ‘Continue the plain warm-gray cardboard backdrop, matching its texture and lighting; no new objects or text.’ The exact model selector can vary by Photoshop release; Adobe’s August 2026 guide describes selection-based Generative Fill and a Firefly model picker. Generate candidates only inside the selection. The source photograph remains the authority for colors and packaging, while the text prompt helps constrain the background. Keep a separate copy of each promising variation and reject changes that create fictitious fixtures, reflections, or brand-looking markings near the merchandise.
Compare the edge failure with a restrained repair
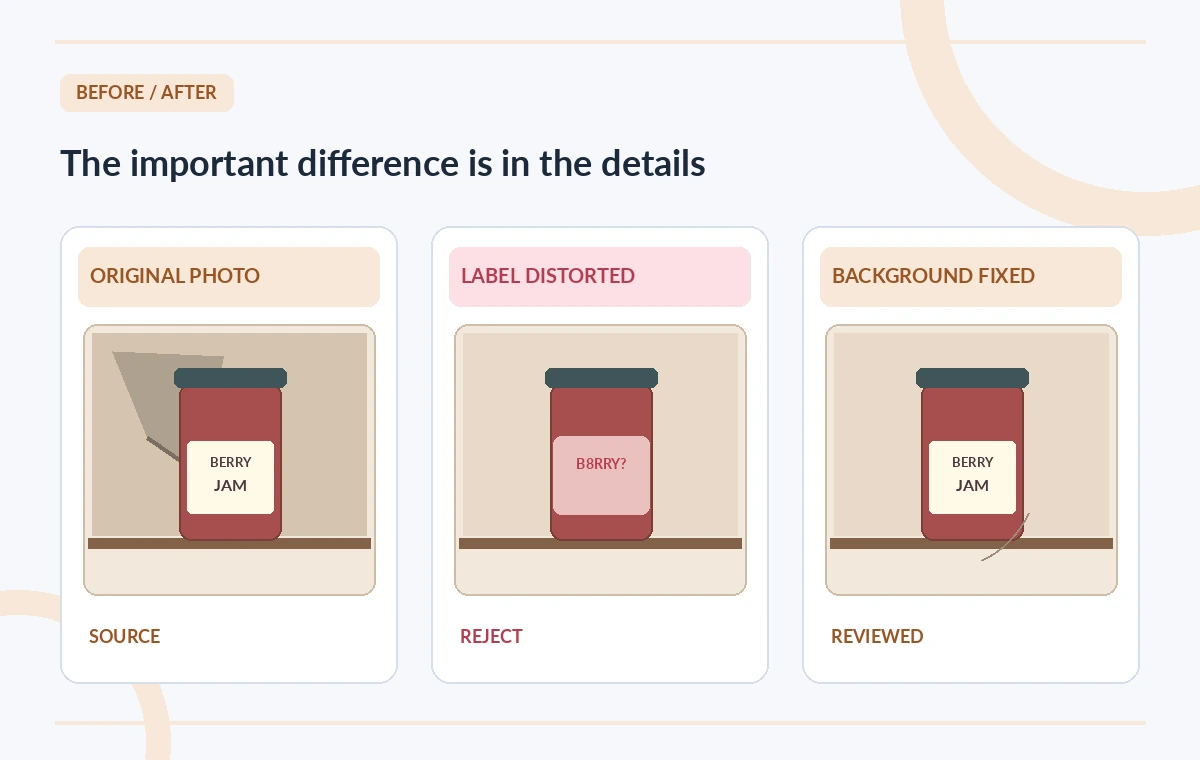
The three-panel diagram is illustrative, not a set of actual Photoshop screenshots. It contrasts torn cardboard in the original with a failed candidate in which the jar’s label edge was redrawn, then with a narrowly repaired wall where the label remains unchanged. A visually smooth background can still be unacceptable if it erases a barcode, shifts a date, or replaces a tiny trademark glyph. Evaluate the result at the full resolution of the final listing rather than trusting the fit-to-screen view. Use the original as a toggle reference and check that any claims visible in the image were actually present in the captured product.
Inspect shadows, glass, and repeated textures separately
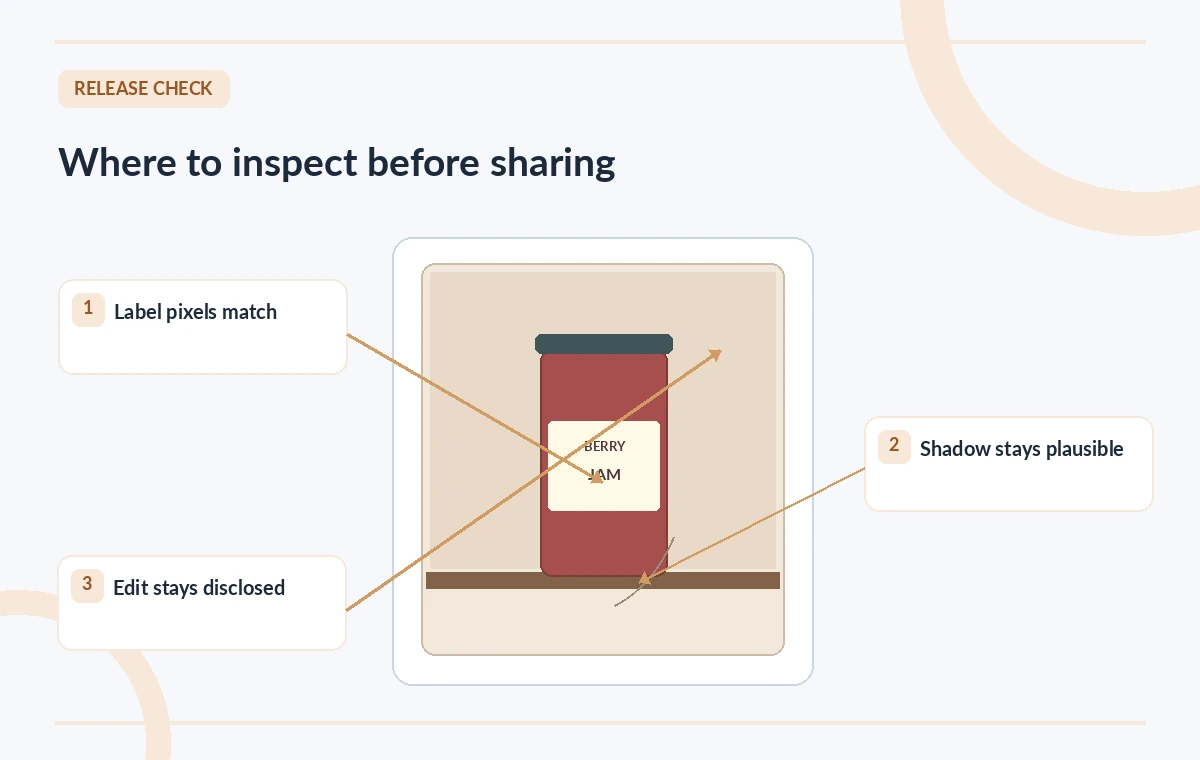
Generative Fill often needs a close look at the subtle cues that make a shelf scene credible. Trace the line where each jar contacts the shelf and confirm there is a consistent shadow direction. Look for doubled glass rims, repeated knots in cardboard texture, unsupported highlights, and a suspicious hard line where the new patch meets the old wall. If any of these defects enter the protected region, back up and tighten the mask. Consider a non-generative clone, healing, or manual texture repair when the task is small. The most responsible technique is the one that preserves the most trustworthy source detail, not necessarily the most automated one.
Build a reversible approval package
Retain the source, layered working document, and export in separately named versions. Add a brief edit note that identifies the replaced background region and the reviewer who checked label integrity. If the photo is used to represent a product sold online, follow the publisher’s rules about image alterations and disclose substantial generated changes when appropriate. An approval view can place original and final side by side and include a close-up of the exact label, expiration date, and shadow. Avoid baking new product specifications into the image: they belong in verified catalog data that can be corrected independently.
Watch for model availability and generative credits
Photoshop’s available generative models and credits are account- and release-dependent, and features may differ between desktop and web. The official documentation describes a model choice and generated variations, but it does not justify promising a particular result, instant render, or zero-cost workflow. Work on an appropriately licensed device and verify current subscription terms. For training, use a fictitious package label to avoid reproducing a real brand’s commercial artwork. If an edit requires an external cloud process, review your organization’s policies before uploading confidential, unreleased packaging or products with sensitive launch information.
Release only after a factual pixel review
A final checklist should cover source retention, mask boundaries, lettering, ingredient statements, reflections, shadows, color balance, and export dimensions. Compare the actual jar and label area pixel by pixel where practical, not just by memory. Record anything intentionally changed so another editor can revisit it. If an unavoidable generated alteration affects a regulated or safety-relevant label, reject that candidate and redo the operation with a smaller selection. Treat the background repair as an aesthetic edit, not a method for authenticating products. The article uses invented imagery and does not claim a measured Photoshop performance rate or a live retail photo test.
How We Research
We consulted Adobe’s official Use selections for generative editing guide (updated August 28, 2026) and Generate similar variations documentation for selection, model choice and iterative review. The retail scene and before/after illustrations are conceptual, not product photographs or actual Photoshop outputs; no real labels were evaluated.
Frequently Asked Questions
Adobe documents selection-based generative editing. The mask provides control, although the boundary and nearby details still require inspection.
No, not when preserving them is the goal. Exclude real packaging text and compare the final against the original.
No. Check contact shadows, glass reflections, label geometry and accidental new objects.
Do not treat generated text as a factual reconstruction. Use the product source or verified catalog information.
Availability and credit requirements vary with plan, model and platform. Check Adobe’s current eligibility information.