
An editor may say “make this picture larger” when the real problem is whether the original detail can remain trustworthy. Adobe provides at least two workflows: Camera Raw Super Resolution and Photoshop Generative Upscale. These have different interfaces and options, and they should not be treated as interchangeable one-click repairs. This comparison gives a decision tree for a cropped editorial photograph, a product image containing text and a creative background intended for print. It also separates a documented 2x linear increase from claims about image quality.
Identify whether the source is evidence or creative artwork
Ask how the enlarged image will be used. A product label or documentary photograph has a strict fidelity requirement; an imaginary background for a game may allow creative invention. Keep the original image, note its pixel dimensions, and list details that must remain unchanged. If a photograph contains a serial number, diagram or safety label, an AI model must not be trusted to redraw it accurately.
Before choosing a feature, calculate the destination width and height in pixels. Some images already contain sufficient pixels for their on-page size and need only appropriate export settings. Increasing apparent sharpness is not the same as restoring actual historical information. If the input is deeply blurred, a higher-resolution canvas can still contain hallucinated edges.
What Camera Raw Super Resolution actually changes
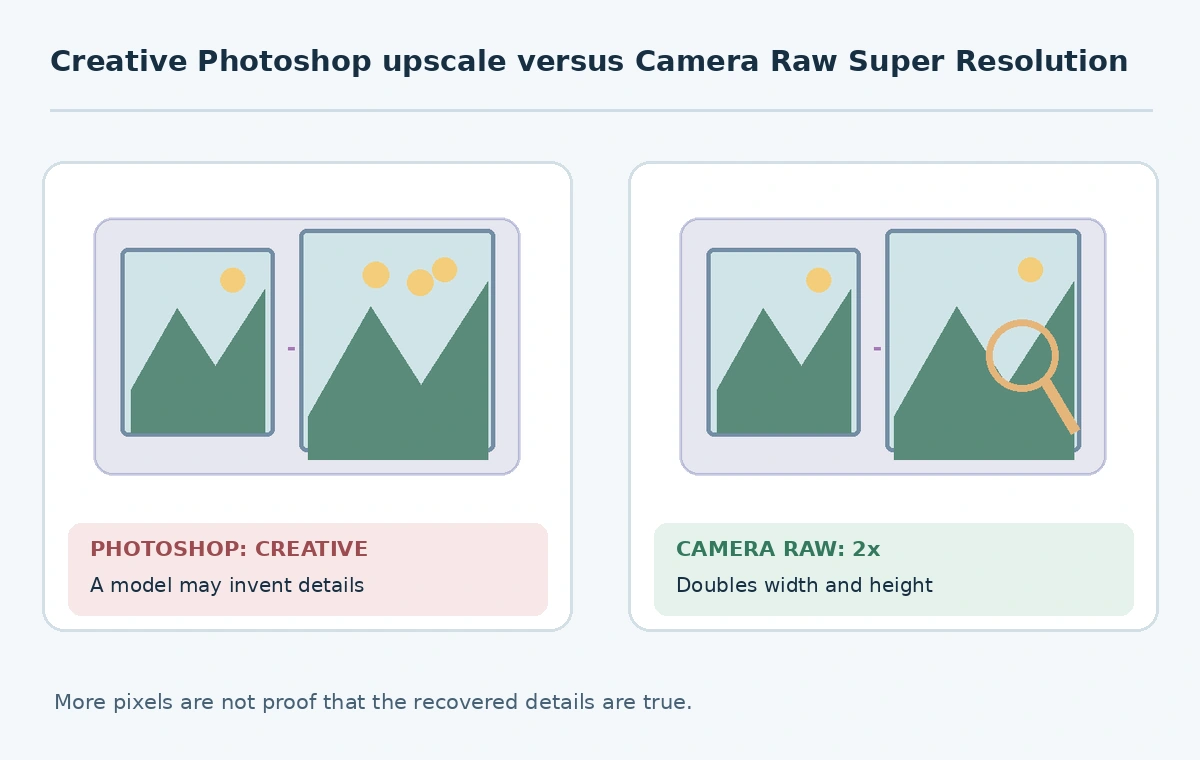
Adobe’s Camera Raw documentation states that Super Resolution creates a file with twice the original width and height—four times as many pixels. For example, a conceptual 1000-by-800-pixel photograph would become 2000 by 1600. The arithmetic describes output dimensions, not a guaranteed fourfold increase in authentic information or measured visual quality.
Camera Raw also offers Raw Details and Denoise, which solve different problems. Select the feature suited to the source. Do not assume that an enlargement fixes color noise, focus mistakes or inaccurate content. This method is often a practical starting point when the goal is a conservative photo workflow with known dimensions and careful proofing.

Understand Photoshop Generative Upscale options
In Photoshop, Adobe documents Image > Generative Upscale and 2x or 4x scale choices. The referenced page identifies model options with different purposes: Firefly Upscaler, Topaz Gigapixel aimed at preserving existing detail, and Topaz Bloom intended to introduce creative detail. Some options require premium access and may impose model-specific output-size limits.
That is more choice than a simple “AI upscaler” label suggests. Before spending credits, decide whether added detail is permissible. For a brand bottle, do not choose an imaginative model that may synthesize a fictitious ingredient line. For a fantasy landscape, newly generated texture may be part of the brief, provided it is not represented as an actual location.
Use a content-based method-selection matrix
Use three rows rather than one overall ranking. First row: an archival photo with recognizable objects—prefer a faithful method and compare features to the source. Second: a product graphic with tiny lettering—keep the label as original or rebuild it with authentic typography on a separate layer; reject generated letters. Third: a conceptual illustration—creative detail may be acceptable if it fits the artwork. Put the intended use, approved method and reviewer next to each row.
If you choose the Photoshop path, record the model, requested factor and final pixel size. If you choose Camera Raw, record that its documented Super Resolution step is 2x by each dimension. Avoid implying that the two methods were benchmarked here. They address overlapping needs but output quality varies with the source, processing model and acceptance threshold.
Build a reliable side-by-side proof
Prepare matching crops from original and enlarged images at the same on-screen display size. Inspect the edges of a window frame, the repeated weave in fabric, and any typography. A model may introduce crisp but incorrect patterns that are not visible when the output is reduced to fit the screen. Zoom far enough to see such changes, then return to the final publication scale to assess readability.
Keep a third panel showing a normal non-generative enlargement where useful. It helps distinguish new synthesized structure from the mere effects of resampling. Do not score an untested method as “98 percent accurate” or attach synthetic performance charts. A simple defect log—changed text, doubled object, smeared edge—provides more decision value than fabricated measurements.

Check billing, hardware and file handling
Camera Raw enhancement availability depends on supported file formats and system requirements; consult Adobe’s feature guidance. Photoshop Generative Upscale model availability, premium status and limits should be read from its current panel. Do not assume the same processing price or entitlement for every model or subscription.
Store an original, a working copy and the selected final export separately. Keep metadata and permissions associated with the source rather than assuming all embedded information survives conversion. A model selection that works for a web banner may be inappropriate for a print proof where exact brand marks or repeat patterns matter.
Use a final-size acceptance checklist
Before approving the larger file, verify its measured dimensions, the required crop and any output-size limits. Check text character by character, trace hard edges and examine the same natural texture in the original. Look for new windows, doubled fingers, reconstructed handwriting or impossible seams. When factual details matter, stop at the most conservative acceptable version rather than preferring the most dramatic enhancement.
Record the decision in a one-line asset note: “Camera Raw Super Resolution for crop enlargement, checked label unchanged,” or “Photoshop creative upscale on fictional background, detail invention allowed.” The editor should be able to identify which pixels came from a source and which results were model-generated. This is a defensible workflow without pretending an image upscale proves the pictured facts.
How We Research
We examined Adobe’s Camera Raw Super Resolution documentation, Photoshop Generative Upscale guide, and Lightroom Enhance overview on October 27, 2026. The sample pixel arithmetic is illustrative; no hands-on fidelity benchmark or paid model comparison is claimed.
Frequently Asked Questions
It doubles width and height, producing four times the pixel count, not twice the count.
No. Enlargement and model-added texture do not establish factual recovery.
Use conservative enlargement and preserve or re-create legitimate text as editable typography.
No. Adobe lists model-dependent purpose, premium access and size restrictions.
Compare matching crops, audit any factual lettering, inspect sharp edges and proof at destination size.