
A background remover is only useful if the cutout holds up against the colors and layouts where customers will actually see it. Pixelcut can remove a background automatically and lets editors refine difficult edges, but a successful preview does not prove the exported file is transparent or accurate. This guide turns one product photo into a checked master cutout and then scales that process to a batch without confusing a polished image with a truthful product record.
Photograph the product for separation, not just beauty
Choose a high-resolution original whose edges are in focus and whose lighting does not disappear into the background. A black shoe on a nearly black rug is much harder to separate than the same item against a light neutral surface. If possible, leave visible clearance around protruding handles, straps and lace ends. Avoid motion blur and excessive shadow underneath clear objects.
Record what must remain true: material texture, actual surface color, the number of pieces included and the label shape. Do not “fix” a cutout by painting away legitimate holes, handles or transparent portions. The acceptance test is not “looks seamless on white”; it is “remains accurate on white, dark gray and a checkerboard that exposes transparency.”
Use automatic removal as a first pass
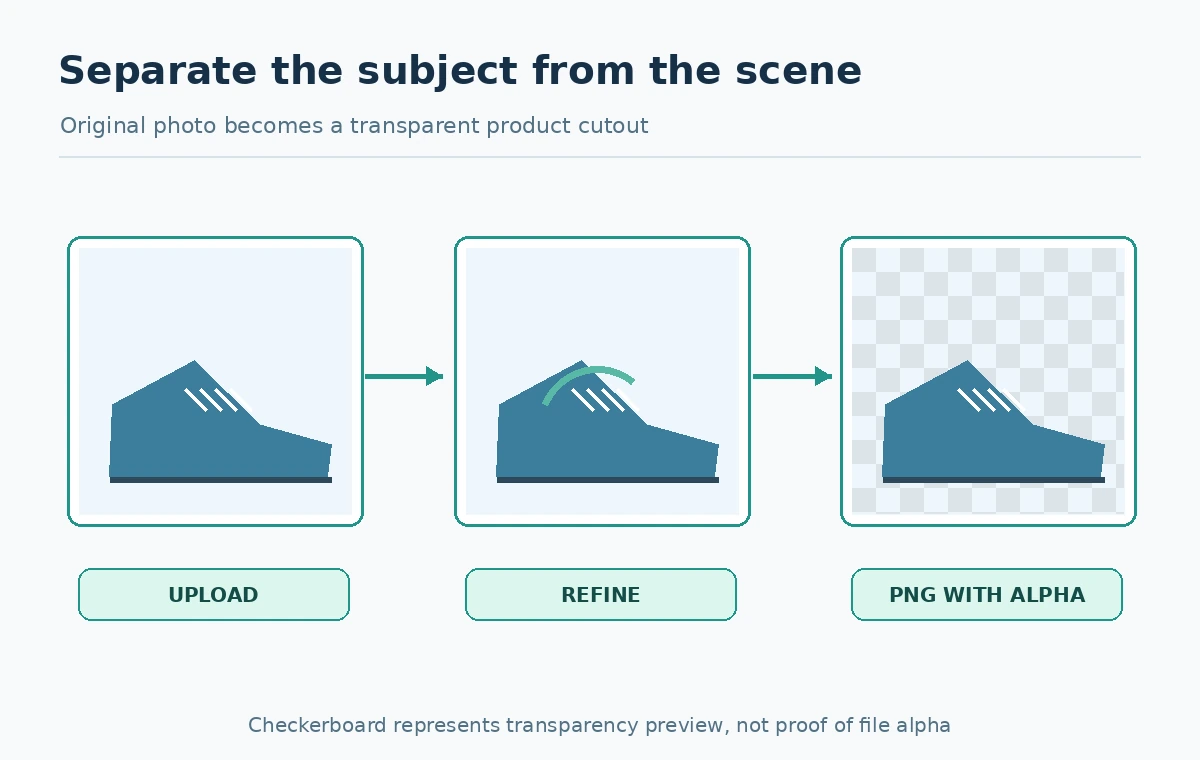
Pixelcut’s official background-removal guide says web users can upload a photo through its background-remover page, while mobile users start from the Remove Background tool. Pixelcut automatically attempts separation and supplies erase and restore brushes for manual refinement. That last step is part of the workflow, not a sign that automatic removal failed uniquely for your photograph.
First inspect the entire object silhouette, then scan negative spaces such as the gap under a chair, between bicycle spokes or inside a product handle. Incorrect background retention makes a cutout look like it was pasted from a low-resolution screenshot. Incorrect subject removal can silently shorten a lace or delete packaging edges that buyers need to see.
Refine with erase and restore instead of generative repaint
Use the erase tool to remove leftover background islands and the restore tool to retrieve genuine subject pixels. A hard edge around a bottle or phone may benefit from a tighter selection; hair, fur and soft fabric need a gentler transition. Zoom in before making fine corrections, and zoom out frequently to ensure the object still reads naturally at catalog-card size.
Work from the source photo wherever possible. If the item has a translucent glass body, complete transparency is not always correct: real glass contains reflections and opacity. Save a problematic example separately to inform future photography rather than aggressively painting a fake “perfect” edge. A clean outline is not more valuable than a faithful product silhouette.
Confirm the output really has alpha transparency
A checkerboard in an editor may be a preview layer, not proof that the downloaded file contains an alpha channel. Verify the downloaded format and open it in a second viewer over contrasting backgrounds. PNG can preserve transparency; a JPG cannot. Shopify’s media-generation documentation similarly instructs users to save transparent backgrounds as PNG. Export availability and controls may vary by account or device, so inspect Pixelcut’s current download options rather than assuming all formats are included.
Keep the approved transparent master separate from a composited product shot. Export a flattened JPEG for a marketplace only when a particular background is required. Do not overwrite the transparent master with a white-background preview. Confirm image dimensions, color consistency and whether the output edges show light halos on dark backgrounds.

Choose three edge tests for each product type
For a solid item such as a ceramic mug, look for a continuous rim and intact handle hole. For a soft object such as a sweater, check fabric strands and fuzzy edges, but do not invent missing fibers. For a reflective metal or glass item, inspect clipped highlights, partially transparent regions and shadows. These tests are more useful than asking whether the result “looks AI-generated.”
Create an internal review card with fields for edge integrity, true item shape, actual color, alpha export, and destination background. Mark each pass, needs-repair or reshoot. Use the same card for every SKU so a batch worker cannot invent different standards midway through the catalog. A second reviewer should be able to reject a cutout using observable evidence, not taste alone.
Understand what Pixelcut batch editing can do
The official Pixelcut batch-edit guide describes selecting multiple photos and editing them together. Its stated batch limitation covers background editing and upscaling, not every action available when working on a single image. Do not plan a bulk generative retouch process around controls that are not documented as part of batch mode.
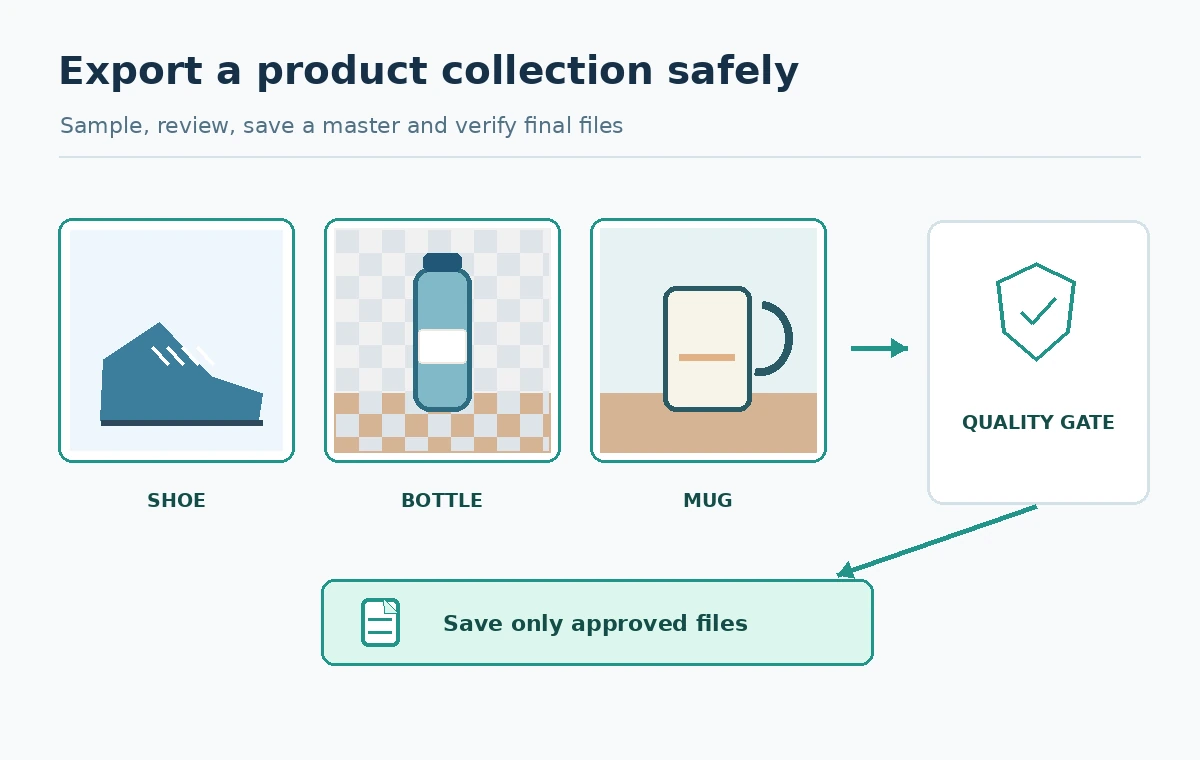
Run a small sample representing the toughest object types before committing an entire catalog. Put at least one white package, reflective bottle and fuzzy fabric item into the pilot. Compare returned files to their originals; use a consistent destination folder and record exceptions. Because one-size-fits-all masks miss unusual edges, design a human exception queue rather than expecting uniform approval.
Build an export and exception register
A simple spreadsheet needs the SKU, source path, edited path, alpha present yes/no, edge inspection status, reviewer, and the intended commerce channel. If a file fails, mark whether it needs erase/restore refinement, a better source photograph or a fresh rights check. Re-running every image through the model wastes time and can hide mistakes.
Use source-preserving filenames and keep a small sample of original/approved pairs for spot checks. Export the final white-background, transparent and lifestyle variants only when each destination needs them. The documented batch function is a convenience for repetitive operations, not a reason to skip quality control. During a later catalog refresh, the record lets you identify which originals need a new shot.
Know when removal is the wrong edit
If the product is photographed through curved glass, in severe motion blur or partly obscured by another object, background removal cannot reconstruct missing evidence reliably. A reshoot is the better response when the object’s actual silhouette is uncertain. Similarly, a generated shadow that implies a new product shape should not be called a faithful cutout.
Your final usable deliverable is one transparent master with a verified alpha channel and an approved edge inspection record. Pixelcut’s automation saves repeated manual selection steps when the originals are appropriate; it does not authorize embellishing real merchandise or skipping the exporter’s plan-specific restrictions.
How We Research
Verification date: October 27, 2026. We checked primary official documentation: Pixelcut: how to remove backgrounds, Pixelcut: how to batch edit images, Shopify: media-generation guidance. The decision cards, scenarios and review checklists in this article are original editorial guidance based on those sources. We did not buy subscriptions, run controlled product benchmarks, or inspect private user accounts. Prices, permissions, credit rules, interfaces and license terms may change; confirm them in the product before a purchase or high-stakes project.
Frequently Asked Questions
Yes. Its official help documents a web background-remover upload workflow as well as a mobile tool.
Use the restore brush; if the source lacks sufficient detail, reshoot instead of fabricating the shape.
No. Keep an alpha-supporting format such as PNG for the transparent master.
No. Pixelcut currently documents batch support for background editing and upscaling.
View it over light, dark and checkerboard backgrounds and inspect legitimate holes, shadows and fine edges.