
An animal shelter needs an adoption poster for a long-haired rescue dog photographed against a busy kennel wall. Photoshop can use AI-assisted Select Subject and then the Select and Mask workspace to create a cleaner cutout. But a poster that removes the animal’s whiskers, paints fur into a smooth helmet, or changes coat markings can misrepresent the dog. This example focuses on a reversible layer mask, realistic edges, and an honest depiction of the animal rather than a dramatic synthetic transformation.
Choose a photograph with reliable visual detail
Start from the highest-quality original photograph for which the shelter has usage permission. Inspect the dog’s ear edges, whiskers, paws, collar, and coat markings before doing anything else. A blurry photo cannot supply genuine individual strands that were never captured. If a key identifying marking is blocked by a leash or shadow, consider selecting a different original instead of generating a replacement feature.
Duplicate the image layer and preserve an untouched reference. If the subject was photographed under mixed fluorescent light, note the direction and color of the real light. The background may be replaced later, but the animal’s face, expression, proportions, and distinctive markings should remain faithful. Avoid a visually perfect but misleading cutout that makes the dog look like a different animal.
Make the AI-assisted initial selection
With the intended image layer active, use Photoshop’s Select Subject command. Adobe documents that it detects prominent subjects and can lead into Select and Mask for refinement. Where there are multiple prominent animals or objects, use more targeted selection controls rather than assuming the correct dog will always be chosen. Inspect what was selected before creating the final mask.
The first selection is a starting boundary, not final artwork. Look for missing tail fur, kennel bars included between legs, and collar details mistakenly removed as background. Add to or subtract from the selection where necessary. Keep edits on a mask so that fixing one edge does not permanently delete the original pixels or force the editor to reconstruct the dog from a processed version.
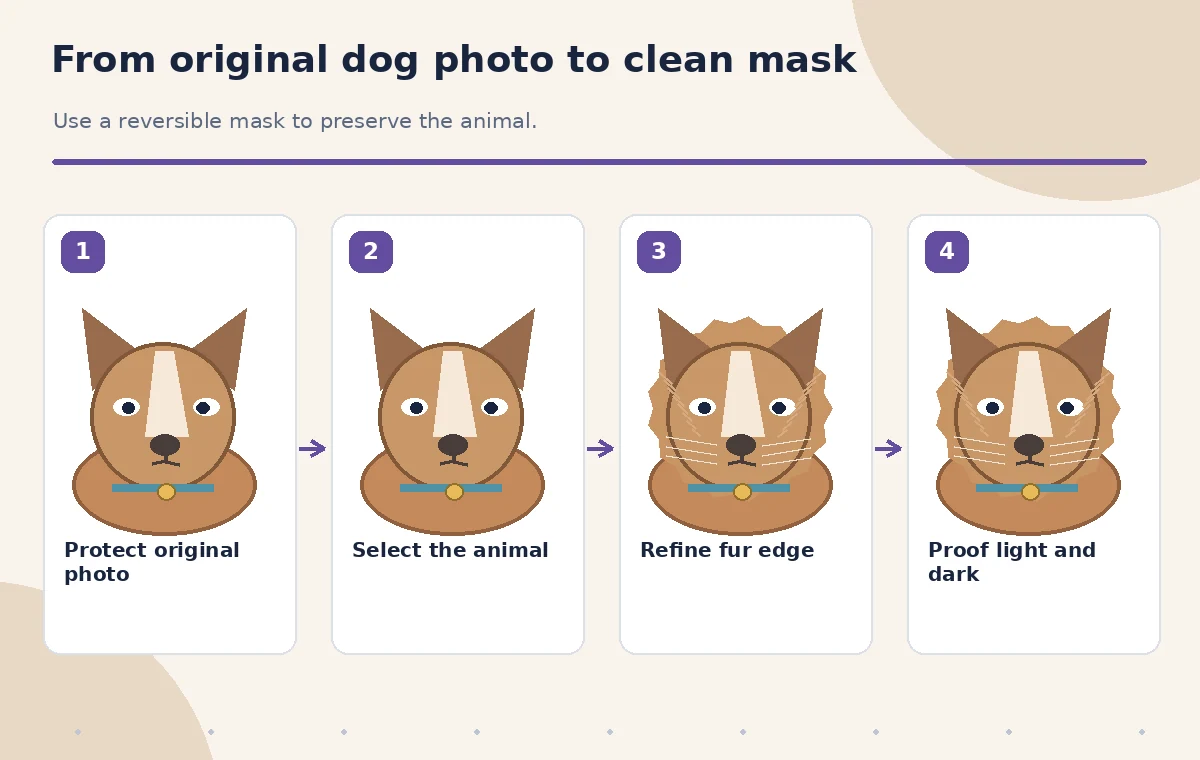
Refine the edge without rounding away fur
Open Select and Mask and inspect the edges at 100 percent and against contrasting previews. Adobe describes controls for smoothing, feathering, and refining an edge. Large Smooth or Feather adjustments may erase texture and make natural fur look like molded plastic. Work locally on difficult areas rather than applying extreme global settings because one part of the outline appears ragged.
Focus on fine hairs around the ears and chest where the original background color may linger. Compare each adjustment with the source image. If an edge remains ambiguous because similar colors overlap, do not pretend the mask can recover missing information. A restrained cutout with slightly more original background can look more honest and natural than aggressively removed strands.
Use new edge tools only when appropriate
Adobe’s newer Enhance edge workflow operates on a layer mask and is documented as a generative-credit action. Its help page says each use consumes credits, so it should not be described as a free default step. Use this option only when it is available in the installed version and when the improvement can be inspected against original coat detail. For many photographs, ordinary Select and Mask refinement may suffice.
Preview the result with a neutral solid color behind the dog, then with a dark and a light background. Check for green or gray halos from the old kennel wall, tiny holes inside the coat, and suddenly sharpened fur that the original photo did not contain. Revert changes that make the animal look retouched rather than accurately isolated.
Compare the jagged cutout with a reviewed mask
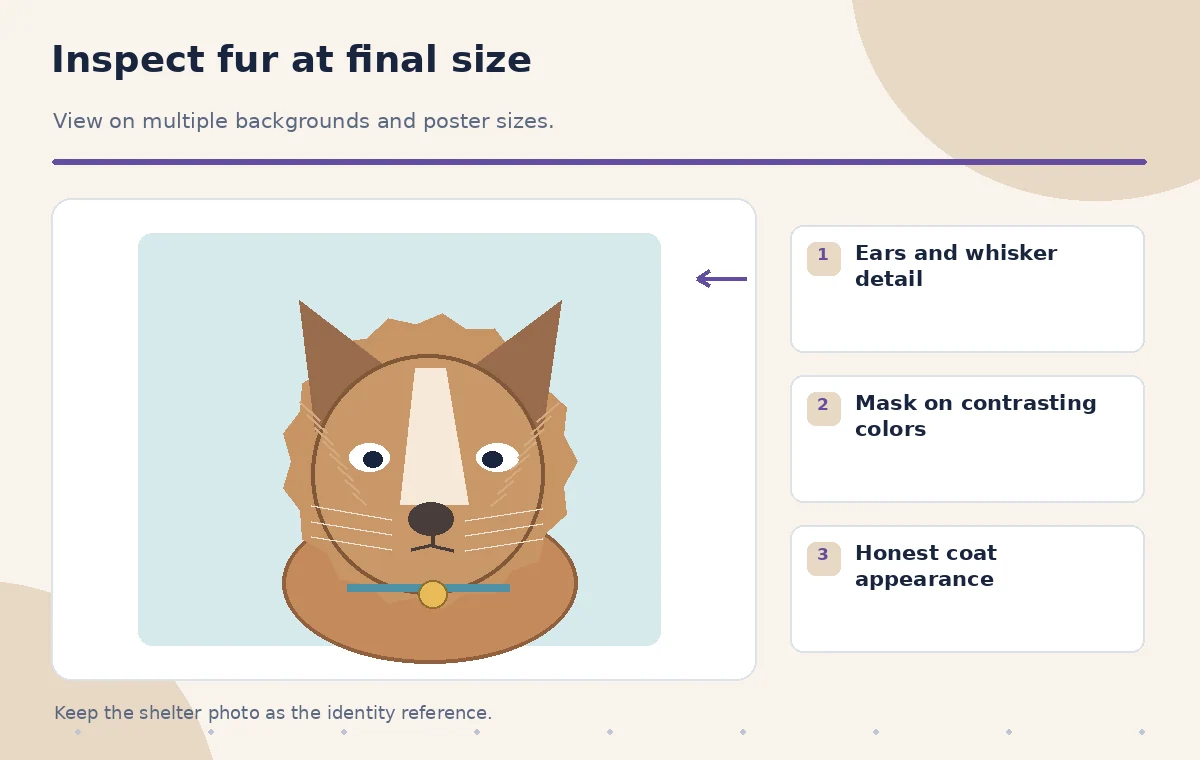
Create a teaching comparison of a hurried cutout and a refined one. In the flawed version, the dog’s ear becomes a smooth triangle, whiskers disappear, and a pale outline remains around the neck. The reviewed illustration retains fine whisker shapes and a less uniform silhouette. This comparison depicts problems to inspect; it is not a claim about actual Adobe model performance on a tested dog image.
Check paws against the new background, especially between toes and around the collar tag. Unwanted pieces of the kennel can remain in small gaps. Preserve the dog’s genuine tag text if it is visible; do not invent adoption identifiers on the animal itself. If the background replacement changes the context materially, present the image as a designed adoption poster rather than a documentary record of the kennel.

Choose a background that matches the subject
A simple brand-color gradient or softly lit wall usually works better than a complex imaginary landscape. Match the general lighting direction so the dog does not appear to float. Add any contact shadow cautiously, with opacity appropriate to the original lighting and visible ground contact. Do not imply the shelter has outdoor facilities, grassy yards, or other amenities that have not been verified.
Keep adoption information in a separate, editable text layer rather than having an image model regenerate it. Confirm the pet’s approved name, contact details, and relevant call-to-action against the shelter record. A high-quality cutout cannot compensate for a wrong phone number or a fabricated health description. The visual and factual checks belong to the same release process.
Review the actual export at poster scale
Inspect the poster at final size and on a phone screen. Fine fur can look natural when enlarged but form a bright fringe after downscaling or JPEG compression. Export an appropriate version for print and digital use, with text kept sharp and correctly contrasted. Compare the final background and edge with a copy of the original animal photograph before approving the design.
Have a second shelter staff member check recognizable coat details, collar, and identity while a designer checks masking quality. If the animal no longer looks like its current appearance, use a fresh photo. Do not present a composite background as the literal place where the dog was photographed. A small explanatory note can clarify that the setting was edited for layout.
Archive a reversible and trustworthy file
Save the layered PSD, original source, approved exports, and revision history. If a future poster needs a different background, the team should be able to change it without degrading the dog’s coat again. Preserve access rights and avoid uploading sensitive metadata or personal details unnecessarily. Where consent and shelter policies limit image use, follow those restrictions.
The diagrams accompanying this tutorial are original conceptual art and not screenshots of a real Photoshop test. The method relies on documented Adobe selection and mask controls and on human quality checks, not invented performance metrics. Publish only when a reviewer can see that the selected dog, its fur, and identifying features are faithful to the source image.
How We Research
We reviewed named primary product documentation for the described feature, current interface, and limitations: Adobe: Detect subject using Select Subject, Adobe: Refine and soften selection edges, Adobe: Use Enhance edge to refine masks. Our method compares official functionality with a fictional editorial task, defines specific failure states and independent checks, and keeps source records separate from AI-generated content. We did not access a live account, run an API test, measure model accuracy, or examine real participant data for this article. Interface labels, usage limits, credits, and eligibility can change; confirm the current product documentation and account terms before work. Every illustration is instructional art rather than a screenshot or measured before-and-after result.
Frequently Asked Questions
Not always. Use targeted selection tools and inspect the result when multiple subjects are present.
No. Excessive feathering can destroy fur detail and make the animal look artificially smooth.
Adobe currently documents a generative-credit cost for this action; verify the current terms and eligibility.
A designed background can be used carefully, but never suggest the edited setting is a verified shelter facility.
Retain the original photograph, reversible layered mask, approved poster exports, and a correction history.