
An organizer finds a slightly blurry snapshot of a volunteer team from several years ago. Google Photos offers Photo Unblur on supported devices to improve soft images, including older files. Sharper appearance can help a scrapbook, but no AI model can prove exactly what unreadable badge letters or facial details looked like at the moment of capture. This hypothetical workflow preserves the original, tries the documented Unblur control where available, and compares the output at meaningful locations instead of equating new sharpness with recovered historical evidence. It is a guide to careful restoration, not face identification or proof of an event.
Clarify the purpose and permissions before editing
Decide whether the picture is for a private album, a public archive, or an article. These purposes have different standards. A friend may welcome a polished copy while an archival collection needs clear separation between source and edited derivative. Confirm that the image can be used and that the people depicted have appropriate privacy protections. Do not attempt to identify an unknown person from AI-enhanced facial features. For a volunteer team photo, preserve the original filename, date if reliably known, and any context from the photographer. Write down what is genuinely visible before opening editing controls so later detail changes do not become retroactive memories.
Find Photo Unblur only where it is supported
Google’s support instructions for Pixel devices describe opening Google Photos, selecting a photo, choosing Edit photo, and then Actions followed by Unblur, with a possible alternate route through Tools and Actions. The menu varies with device and app version. The feature may not appear on every handset or account, so never write a tutorial that assumes identical access. Use an updated app and check the device’s available tools. If Unblur is absent, consider preserving the scan or using basic exposure and contrast adjustments; no substitute enhancement is mandatory for the story to be told accurately.
Prepare a clean source and protect its history
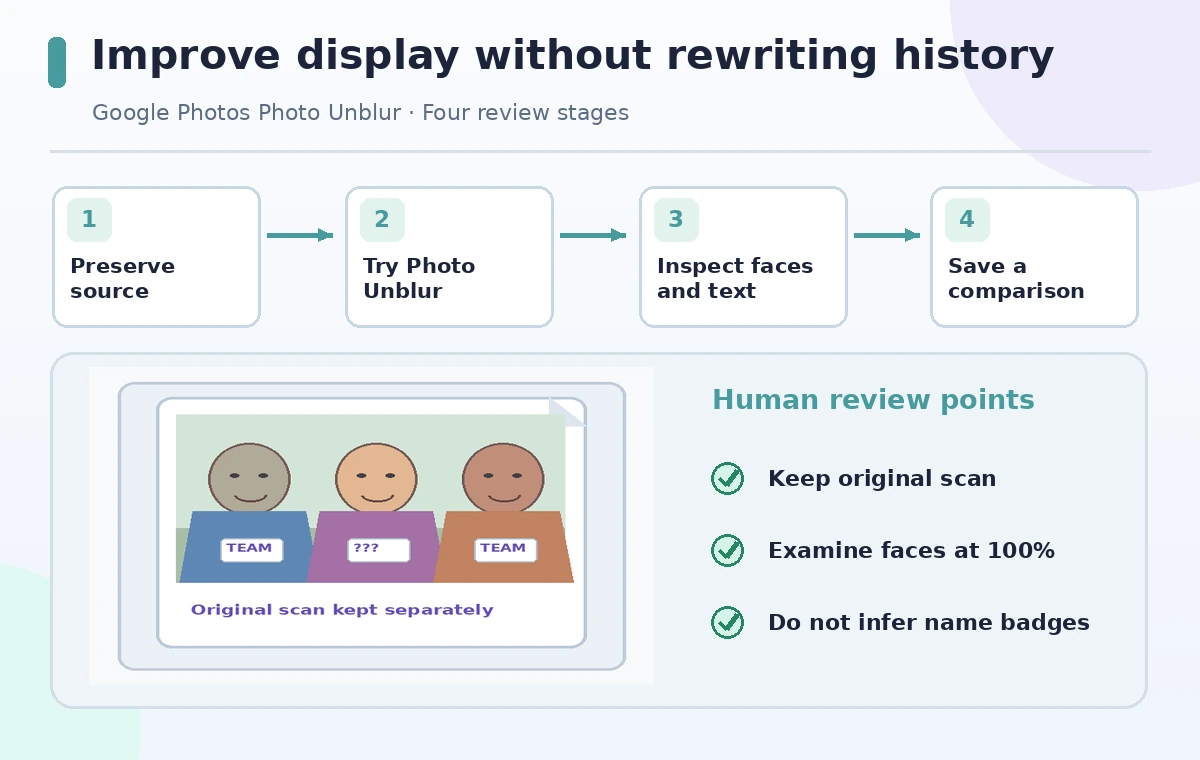
If the picture is a printed photo, make a high-quality scan rather than a crooked phone snapshot with glare. Avoid adding artificial texture or heavy noise removal before Unblur, because that changes what the model can inspect. Keep the original scan intact and work on a copy where practical. Check crop edges and timestamps independently; some exported images lose metadata or display the date they were scanned rather than the date taken. Photograph the back of a print separately if it includes reliable annotations. Never place AI-generated initials or names into the archive description simply because an enhancement makes a badge resemble a particular word.
Apply Unblur conservatively and inspect the entire photo
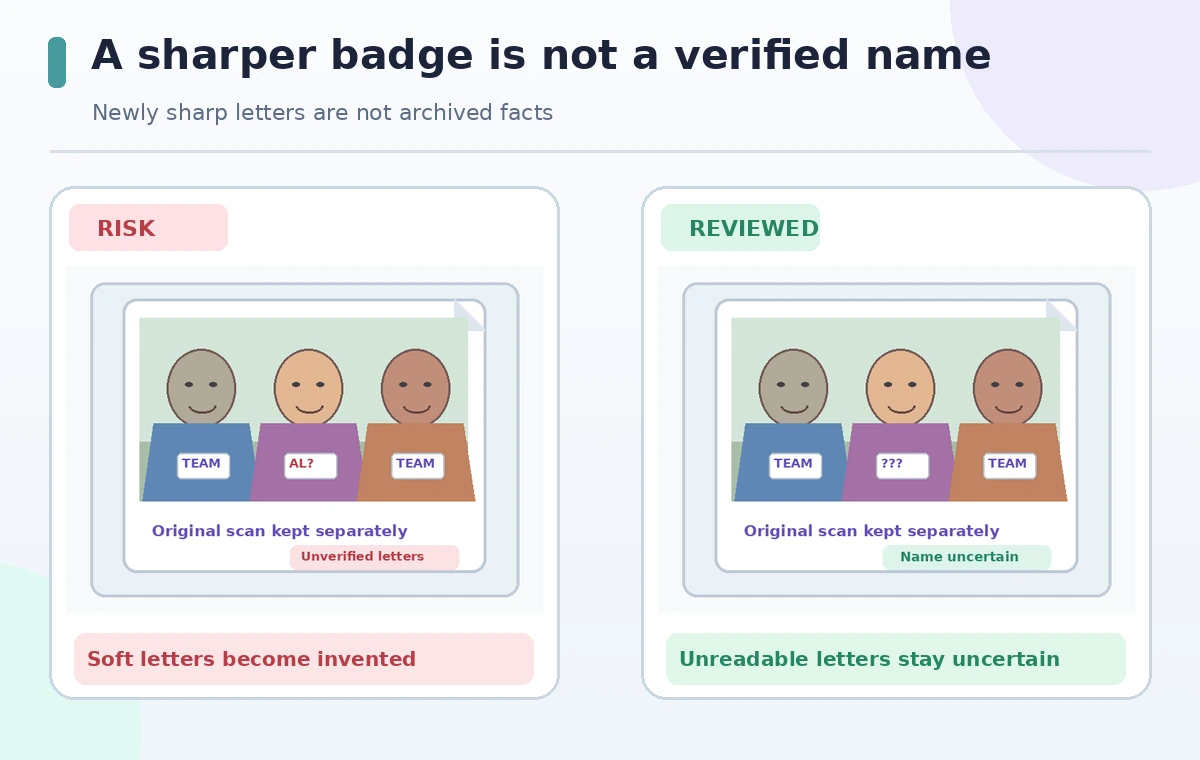
Follow the available editor path and preview the result against the original. Look first at eyes, hairlines, fingers, fabric texture, and the boundaries around name badges. Those are regions where computational sharpening can create convincing but untrustworthy microdetails. Zoom in to inspect, then zoom out to judge whether the image still feels natural. A face that has gained an exaggerated eyelash pattern or a badge with apparently legible new characters should prompt caution. The comparison image shows how a blurred badge can seem to gain letters; it does not represent a measured Google Photos output. If the result changes the meaning, keep the original instead.
Explain the difference between clarity and evidence
An AI sharpened portrait is not a higher-fidelity recording of every original detail. In a hypothetical album, the badge on one shirt contains an unreadable three-letter label. After processing it may resemble a familiar volunteer team acronym, but resemblance is not documentary confirmation. Use an independent source such as a dated event roster if a caption genuinely requires a label, and describe any uncertainty. Do not ask the enhanced image alone to settle identification or event facts. If the result will accompany a historical article, caption it as an edited version and retain access to the original, especially for readers who need to evaluate authenticity.
Check edge artifacts and repeated texture
Inspect areas that combine sharp and soft structures: eyeglass rims, signage, brickwork, hair against sky, and patterned shirts. A restoration can add halos or repeated strokes that look like real structure. Compare corresponding crops at the same size; do not mistake a zoomed-in enhanced crop for a fair comparison to a small original thumbnail. Review the image at the display size people will see on the site as well. Excess sharpening can look acceptable at 50 percent but appear brittle on a high-density screen. When the original lacks enough information, it is more accurate to leave a region soft than invent confident detail.
Save an edited copy and label provenance
Google’s Pixel instructions mention Save and, where supported, Save as copy. Favor a separate derivative for an archival use case, and verify that the original remains intact in the library or backup. Give the copy a descriptive name such as enhanced-for-display instead of implying it is a newly discovered higher-resolution original. If a gallery or article uses both, explain which is source and which is an adjusted display version. Preserve photo credit, licensing, and any consent records. A caption need not describe every pixel operation, but it should not present AI-supplied details as confirmed historical fact.

Make the release decision about meaning, not sharpness
Ask a second reviewer to compare facial appearance, gestures, clothing, badges, and environment without being told which image is expected to look better. Reject edits that appear to change an expression or make an uncertain label look authoritative. If the restored view helps viewers recognize the composition while keeping uncertain details uncertain, it may serve the intended album purpose. If the photo is evidentiary or sensitive, prefer the original or publish the derivative beside it. Document the editing method and date and remain willing to replace the enhanced version when more reliable source material appears.
How We Research
We used Google’s official Google Photos editing instructions for Pixel devices, which describe the Photo Unblur path, alternate menus, and save options. The team snapshot, name badge, and before/after illustrations are educational concepts. We did not run a phone, test device availability, identify anyone in a photograph, or claim Unblur reconstructs exact historical text.
Frequently Asked Questions
Google says Photo Unblur can be applied to older photos in your library on supported devices.
Device support, app version, and menu layout differ; Google documents alternate editor paths.
No. Sharpened-looking text cannot replace a source record, and a photo should not be used to identify a person solely from generated detail.
For preservation or editorial use, retain the unedited source and save a separate derivative where available.
Reject the edit or use the original; clarity gains do not justify invented or distorted details.