
A fictional cycling nonprofit needs a square poster featuring a helmet photographed on a workshop table. The original photo also contains a water bottle and spare cable. Instead of erasing the background indiscriminately, the designer wants an isolated helmet layer that can be placed on a clean graphic. Figma AI’s Select area and Isolate tool supports that type of editing, but the cutout is not proof that every vent, strap or buckle is preserved. The illustrations here are drawn inspection examples, not screenshots or measured Figma outputs.
Decide what the poster must depict accurately
A helmet is not just a color silhouette. The chin strap, buckle, front rim and ventilation openings contribute to what viewers understand about the object. Before editing, obtain rights to the photo and confirm that the poster is showing a real model rather than a generic safety symbol. List the visual details that may not be changed. If a campaign claims a specific certification, carry it only when verified from an authoritative product record; do not copy a sticker invented by an image model. Separate illustrative layout goals from product and safety facts in the brief.
Set up a reversible working file
Duplicate the Figma file or image layer so the unmodified reference remains visible and can be compared at any time. Place the photo on a neutral artboard with enough spare space around the helmet; it is difficult to review a strap touching the edge of a tiny frame. Lock the source photo and create a named working copy for the isolated layer. Confirm who may edit the file and whether the organization is permitted to upload the imagery to AI features. If people are visible behind the product, remove or crop identifying material before invoking cloud tools.
Find Select area and Isolate
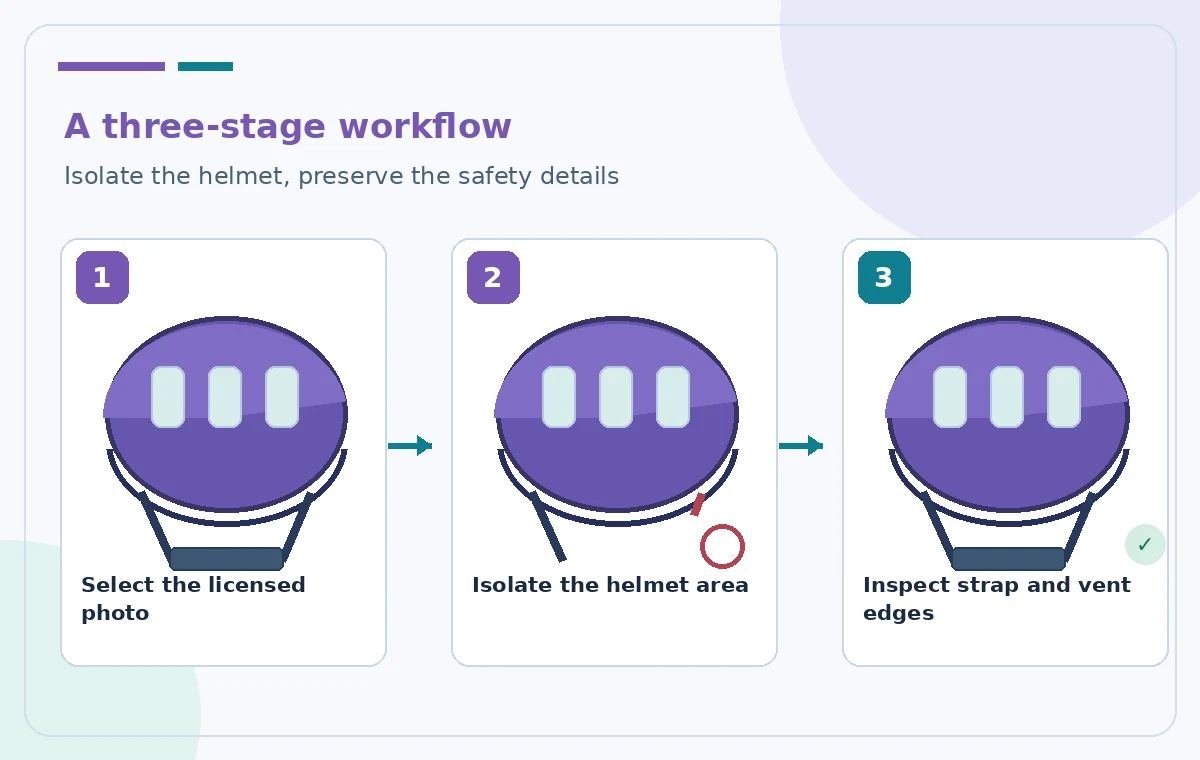
Figma’s official help describes Select area in Figma Design and Figma Slides from the secondary toolbar, while FigJam and Figma Buzz use their own inline paths. After selecting an image, draw a lasso around the desired area or object, release and choose Isolate. The isolated selection becomes a new image layer. This is different from the one-click Remove background command, which targets the full image foreground. The documented AI editing features require edit access and are subject to plan, admin and credit conditions. Confirm the current menu in the workspace rather than reproducing a possibly outdated screen capture.
Select around the full object, not just the shell
Place the lasso around the helmet with room for the chin strap and buckle; do not trace only the hard outer shell. Ask a second reviewer to point out the smallest features before clicking Isolate. It is safer to include a little unwanted table edge and trim it later than to remove a functional component from the selected region. Save the result without flattening it into the poster. A separate layer enables movement, scaling and manual masking, and the original remains available as the ground truth. Avoid requesting generative replacement of a product component to make it look cleaner.
Understand the failure shown by the comparison
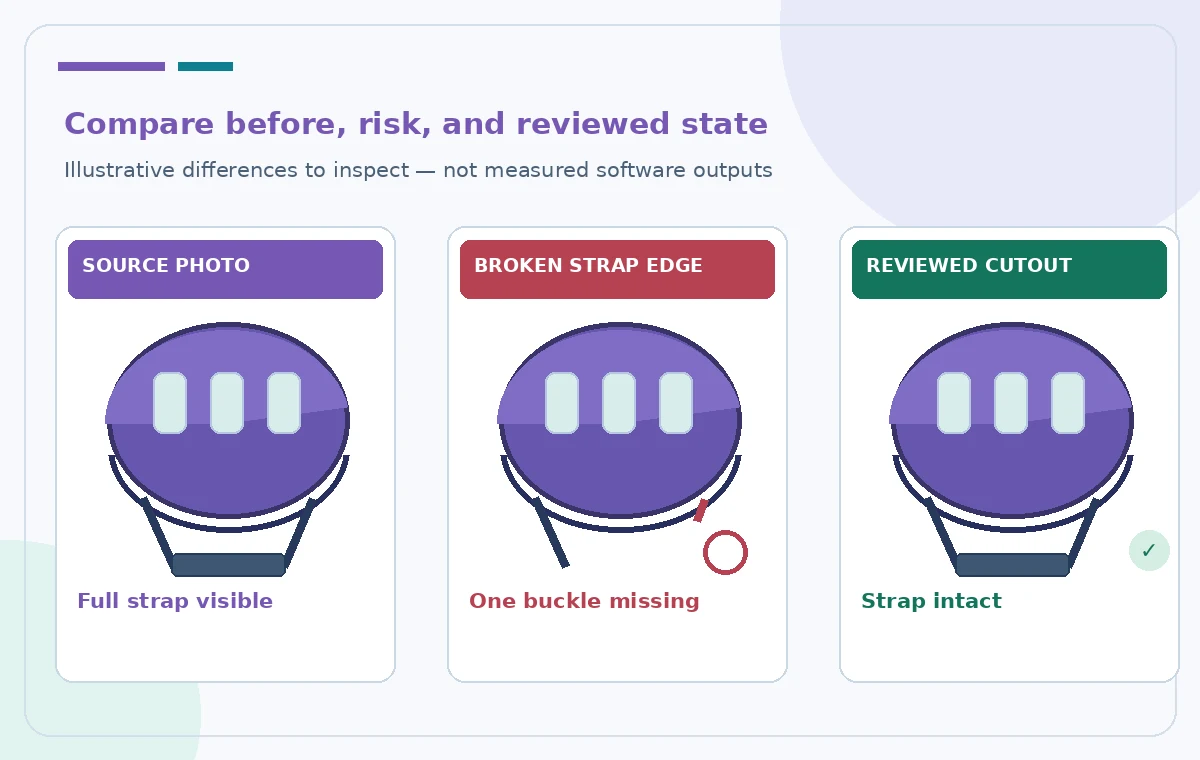
The illustrated middle state shows a helmet with a shortened strap and an omitted buckle. The diagram is a possible failure mode for object isolation, not an empirical record of Figma’s accuracy. Inspect edges at 100 percent and at the size visitors will see. Compare the number and position of vents, the curve of the shell, the buckle, label and strap continuity against the unchanged photo. If any detail cannot be restored faithfully, fall back to a manual image mask or use the original photograph with a simpler layout rather than publishing a counterfeit-looking product image.
Handle lighting and shadows honestly
An isolated layer may lose the original contact shadow. A modest graphic shadow can help the helmet sit naturally on a poster, but it should not conceal an incomplete strap or fake a reflective safety feature. Keep the shadow separate and editable. Match the poster background to the lighting direction of the photograph instead of applying a dramatic glow that makes a matte helmet look like a different material. Do not infer helmet suitability or protective performance from how convincing the composite looks. Safety guidance should be reviewed as written content, not decided from an aesthetic preview.
Design with readability rather than spectacle
Place a short approved message beside the cutout, for example ‘Check the fit before every ride,’ and include a link to the organization’s actual helmet-fitting guidance. Leave space around the chin strap so it is not hidden by headlines, QR codes or sponsor marks. Test legibility at social-preview size. For print, export a proof that matches the required color mode and resolution, with a separate text version for accessible distribution. An impressive cutout cannot compensate for a tiny instructional caption, a broken contact link or a claim that exceeds the source evidence.
Review permissions and asset provenance
Record who provided the original photo, any relevant model or property releases, and the approved license for print and online use. Figma’s tool may be enabled on a paid or Starter plan, but credit use and admin policy can affect availability. If the team uses an external AI image model through Figma, confirm the organization’s permitted data-handling arrangement. Keep the original, the isolated layer, the hand-corrected mask and final approved export together. Never describe generated or edited pixels as a documentary record of a particular helmet’s certification.

Perform a final two-view comparison
Use one reviewer who focuses on product fidelity and another who reads the poster as a first-time visitor. Examine the unmodified photograph next to the isolated helmet on a neutral background, then look at the finished poster with all text visible. Confirm that the strap is complete, the buckle is present, and no unrelated object was accidentally retained. Record an approval or return the artwork for correction. This hypothetical scenario did not involve a test of a live Figma account, a real bicycle helmet or an independent protective-equipment assessment.
How We Research
We consulted these named official vendor resources: Figma Help — Generate and edit images with Figma AI. Our editorial research compared documented feature entry points, plan and permission conditions, expected output, and risks that could change the practical decision. The instructions are based on published help material and a hypothetical workflow, not a logged-in test or evidence of measured AI accuracy. We have not processed real visitor records, product safety tests, confidential feedback or approvals. All four accompanying images are original instructional drawings, not service screenshots or sampled outputs. Recheck the interface, access rights, policy owner, and official sources before production use.
Frequently Asked Questions
Figma documents Select area > Isolate as creating a new image layer from a selected object or region.
No. Isolate lets you target an area or object; Remove background is a distinct AI feature.
An isolated selection may miss small edges. Compare every strap, vent and buckle to the untouched photo.
Availability depends on product surface, workspace permissions, AI credits and plan; check your account.
No. Repair only from an accurate authorized source or use the original image if fidelity cannot be ensured.