
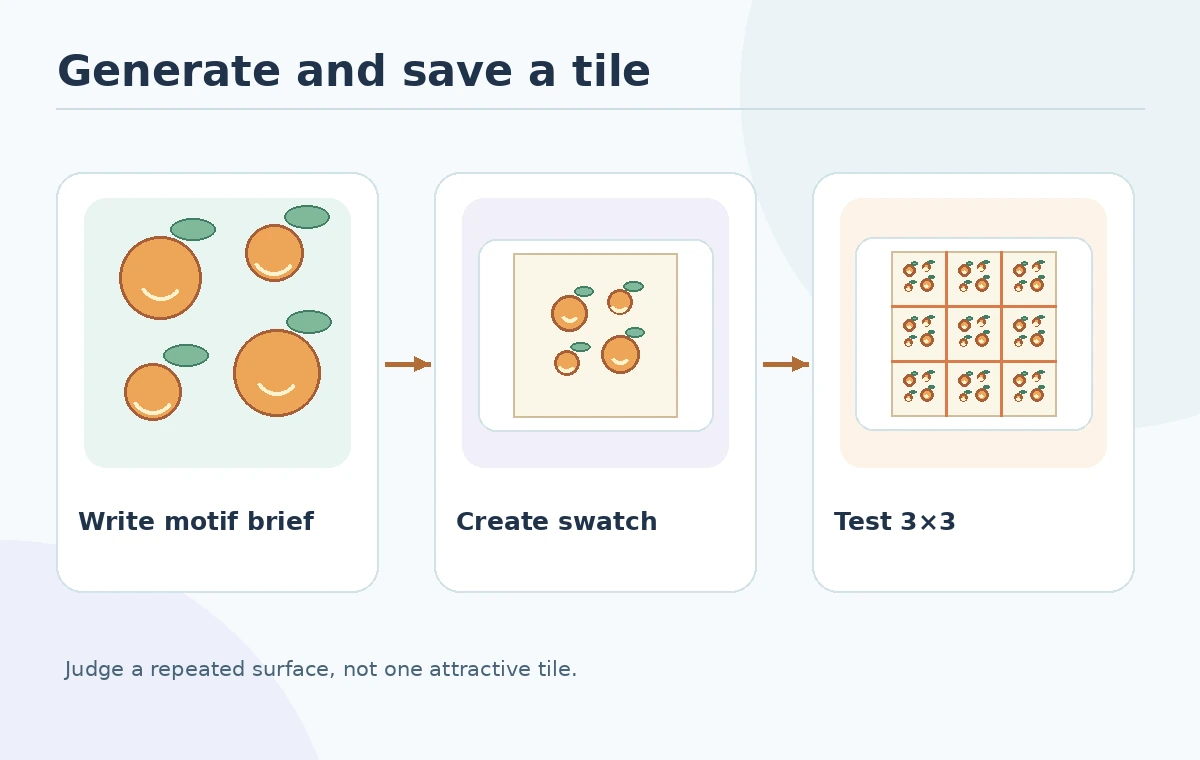
A pretty swatch is not yet a production-ready repeating pattern. Motifs can jump across the tile edge, create a visible grid, or become unreadable when applied to fabric or packaging. Adobe Illustrator’s Text to Pattern feature generates editable vector patterns, and its pattern tools allow further tile inspection. This guide creates a fictional citrus-and-leaf pattern, then checks whether it repeats across boundaries and maintains its intended scale. It is a workflow and quality-control guide, not a hands-on performance test of generative models.
Write a pattern brief that controls density
Describe the motif, palette, scale and destination before generating. For a reusable wrapping-paper design, the example brief specifies oranges, two leaf shapes, a warm off-white ground, restrained contrast and ample negative space. Choose a loose scattered repeat or a more ordered geometry; avoid asking for both without a reason. Explicitly exclude words, logos and accidental familiar characters. The more repeatable the design needs to be, the more important its simple visual hierarchy becomes.
Document the intended print size. A dense pattern that looks wonderful across a large monitor may turn into visual noise on a narrow label. Create one motif-scale reference box to compare candidates rather than choosing solely by the biggest preview image.
Generate vector options in Illustrator
Adobe’s Generate patterns guide describes selecting an object and opening Object > Pattern > Generate Patterns. Text to Pattern supports prompts and controls for color, effects and density. Generated variations appear in its panel and can be applied to the selected object, while pattern swatches can be saved for reuse. Start with two restrained variations instead of an undirected gallery.
Adobe distinguishes generated patterns from Text to Vector Graphic: linked variations are not available for Text to Pattern. Keep your own saved swatch names and export notes so reviewers can identify the exact approved design. Do not assume an unused variation exists in a reopened project unless you deliberately saved it.
Open the tile and inspect every edge
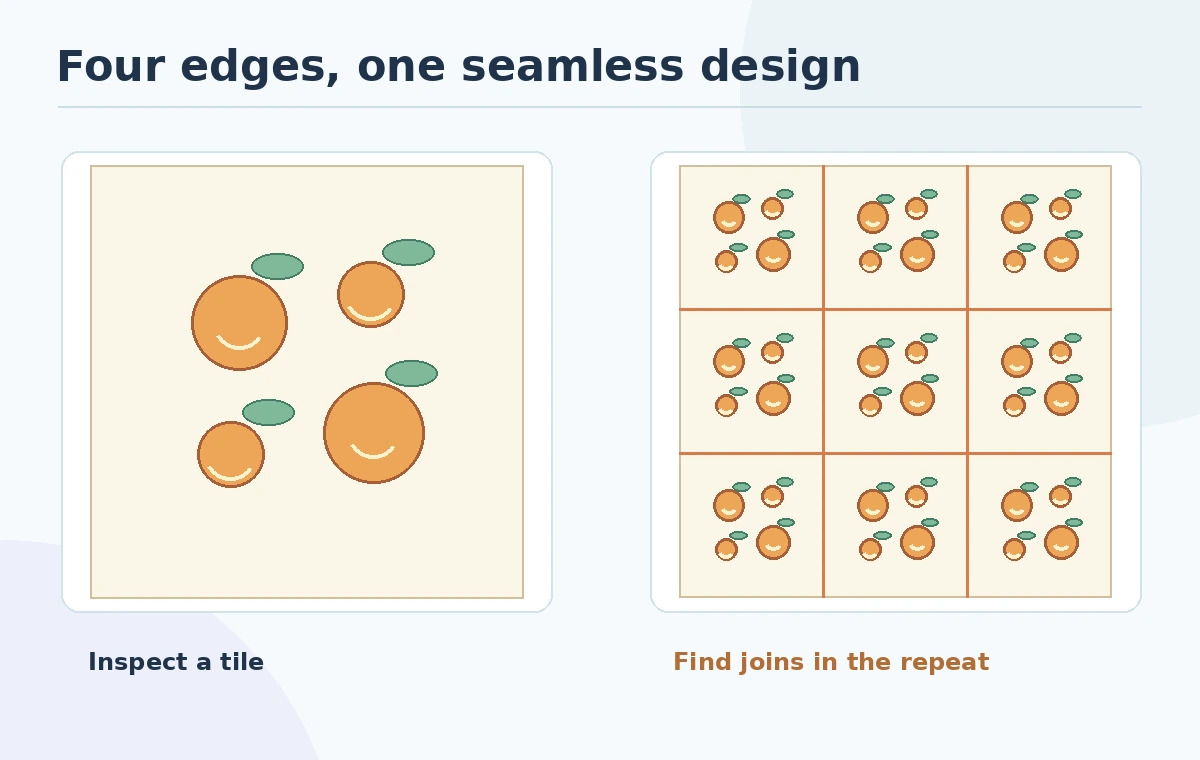
The most important step is not the prompt: it is viewing the selected tile in a repeated grid. Adobe’s Edit generated patterns guide describes the Pattern Options panel, including tile width, height, overlap settings, preview copies and tile edges. Turn on tile boundaries during review and examine the left/right and top/bottom joins. A leaf entering one side should continue naturally on the opposite side where the design calls for a seamless join.
Zoom out to see several repeats. Reject lines that create an accidental stripe at every tile boundary or a distinctive blank square between repeats. These patterns can look invisible at single-tile scale but dominate a full sheet.
Compare straight, staggered and rotated placement outside the generator
Do not imply every pattern generator supports every repeat geometry. Adobe’s edit-pattern documentation notes that the tile type and brick offset cannot be modified for generated patterns in that dialog. If the intended material demands a different geometry, rebuild or adapt the pattern with conventional design tools instead of assuming a control exists.
For the citrus example, apply the swatch to a wide rectangle, a narrow tag and a curved mockup. Inspect orientation, natural-looking balance and where recognizable large fruit shapes get cut. Keep an editable master so the tile can be scaled and recolored without confusing the preview art with the production artwork.
Avoid seam errors with a simple visual test
Export a single-tile preview and independently make a three-by-three grid from it. Draw temporary guides along tile borders. Inspect the repeated grid at 25 percent and 100 percent scale. A strong seam often appears as an unintended straight line; a weak seam may show as a rhythm of empty spaces. Check the motif at each corner, where four tiles meet.
Do not make aesthetic claims based on invented defect rates. Log each candidate by a concrete reason: horizontal seam, uneven spacing, off-palette object, unreadable small motif or acceptable. Then edit the source vector and repeat the same test rather than relying on memory of a previous version.

Proof it on real objects and in one color
Apply the swatch to a fictional paper sleeve, a folded gift box and a large textile panel. These placements expose different problems: the sleeve can distort motif scale; a box fold can cut a prominent orange in half; a large panel can reveal mechanical repetition. Preview the design at real size and compare at a distance.
For print, separate practical prepress from image generation. Confirm the printer’s color mode, spot inks, bleed and acceptable file format. A “seamless” algorithmic preview does not guarantee registration on fabric or the color of ink on paper. Ask for a physical proof before ordering a long production run.
Archive the approved tile and handoff notes
Save the prompt and a dated source swatch, an editable Illustrator document, the final tile size, approved palette, three-by-three seam proof and a small mockup. Name each pattern version meaningfully for your team but keep internal production codes out of public artwork. Assign sign-off to someone who checks repeated boundaries rather than only the isolated sample.
The final acceptance gate is whether the pattern repeats without unexpected visible seams, stays legible at production scale and can be edited and exported according to the actual vendor specification. If not, refine it manually: generator convenience should never replace surface-design proofing.
How We Research
We relied on Adobe’s Text to Pattern setup, variation management and pattern editing controls, read October 27, 2026. The citrus design, repeat grid and print checks are illustrative design practices, not actual generated outputs or tests.
Frequently Asked Questions
Adobe describes Text to Pattern output as scalable, editable vector patterns. Inspect the exported deliverable in your downstream tool.
Adobe documents those controls in Pattern Options when editing a generated pattern.
Adobe’s current instructions say those particular settings are not editable for generated patterns in the dialog.
Make a three-by-three repeat preview, reveal tile edges, and inspect border crossings and the joins where four corners meet.
No. Test at real size and confirm print color, trimming and vendor-specific requirements with a physical proof.