
A host interviews a guest who lives in another city. They need clean, separately editable voices rather than a single call recording where one person’s cough covers the other’s answer. Adobe Podcast Studio documents remote sessions with individual participant tracks and local capture with progressive uploading. The process still needs planning: browser compatibility, consent, microphones, a recording indicator and a post-session upload check. The two illustrated people and sample waveforms are fictional, and this article does not suggest that we opened a studio project or made a live recording.
Agree on consent, purpose and a backup plan
Before sending an invitation, tell the guest what will be recorded, how the recording will be used, who can edit or receive the files, and whether video is included. Obtain any consent required by applicable law and the project’s editorial standards; consent rules vary by location and participants. Confirm the session agenda, expected length and an alternate contact method if the connection fails. A spare local recorder can be helpful where appropriate, but do not ask someone to make a hidden backup recording. Define whether private details may be discussed off the record and pause recording when needed. Remote recording quality begins with a transparent conversation, not merely with the product’s audio format.
Prepare a supported desktop recording environment
Adobe’s current remote recording guides specify Google Chrome on desktop for both hosts and guests, so a smartphone browser or unrelated desktop browser is not a safe assumption. Ahead of the session, both participants should close unnecessary audio applications, choose a quiet room, silence notifications and use headphones to reduce echo. An external microphone is helpful but not mandatory according to Adobe’s guest guide. Test the microphone selected in the system and Studio menus without starting a sensitive interview. Ask each person to keep the browser open, the computer plugged in, and a stable network connection when practical. Do not promise that every device or network setup will behave identically.
Create the project and invite the right guest
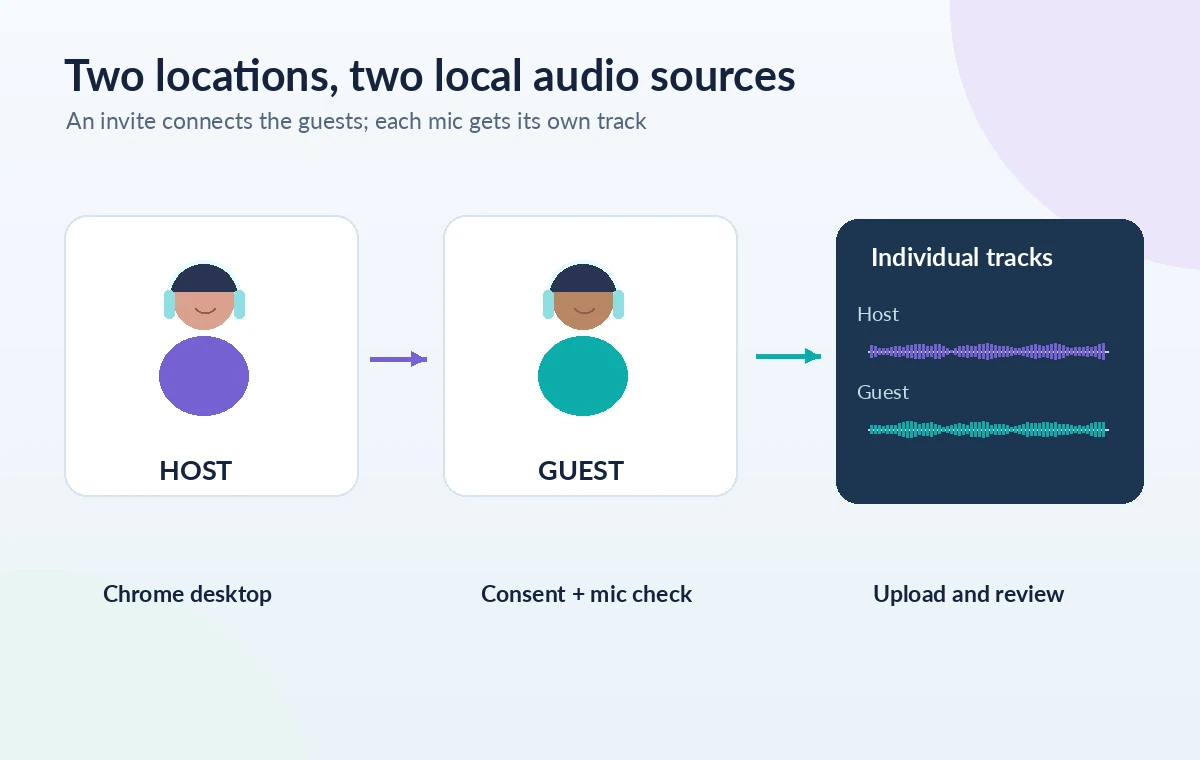
Adobe’s setup instructions start with creating a project in Studio and opening the Record tab. The host shares an invitation or session link, then checks the correct microphone. The guest opens the link in desktop Chrome, permits microphone access, optionally enables the camera and chooses a display name. Confirm that the invited person is the intended participant rather than leaving a sensitive session link in a public channel. Before recording, ask the guest to say a sentence at their ordinary speaking level so clipping and loud room noise are apparent. The illustrated two-room layout highlights the separate input paths; it is not a screenshot of Adobe’s interface.
Explain what the recording indicator means
Adobe’s guest guide states that participants can see when the host has started recording and when it stops. The host should also verbally announce the start, confirm consent in the agreed manner, and leave room for a guest to request a pause. If someone has an audio problem, stop and correct it rather than hoping AI enhancement will reconstruct unintelligible words later. Recording controls, microphone settings and privacy expectations should be clear to everyone before substantive questions begin. The host can make a short spoken slate identifying the interview and participant names if the editorial project requires it, but avoid reading private contact details into the recorded audio.
Understand local tracks versus the live call
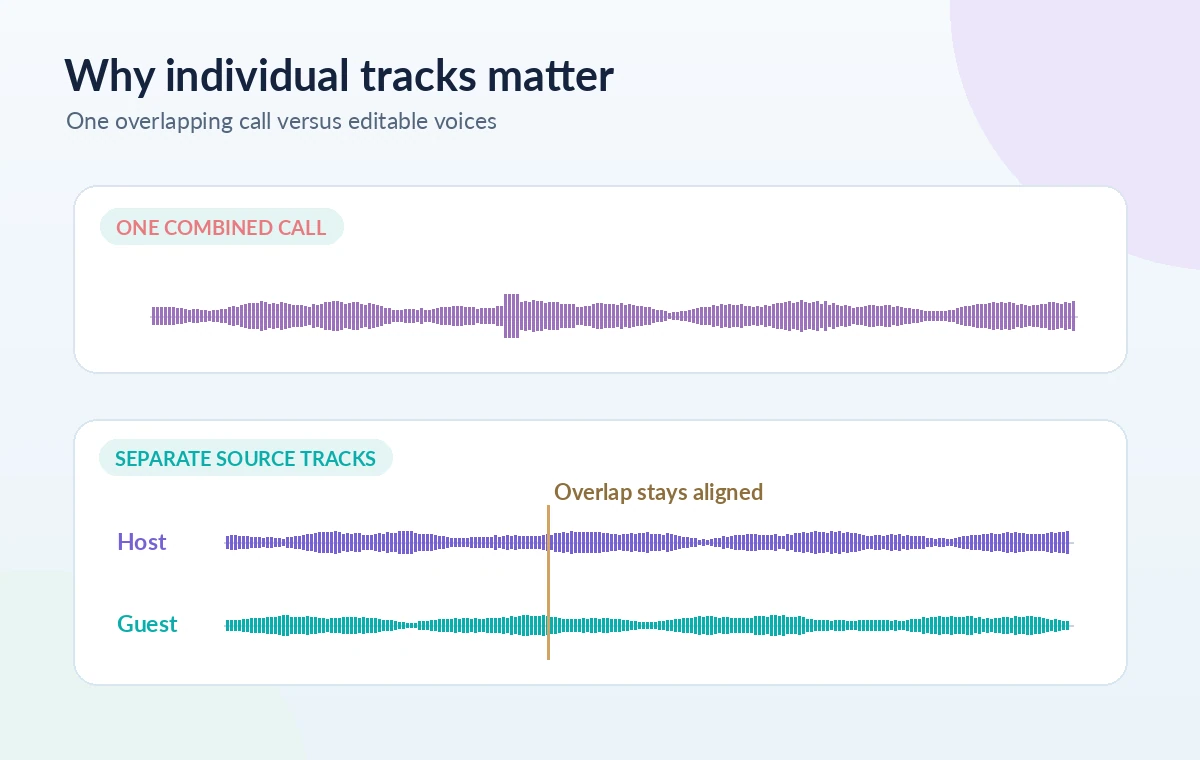
Adobe describes each participant’s audio as captured on an individual track, with progressive uploads rather than relying solely on the compressed sound heard over the live connection. This distinction matters: a brief network hiccup in the conversation monitor does not necessarily mean the local captured audio has the same artifact. The reverse is also possible: a microphone or browser permission failure can affect the source regardless of upload design. Never announce that a session is safe just because you heard the guest clearly. Check actual recorded tracks after the session. The separate-track illustration shows why two independent waveforms make later dialogue editing possible.
Leave time for recording upload and confirmation
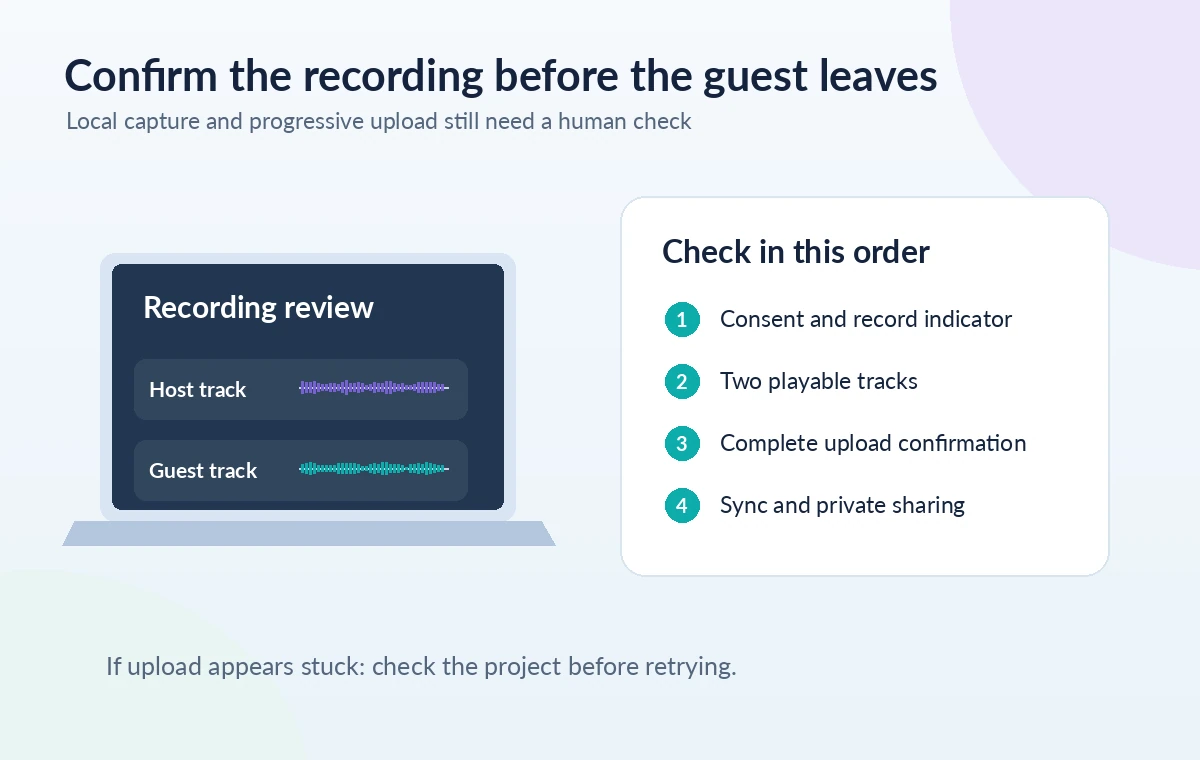
At the end of the conversation, stop recording and let the upload process complete before closing the browser. Adobe’s setup guide describes a confirmation that the recording was added to the project, and its recovery FAQ suggests reopening the project and browser tab if an upload appears to fail. Do not repeatedly recreate or overwrite a session in response to an ambiguous status. First check the project for the tracks already present, the length of each capture and whether the missing region is still being uploaded or recovered. If files remain absent, document the failure and follow Adobe’s current support guidance. A progress indicator should inform checks, not substitute for them.
Review each voice independently before editing
Open the Edit view and inspect the host and guest tracks, checking start/end boundaries, missing words, long pauses, clipping and the natural overlap in conversation. Because the voices are separate, you can adjust one person’s levels or repair a localized interruption without automatically processing the other. Take care with overlapping speech: shifting one track relative to the other can make a response appear to arrive sooner or later than it actually did. Adobe also describes Enhance Speech and text-based editing, but neither is proof that a difficult sentence becomes accurate. Listen to every removal that could alter meaning, and keep raw captured audio available for comparison.
Export only after an integrity and privacy check
Before handing the interview to a producer, verify that both voices are intelligible, synchronized and complete, and that the project has the intended number of participant tracks. Check whether the audio or video includes personal disclosures that require redaction or restricted access. Adobe’s product documentation specifies individual 16-bit, 48 kHz WAV audio capture; do not confuse this documented format with a promise about the quality of any person’s microphone. Retain a source copy and an edit decision log. Confirm the desired export options in the current account and only share files with approved recipients. A reliable remote interview is one that survives both a technical review and a consent-aware editorial review.
How We Research
We compared Adobe Podcast’s host and guest guides with its current Studio product documentation, focusing on Chrome desktop compatibility, individual tracks, local capture, uploads and recovery advice. This is a preparation checklist based on published product behavior, not a report of a booked or recorded interview. No guest was invited, no microphone was tested, and the waveforms and sample participant rooms are drawn illustrations. Our primary documentation sources: Adobe: set up a remote recording; Adobe: join a remote recording as a guest; Adobe: Studio features and multitrack recording. Documentation may change, so verify current plan and interface details before following the steps.
Frequently Asked Questions
Adobe says Studio records participants on individual tracks, allowing separate editing rather than forcing every change onto one combined call recording.
The current Adobe guest documentation specifies Google Chrome on desktop and says mobile browsers are not supported for remote recording.
Adobe describes locally captured audio and progressive uploads, but you still must verify the actual recorded tracks; live-call quality does not prove source integrity.
Check the project first. Adobe suggests closing and reopening the project or browser tab to trigger its recovery mechanism when upload fails.
No. Participants still need an appropriate explanation of recording, intended use, sharing and any legally required consent before the host starts.