
A hypothetical museum photographer captured a RAW image of an old stained-glass window. The window is bright while the stone around it is dim, so a global exposure boost would erase colored-glass detail. Lightroom Adaptive Profiles can adapt tone, color, and contrast to a RAW or DNG image, but the result still needs careful review against the scene. This guide focuses on preserving blue and red panels, keeping surrounding stone neutral, and exporting an honest exhibit photo. The artwork is explanatory, not a screenshot or measured before-and-after from Adobe Lightroom.
Start with the camera original and a visual reference
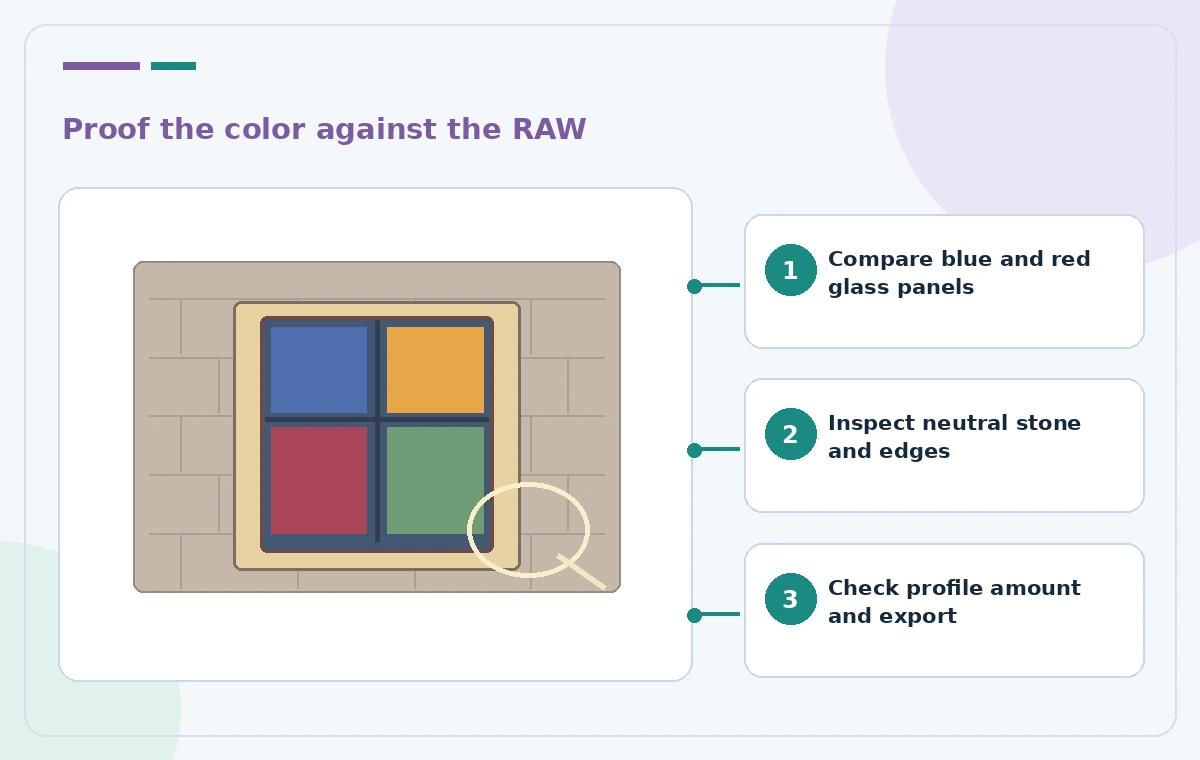
Keep an untouched RAW master and record lens, exposure, white-balance reference, and whether the museum permits promotional editing of the photograph. The hypothetical window has a deep-blue upper pane, a red lower pane, and pale limestone trim. These colors are part of the subject, not arbitrary style choices. Make a neutral proof image from the source before introducing adaptive tone adjustments. A single processed image can look attractive while drifting away from a reference, so the master and a trustworthy lighting note remain essential. Do not use a rendered JPEG as proof that a RAW-only profile will be available.
Confirm file type and the current profile location
Adobe’s current help states that Adaptive Color and Adaptive B&W work on RAW and DNG photographs, not ordinary JPEG or TIFF files. In Lightroom on the web, open the photo, select Edit, then browse profiles and choose an Adaptive option. Mobile and desktop versions have corresponding controls but not always identical panel layouts. Check your current app version instead of relying on an old tutorial screenshot. Adaptive profiles are different from artistic presets or a general Auto button. Keep the original untouched and create an independent edit version so you can return to the camera data at any point.

Apply a profile before complex local masking
Adobe advises applying Adaptive Profiles early in the editing sequence, before many later masks. Begin with Adaptive Color for a colored-glass record rather than switching to Adaptive B&W. Adjust the profile intensity from the documented 0–200 range, comparing incremental changes at a fixed zoom. A middle-range starting point is a review convenience, not a recommended universal setting; some photos need much less. Watch whether previously clipped windows become readable while shadow stone remains believable. Avoid using a dramatic slider value just to make a before/after social post look striking. The target is faithful presentation, not maximal saturation.
Use known color anchors instead of aesthetic preference alone
Compare the deep-blue pane, red pane, white grout, and neutral limestone across original and edited views. A color cast in the wall can signal an over-aggressive adjustment. The profile may make dark stone lighter without any guarantee of accurate historical color: white balance and mixed lighting still matter. If the camera record lacks a color reference, label the result as an editorial rendition rather than claiming precise conservation documentation. Check high-saturation edges for halos, glowing outlines, and color bleeding. Preserve the shape and number of glass segments, which should not be visually reinvented.
Recognize an exaggerated edit in the comparison
The conceptual comparison places three illustrated states side by side. The raw frame retains a deep-blue glass panel, the risky state shifts it to cyan while blowing out surrounding highlights, and the reviewed target restores blue while making the stone readable. These drawings are not outputs from Lightroom. In a real edit, compare at the same display brightness and zoom, then toggle the profile and inspect the histogram. Evaluate highlight clipping and local contrast, not only whether the overall preview is brighter. A marketing editor should not silently replace a conservator’s documented color record with a stylized interpretation.

Check interactions with Remove, Lens Blur, and masks
Adobe documents a recommended processing order for multiple AI edits and provides an Update AI edits command when results need recomputation. Depending on the platform, steps can include Remove, Lens Blur, Adaptive Profiles, and Masking. If you apply another AI-powered operation after the profile, review any update prompt and inspect the new output, because the pixel result can change. This does not mean every image requires all those effects. For a museum window, avoid object removal that erases cracks, leading, repairs, or labels; these details may be historically significant. Keep the edit history understandable to the image owner.
Test the result at exhibition and mobile sizes
A high-resolution monitor can conceal problems that become obvious in a small catalog image. Inspect the stained-glass leading at 100 percent, then view a downsized copy to ensure adjacent colors do not collapse into muddy areas. If the image is destined for print, follow the museum’s color-managed workflow with a soft proof and approved output profile. If it is for the website, check that the blue and red panes remain distinguishable for readers with varied displays. Provide accurate alt text describing the window and architectural context, not a claim that the Adaptive profile recovered an otherwise unseen historical design.
Protect the meaning of a documentary photograph
The editor should distinguish an interpretive promotional picture from a conservation record. A small tonal adjustment may be entirely appropriate for a visitor guide, while stronger local reconstruction is not appropriate in a condition-report archive without documentation. Record the processing method in derivative metadata and preserve the camera original for future researchers. If a pane appears repaired or cracked, do not use AI tools to hide it unless the commission explicitly calls for a labeled reconstruction. The final image should still communicate the same material, layout, and physical condition that a careful viewer of the source could establish.
Export only after a source-to-derivative sign-off
Create a compact review record listing source RAW filename, Lightroom version, Adaptive profile selected, intensity value, any additional edits, review display, and approved output. Ask the museum photographer or curator to compare a split view against the original. If the blue pane changes meaningfully or the stone develops an artificial glow, reduce the adjustment and repeat the check. Export a derivative in the requested format, leaving the master unmodified. No actual RAW file or benchmark has been processed for this article, and Adobe’s documented profile availability does not imply automatic color accuracy.
How We Research
We reviewed these named official developer resources: Adobe Lightroom Help — Use Adaptive Profiles on the web; Adobe Lightroom Help — Apply profiles on mobile; Adobe Lightroom Help — Update AI edits. We checked the documented feature entry points, eligible platforms, administrator or licensing controls, and known sharing or source limitations against the tutorial steps. Editorial examples were designed as hypothetical failure-mode checks, not reports of hands-on testing. We did not have a live account, source files from a museum or nonprofit, user interviews, access to private records, or measured model outputs. Every illustration is original explanatory artwork rather than a vendor screenshot or measured before/after result. Features and entitlements can change. A responsible editor should confirm current product documentation, applicable organizational policy, and the original evidence before putting the workflow into consequential use.
Frequently Asked Questions
Adobe documents Adaptive Color and Adaptive B&W for RAW or DNG files. A normal JPEG does not offer the same adaptive profile options.
Adobe specifies a 0–200 intensity range. The best setting depends on the individual image and must be visually verified.
Adobe generally recommends using adaptive profiles early, before complex masking edits, to reduce the need for recomputation.
No. Compare against the camera original, neutral reference surfaces, and any authorized color standard for the collection.
Some operations must be recomputed when later AI edits change the processing chain. Follow the prompt and inspect the resulting image.