
Let’s Enhance can enlarge an image for a print order, but increasing a number in the DPI metadata field is not the same as creating sufficient image pixels. The useful question is whether a particular file can support the exact physical size and viewing distance of your product without false detail. This guide uses a fictional eight-by-ten-inch landscape print to calculate its target, select an appropriate enhancement path, and review the export before money is spent. No product test or print order is claimed.
Calculate the print job before opening the upscaler
Obtain the printer’s finished width and height, preferred pixel density, bleed specifications, and accepted file format. At a requested 300 pixels per inch, an eight-by-ten-inch image needs 2,400 by 3,000 pixels in the matching orientation; this is a calculation, not a claim that all printers demand 300. The source’s shape matters too. A square source cannot fill a rectangular print without cropping or adding content. Decide the crop first and keep a copy of the uncropped original.
Make a tiny job ticket with four fields: source pixel dimensions, destination dimensions in inches, required output pixels, and intended viewing distance. For instance, a 1,200-by-1,500 source has half the target linear dimensions for this job. You can compare it to the target explicitly rather than trusting a generic “high-resolution” badge. Large-format wall art seen from across a room may need a different density from a hand-held photo, so ask the actual print provider before spending enhancement credits.
Distinguish pixel enlargement from DPI metadata
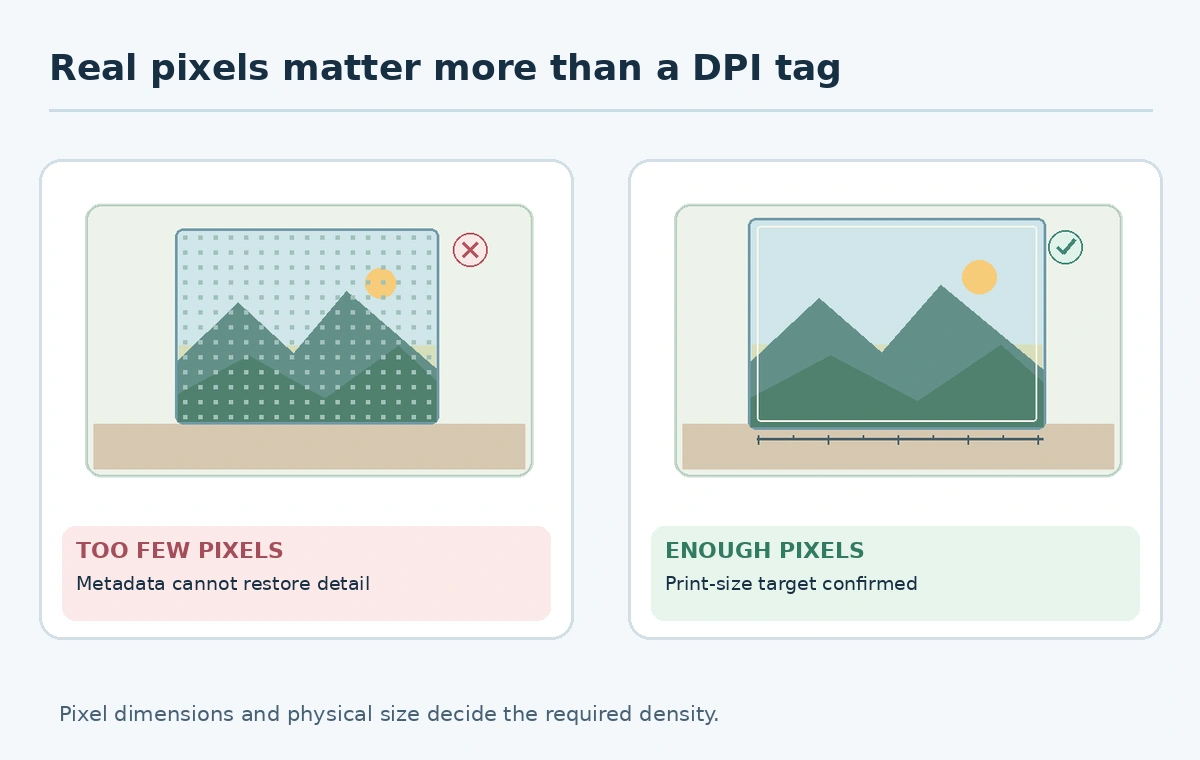
Let’s Enhance’s print-preparation help explains that pixels are the actual raster samples, while a DPI value tells software how tightly to map those samples onto physical material. Merely writing 300 into a metadata field cannot restore letters, foliage, or hair that the source never captured. A generated 3,000-pixel file may satisfy a numeric requirement and still look implausible under close scrutiny.
The same official help gives different viewing-distance suggestions for hand-held materials and large banners. Keep that distinction in your checklist. If the destination has a minimum quality requirement, measure both the horizontal and vertical pixel counts after any trim or crop, not just one edge. Avoid treating “300 DPI” in a download dialog as a print-quality certificate; the print provider also controls substrate, sharpening, color conversion, and final trimming.

Pick an enhancement model that matches the asset
The vendor’s model guidance distinguishes photographic images, line graphics, and digital illustrations. It describes Prime for photographic work and Gentle for graphics or text-heavy designs, while other modes target different image classes. Read the current controls inside your account; model lists and entitlements can change. Do not copy settings blindly from a tutorial that processed a different source.
For the fictional landscape, upload the cleanest available original, choose output width and height explicitly, and preserve the pre-enhanced file. Generate one candidate rather than a costly grid of variations. If the artwork contains a tiny sign, road marking, signature, or architectural feature, preserve a record of its actual original appearance. AI can invent plausible texture where evidence is missing, so an apparently sharper sign is not necessarily the correct sign.
Use a before-and-after inspection grid
Compare the unenhanced and enlarged images at a print-relevant scale. Check three types of regions: high-contrast edges such as rooflines, fine texture such as grass or hair, and semantic details such as printed lettering or recognizable objects. Enlarge one identical crop of each version; moving the crop between examples can conceal mistakes. A background that merely looks smooth does not prove the model recovered original detail.
Record pass or rework for every region. Rework includes duplicated tree branches, distorted railings, over-sharpened halos, fake words, or color blotches. Return to a less aggressive mode if the subject becomes less faithful. The goal is not to maximize apparent sharpness but to provide a believable, useful print at the required dimensions. Have a second person review any factual signage or product description before release.
Export the file the printer can actually use
Let’s Enhance documents PNG output and RGB files, and notes that CMYK handling may be required separately by a printer. Do not infer from a successful PNG download that an outside print shop accepts the embedded color profile or that its crop and bleed are correct. Share the original pixel-size calculations and ask whether the provider expects a bleed-inclusive artwork size or a trim-size image.
Download directly rather than resaving through a social-media tool that may recompress or resize it. Verify the file’s reported pixel dimensions in a separate viewer. Preview the image at its actual print size, not only at 400 percent on a monitor. If the provider requests CMYK, perform that conversion with its recommended color workflow and proof the resulting colors; conversion does not increase geometric detail.
Approve a physical or provider-generated proof
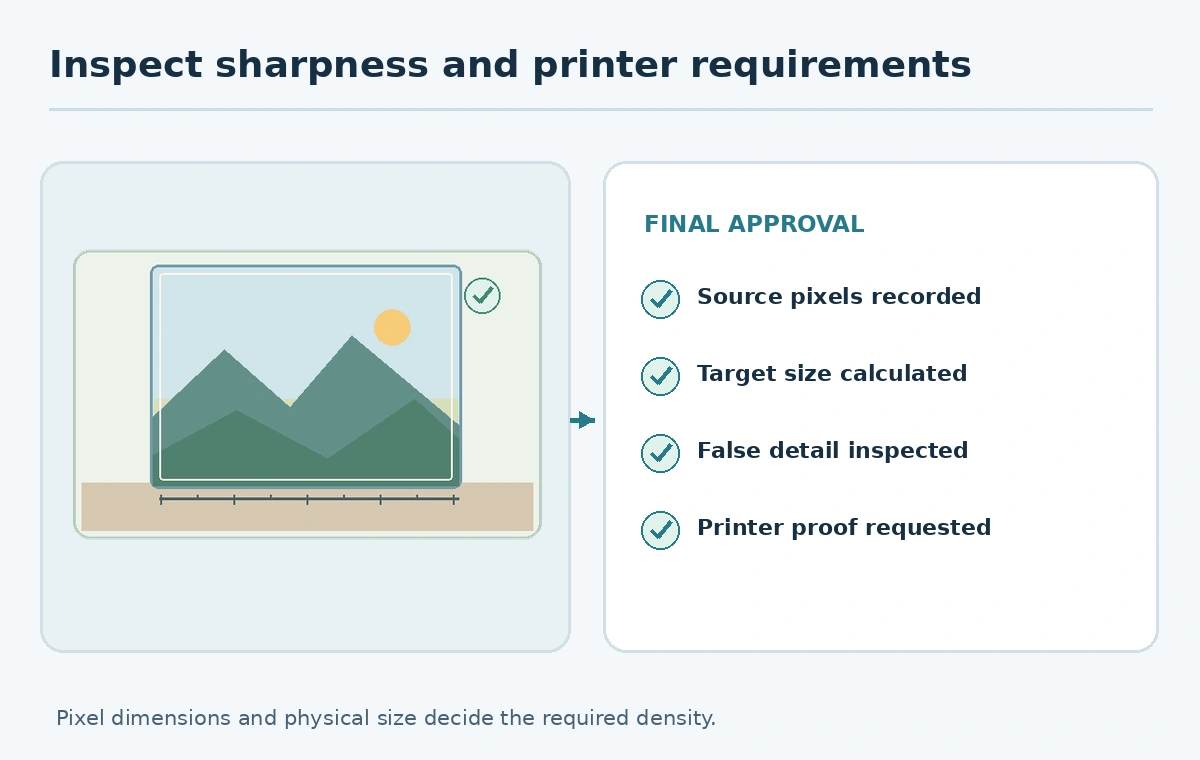
A final checklist should include expected trim, orientation, line detail, skin or product authenticity if applicable, text accuracy, and color expectations. For commercial or large-format jobs, request a proof sample where feasible. Record the sample’s outcome, paper and printer so a future reprint is not judged from a bright phone screenshot. A mockup of a framed poster is a planning aid rather than a substitute for physical production.
Keep the exact accepted export next to the original and the job ticket. Note any upscaler settings, generated date, model, target dimensions, and changes. If the poster moves from a ten-inch print to a large display, recalculate the requirement rather than assuming the same file will remain adequate. Repeat the proof after changes to cropping, paper stock, color workflow, or supplier.
How We Research
We checked Let’s Enhance’s print-ready help article and its print upscaling feature description on October 27, 2026. The eight-by-ten example and inspection grid are editorial calculations and recommendations; we did not purchase credits, run enhancement benchmarks, or order a physical print.
Frequently Asked Questions
No. Metadata alone does not create pixels or restore missing original detail.
It needs 2,400 by 3,000 pixels in the matching orientation, before any bleed or cropping adjustments.
Not automatically. Vendor guidance distinguishes photographic content from text-heavy or illustrated assets.
Yes. Inspect letters, structural lines, faces, and meaningful objects against the original.
A provider or physical proof is useful when size, color, crop, or cost makes errors consequential.