
A library technician records a short workshop on using a paper cutter. The demonstration includes spoken guidance, a pause while the guard is checked, and a quiet stretch while paper is aligned. Removing every silence would make the lesson faster but could hide a deliberate safety step. Clipchamp’s AI-powered Silence Removal identifies longer pauses and lets the editor preview or ignore them. This instructional example shows how to separate accidental dead air from necessary waiting time. The output should preserve cause and effect on screen, maintain accurate captions and never imply that a shortened tutorial can replace the manufacturer’s operating instructions.
Mark the deliberate pauses on the source timeline
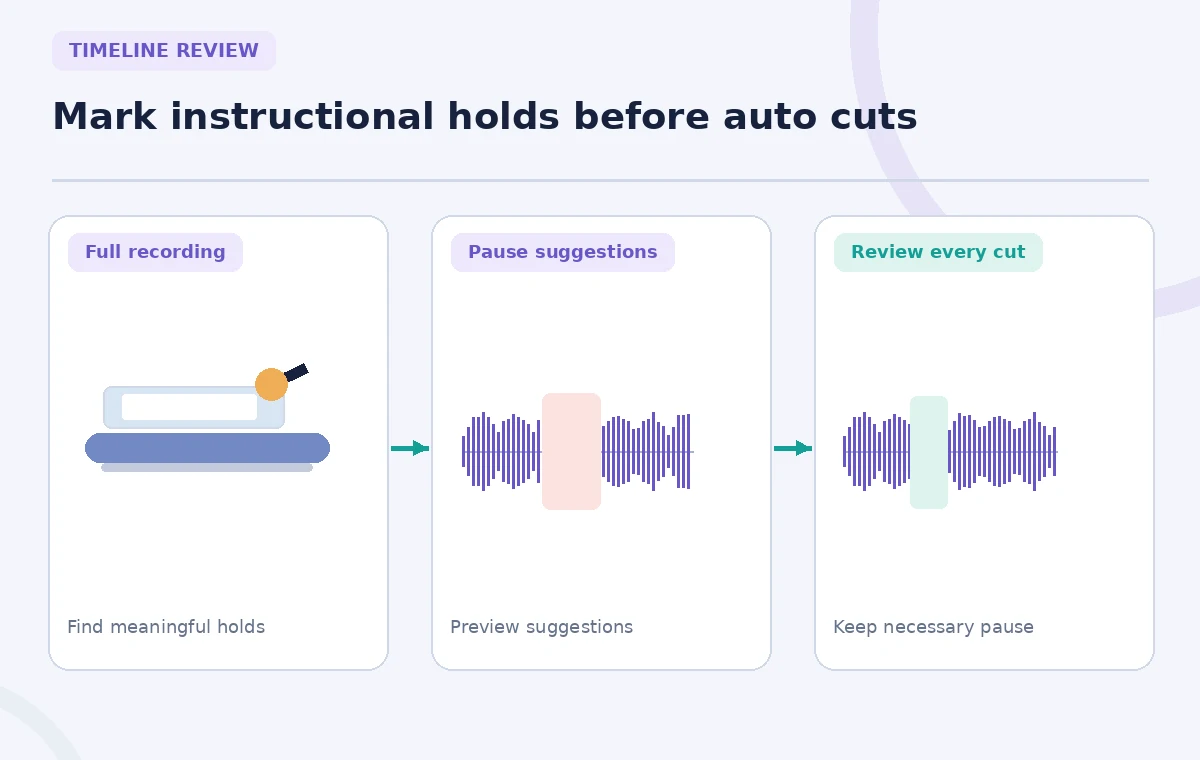
Before making automatic cuts, watch the entire recorded demonstration and write down the moments when a viewer needs time to see an action. In this example, the presenter pauses while adjusting the guard and waits again after placing a sheet. Those moments convey information even if the microphone contains no words. Identify genuine accidental delays separately, such as searching for a misplaced ruler after the lesson is already complete. Store an original copy and list the protected moments with rough timecodes. A pause that matters can last longer than a simple numerical threshold, so no generic auto-cut rule is enough on its own.
Locate Auto Cut and understand the threshold
Microsoft’s Clipchamp help describes importing or recording media with an audio track, choosing AI suggestions on the timeline and opening Auto cut. The editor can ask for transcription settings before it identifies silences. According to Microsoft, suggestions generally target pauses longer than three seconds; shorter silences are not suggested by this tool. The documented workflow allows preview, Ignore, Remove for an individual suggestion or Remove all. Silence Removal is described as free for Clipchamp users, although account interfaces and other export features may vary. Do not hit Remove all at the start: first find the protected instructional pauses and check every candidate against the action on screen.
Review audio and video as one continuous lesson
A waveform-only inspection can miss important visual activity. When a proposed cut begins, compare the picture just before and after the gap. If the presenter lifts the guard before the gap and the blade is already engaged after it, the edit removes the visible prerequisite. Keep that pause or create a carefully narrated bridge only if it accurately reflects the recorded instruction. Listen for clipped breath sounds or a missing first consonant at the cut edge. The process diagram places narration, action markers and suggested cuts on the same timeline because audio silence does not mean the tutorial has stopped teaching.
Compare a broken cut with a protected action
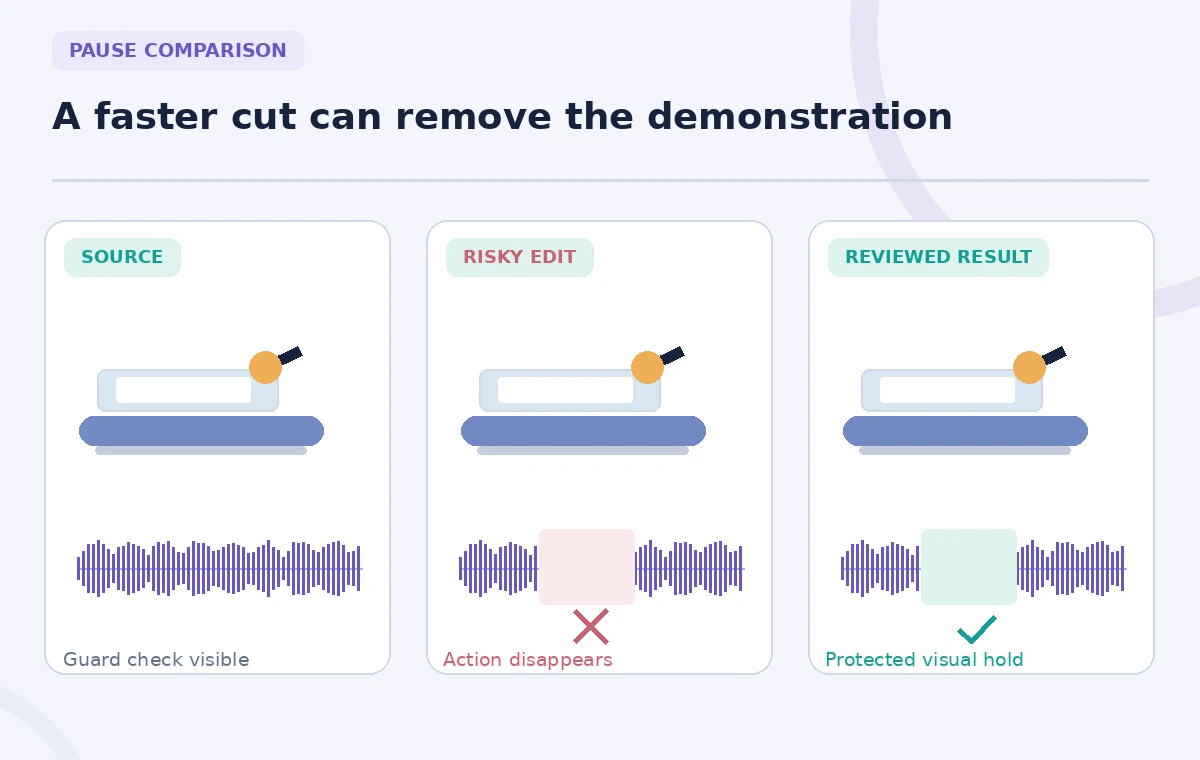
An unsafe edit can show “check the guard” and immediately jump to a finished cut, so viewers never see the guard check. A better edit keeps the checking action long enough to be understood, while removing unrelated dead air elsewhere. The comparison graphic illustrates the difference with three paper-cutter frames and a timeline bar; it is not captured from Clipchamp or a real safety test. When a jump is unavoidable, avoid editing it to make an incomplete action seem continuous. A simple hard cut at a natural topic boundary is more honest than covering a missing safety step with music.
Make deliberate decisions for each silence candidate
Use the preview arrow for each detected silence. Mark it Keep, Shorten manually or Remove, with one-sentence reasoning. Keep the device check, keep a purposeful visual demonstration, and remove only clearly unrelated dead air. If the editor leaves a small pause after removal, that is consistent with Microsoft’s description of avoiding jarring cuts. Where appropriate, add a short visual hold using actual existing footage rather than generating unseen actions. Do not apply a global rule such as “all gaps over three seconds are mistakes.” Save a working version so the original event sequence can be restored easily if a reviewer flags an ambiguous cut.
Recheck captions and timing after editing
Clipchamp documents a captions panel where the transcript may be edited or downloaded as SRT after auto cut. Review captions against the new timeline, especially where a cut moves a spoken caution to the wrong visual frame. Correct terms such as “guard,” “clamp” and “cutting line,” and keep warning text visible while the corresponding action is shown. An automated transcription cannot determine what an instructor intended to demonstrate. If the recording has no usable audio, silence removal may not apply as expected; do not assume the feature will infer quiet moments from video alone. Inspect the exported file rather than relying solely on the editor preview.
Get a subject-matter review rather than trusting pacing alone
Ask a qualified workshop instructor to watch the shortened sequence as if encountering it for the first time. Can they identify the order of the check, setup and cut without inferring an omitted step? If not, restore the source footage or rewrite the lesson using approved material. Avoid declaring the video safe merely because the cuts sound clean. Evaluate audio continuity, visible hand position, equipment state and whether any warnings overlap the appropriate shots. The final inspection diagram uses distinct markers for a protected pause, a removable idle stretch and a caption boundary—concrete checks that a viewer can reproduce.

Export a truthful, accessible short lesson
Choose an export appropriate for the distribution platform and review it in an ordinary mobile player. Confirm that captions remain synchronized, text is readable and the edited clip does not hide a change in equipment position. Include a reference to current manufacturer and organization safety instructions as appropriate, with the instructor’s approval. Keep the untouched original plus the edit decision log, so a later reviewer can recover a deleted segment. A concise demonstration is successful when every necessary action remains understandable. Clipchamp can suggest silent areas, but it cannot judge instructional necessity or take responsibility for the consequences of an omitted step.
How We Research
We relied on Microsoft’s official How to use silence removal article for Auto cut controls, the three-second threshold, transcript options and free feature availability. The paper-cutter scenario and all pictured frames are schematic, not real Clipchamp output or operational safety testing. Always follow qualified instruction for actual equipment.
Frequently Asked Questions
Microsoft documents suggestions for pauses longer than three seconds, not every brief gap.
Yes. The documented preview, Ignore and individual Remove actions support selective decisions.
Microsoft says the media must contain audio or voice for the feature to work.
Microsoft currently describes it as free for Clipchamp users; confirm other account-specific export options separately.
Removing time changes the relation between transcript text and the action on screen; inspect the finished export.