
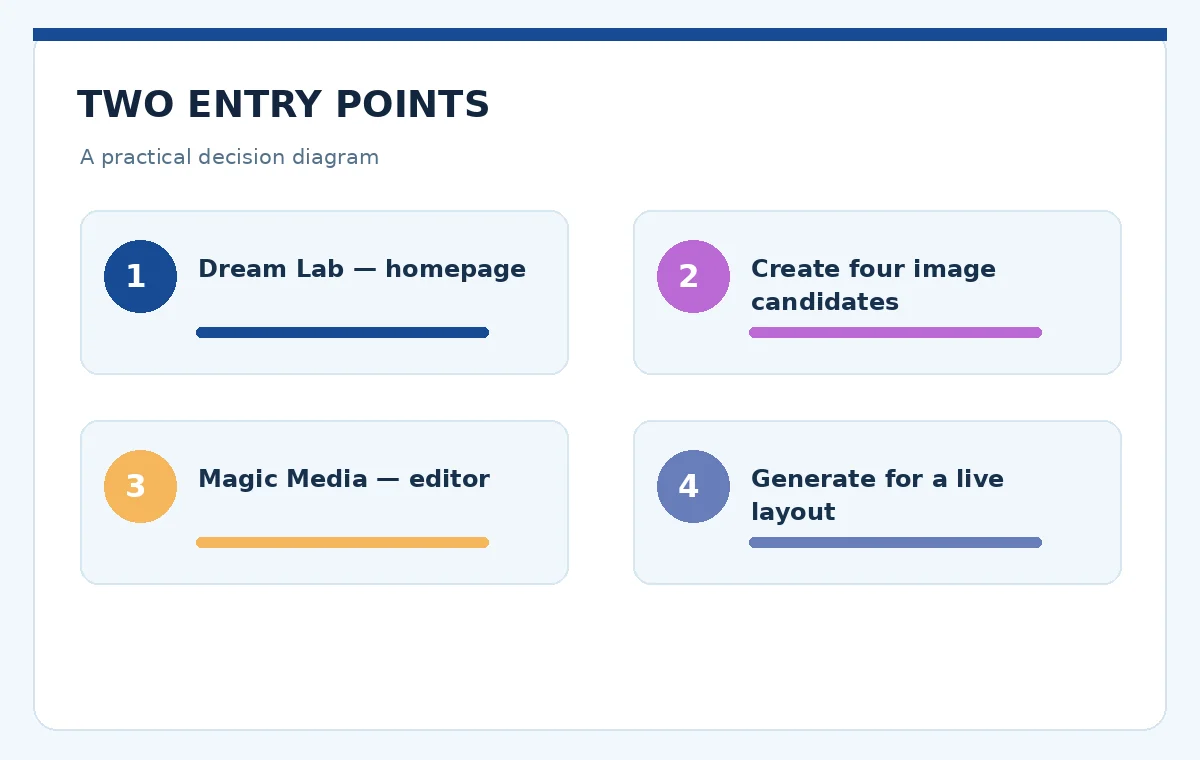
Canva offers more than one route to generated images. Dream Lab is accessed from the Canva homepage and emphasizes multiple visual options and iterative edits. Magic Media sits in the design editor and offers an in-context route for images and other supported media. Treating them as identical causes interface confusion and wasted generation allowance.
This guide focuses on choosing the right entry point, writing a prompt that leaves room for useful layout, and validating a generated asset. It does not assume every account can use every quality tier or that a generated scene is suitable for factual product advertising.
Choose between Dream Lab and Magic Media before starting
Canva’s Dream Lab help says to find it from the homepage under More, not from inside the editor. It can produce four image options per prompt and allows follow-up editing and, where supported, reference-image guidance. That makes it a logical starting point when the main task is concept imagery.
Magic Media, by contrast, is documented under the editor side panel or Apps. It lets you describe a visual and select an appropriate style or size while you are constructing a design. Choose Magic Media when a poster or social layout already exists and you need an image to fill a precise area.
Write a scene brief with composition and omissions
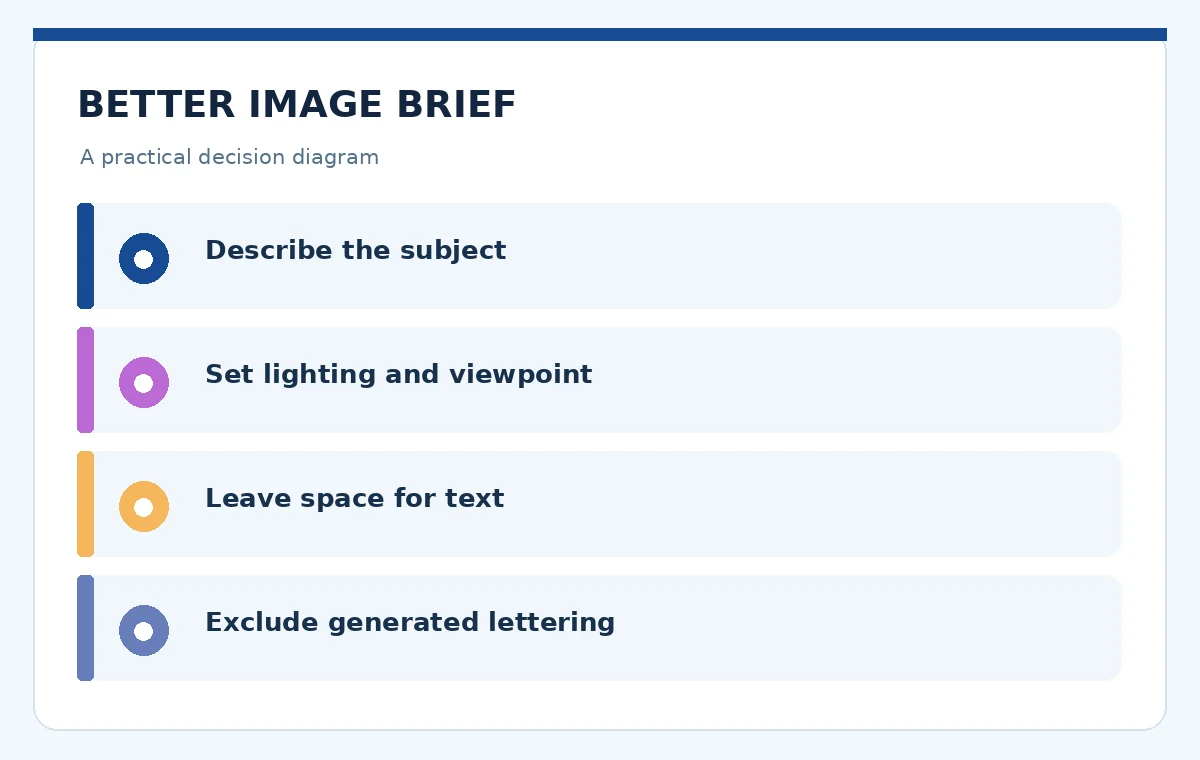
A good prompt identifies the subject, relationship between objects, lighting, viewpoint and space for typography. For a recipe newsletter image, try: ‘Overhead editorial photograph of fresh basil and tomatoes on a clean kitchen table, bright natural window light, calm composition, open space on the right, no labels.’
Avoid telling the model to write critical prices or ingredient quantities inside the photo. Generate a visual only, then add verified copy as editor text. If the brand uses particular hues, provide a style reference where the account and tool support it. Review whether the reference photo is authorized for reuse.
Generate a small set and inspect all variations
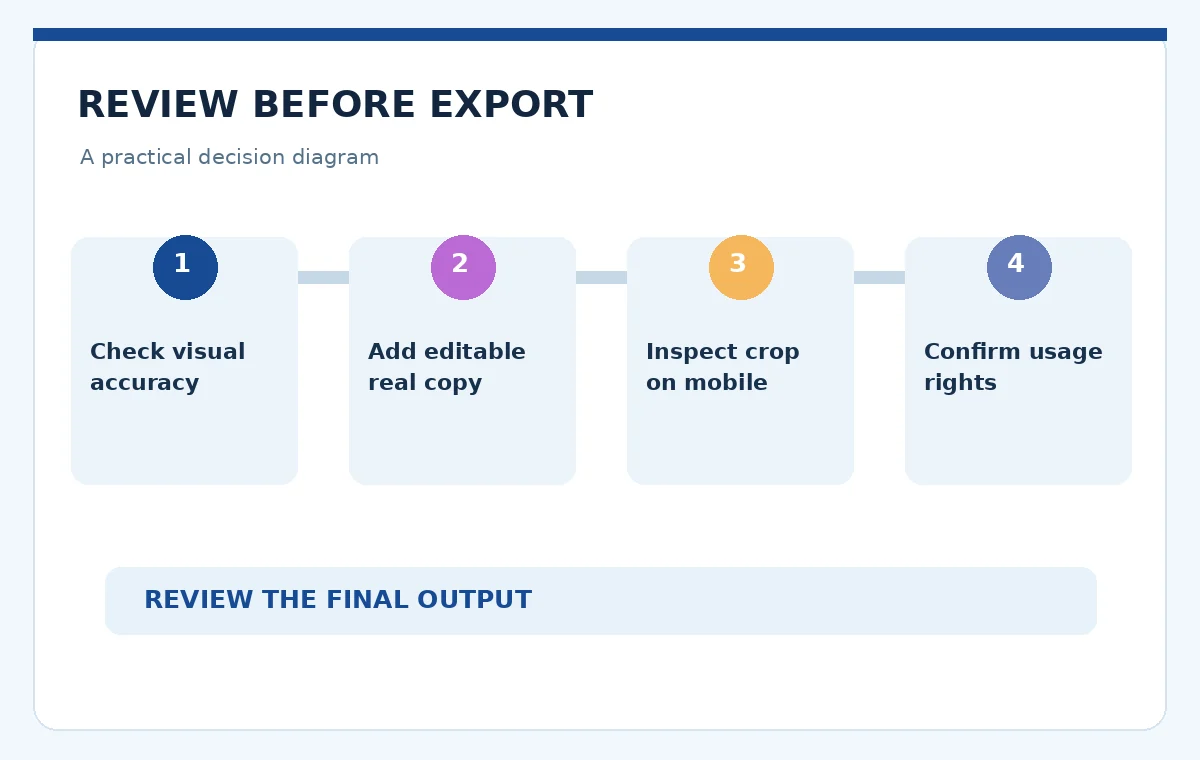
Canva’s Dream Lab documentation describes four options from a prompt. Compare them against the real brief rather than selecting the most dramatic image. Look for accurate object shapes, sufficient negative space, no accidental lettering, and visual compatibility with the campaign’s other assets.
Do not infer that a higher quality setting always fixes an incorrect composition. First improve the prompt’s subject and camera language. Higher tiers may use more of the AI allowance, so save expensive generations for a brief that has already passed a low-cost concept stage.
Use reference images and edits with restraint
A reference can help establish visual direction, but it may also import errors or rights questions. Use a photo you own or are authorized to use, and avoid identifiable faces or confidential facilities without permission. The Dream Lab help notes that reference usage may count toward allowances depending on the operation.
Make one clear edit at a time, such as changing a background color or moving an object. Save a version before the edit. Afterward, check unchanged areas for unexpected shifts in product shape, packaging or personal identity. A plausible AI edit can still be inaccurate.
Fit the generated visual into an actual design
Place the chosen visual behind editable Canva text. Set a safe margin, headline hierarchy and appropriate contrast. For a website banner, test how the main subject crops on narrow screens before finalizing. For a printed flyer, verify export resolution and include text outside busy illustrated areas.
A generated picture is not yet a deliverable. Ask a reviewer to identify the central message and next action without hearing the creative brief. If they cannot, revise the layout. Text-to-image output should support the information hierarchy rather than replace editorial decisions.
Understand AI allowance and quality settings
Canva’s pricing documentation distinguishes Standard, Premium and Ultra AI tools, with usage varying by task and plan. Dream Lab higher-quality options can consume more allowance. The fact that a feature is visible does not guarantee unlimited use, and a complex request may not cost the same as a simple one.
When planning a campaign, track generations and accepted final assets separately. First draft the layout using placeholders and only then generate high-value imagery. If a reference or resolution boost costs additional allowance, compare that cost against the simpler option of using a properly licensed existing photograph.
Review factual accuracy, rights and safety
Do not use an AI image as proof of a real product’s size, medical effectiveness or physical properties. If a furniture listing adds imaginary fixtures, a shopper can be misled. For public-facing materials, confirm that photos of products, buildings or people represent what your copy claims they show.
Check recognizable brands, stock elements and licensing rules; vendor access alone is not clearance for every use. If illustration is conceptual, label it as such where that distinction matters. For client work, retain the approved source, the prompt and a record of the final reviewed artwork.
Fix common failures without endlessly regenerating
Unreadable text usually calls for editable type outside the image. An awkward crop calls for a revised aspect ratio or subject placement. A changed product attribute calls for returning to an authentic source photo rather than another invented reconstruction. Distinguishing these failure types prevents wasted prompts.
If Dream Lab is missing, Canva’s help recommends checking the homepage More path rather than searching for it inside the editor. If a generation fails, simplify potentially restricted content and confirm account eligibility. Before escalating to support, record the tool, prompt type and non-sensitive error details.
How We Research
Research checked October 27, 2026. We separated Canva Dream Lab documentation from Magic Media editor instructions and AI allowance rules, without treating generated image examples as independently tested assets. Primary sources: www.canva.com (official product page); www.canva.com (documentation); www.canva.com (documentation). Feature availability, pricing and credit consumption may change; verify the vendor checkout or account dashboard before acting on financial or licensing details.
Frequently Asked Questions
Canva’s help places Dream Lab under More on the homepage. It is a separate entry point from Magic Media inside the design editor.
Magic Media is integrated into the design workflow, while Dream Lab is a homepage image-creation experience that supports multiple options and follow-up refinement. Feature availability can vary.
Canva’s current help describes generating four options from each prompt. Service behavior and available quality tiers may change, so confirm the current interface before relying on a fixed workflow.
Dream Lab supports reference imagery in documented situations. Use only authorized images, and note that references or advanced quality features may affect AI usage.
Possible use depends on the current license, account terms, source materials and the claims made by the ad. A generated visual must not misrepresent real products or imply rights you do not possess.