
Image-to-video generation is easier to direct when the producer knows what the camera should show at the beginning of each shot. A storyboard is not a promise that the model will produce an exact film; it is an inexpensive way to settle story order, reference ownership, visual continuity and the intended camera motion before paying for multiple generations.
This guide uses a fictional twelve-second promotional sequence as an editorial example: an opening detail, a wider product reveal and a closing brand-safe frame. The clip timings are a planning exercise, not a claim about a particular model’s allowed duration. Actual supported lengths and modes must be checked in the chosen account.
Start with one message and three shots
Write one sentence describing what the audience should understand after viewing. For a fictional handmade notebook advertisement, that might be “show the texture, demonstrate use and leave a clean area for the product name.” Convert it into three frames: macro paper texture, hands turning pages and a wide notebook on the desk. Avoid requesting three scene changes inside a single model prompt unless that exact mode supports them reliably.
Sketch the frames as simple rectangles. Note subject position, horizon, direction of light and negative space. A pencil drawing is enough to reveal whether the viewer can understand the sequence. Save actual claims, logos and price overlays for editable postproduction.
Create a shot list with accountable fields
For each shot record shot number, visual purpose, source image, camera behavior, subject action, duration target, audio cue and required sign-off. The shot number belongs in your planning spreadsheet, not in the final audience-facing image. The detail shot may require minimal movement; the middle shot may use a slow push; the final shot can use a locked camera with empty space for text.
Assign ownership. Somebody must confirm that product colors, people and locations shown in every reference are licensed or approved. Without that check, a visually consistent storyboard can still be unusable for a client campaign.
Build clean first-frame images
Image-to-video tools use the starting image for appearance, placement and lighting. Runway’s official guide stresses that input-image artifacts can become amplified during animation. Remove watermarks, stray limbs, warped perspective and unwanted blur from the reference before generating motion. Keep resolution appropriate for the target output, with enough room around moving objects.
If two shots are supposed to share the same product, use one approved product master and consistent color references. Generative variation may still change fine details, so establish which features are factual and must be checked frame by frame. Do not let the model invent a safety label, logo or technical specification.

Prompt motion instead of repeating the picture description
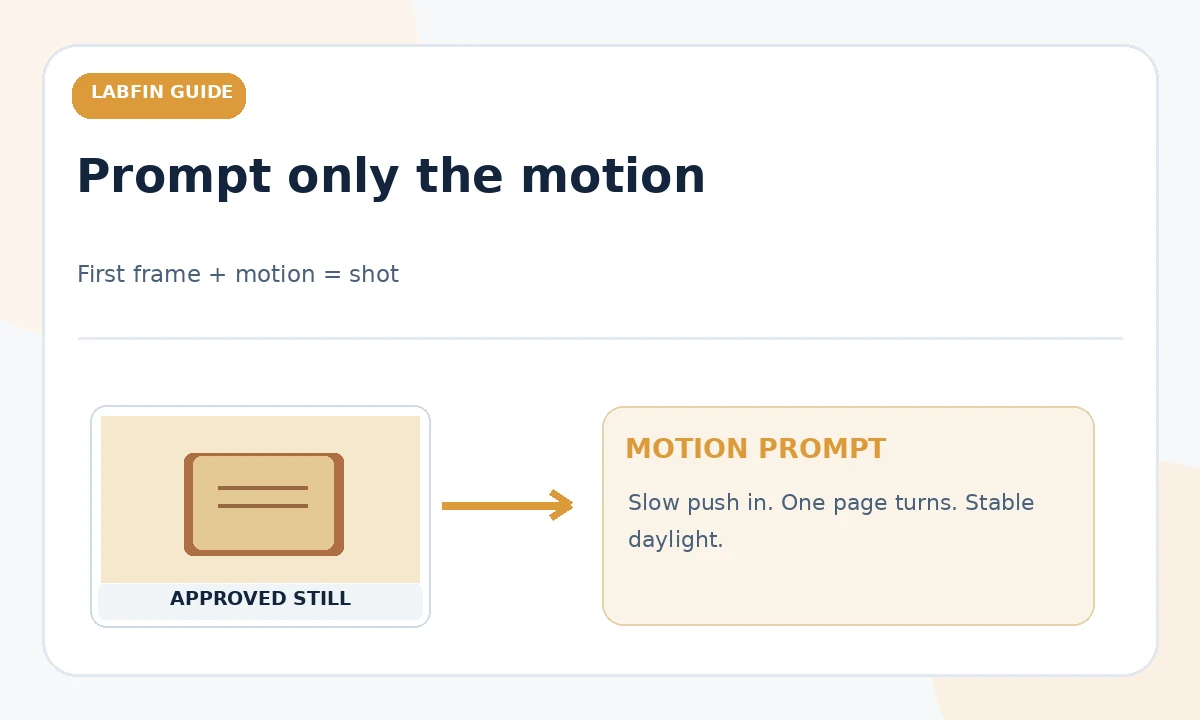
For image-to-video, Runway recommends describing what should move, how the camera behaves and how the action progresses. A useful motion instruction is “The camera slowly pushes toward the notebook as one page turns; daylight remains stable.” It is more directed than restating the entire scene already provided by the image. Specify speed and whether the shot should be continuous.
Avoid contradictory directions such as demanding a fixed camera while also asking for a dramatic orbit. Start with one motion. If the output drifts, change the movement description before adding more adjectives. Keep each trial prompt in a log so the successful motion can be reproduced.
Check the chosen model’s frame and length controls
Runway Gen-4.5 supports image-to-video and publishes current generation lengths and aspect ratios. Google Flow also lists first-frame, first-and-last-frame and reference modes by Veo model. Those names are not interchangeable: a setting available on one version or subscription may be absent from another. Choose the tool after reviewing your required starting frame, ending frame and duration.
Do not force the storyboard into the platform by guessing at hidden functionality. If the platform only animates a first image, use the next shot’s approved first frame as a new generation, then join results in an editor. Confirm current credit consumption inside the project before rendering.
Estimate a render budget for each shot
Calculate a provisional budget using the official model’s per-second or per-operation rates. On Runway Gen-4.5, the current guide lists 12 credits per second; a hypothetical five-second generation therefore costs 60 credits before iterations. This is arithmetic on a documented rate, not a performance test. Other modes and vendors use different billing rules.
Assign a maximum number of iterations to each shot and preserve one fallback still-image cut when movement remains unreliable. Record actual credit debits after each generation. A budget should include exports, upscaling, captions, sound, editing and the possibility that some rendered shots will be rejected.
Review continuity across shot boundaries
Place rough outputs in sequence before polishing any one clip. Look for sudden lighting changes, size jumps, drifting product details and inconsistent hand positions. A technically attractive standalone shot can ruin the sequence if the notebook shifts from tan to blue between cuts. Compare each output with the approved first frames and visual brief.
A continuity sheet with a few still frames is often faster to review than repeatedly scrubbing the entire timeline. Fix the most disruptive mismatch first. If generation cannot preserve a critical product feature, consider using authentic filmed footage or a restrained pan over a verified still.
Finish in an editor and add accessible information
Join the shots, normalize timing and sound, add the final product title as controlled typography and export the destination’s required aspect ratio. Automated audio and subtitles need human proofreading; generated images do not replace source transcripts or approved scripts. Build a quiet zone for captions and avoid placing essential words where interface elements may cover them.
For silent social placements, the story should remain understandable without sound. For narrated versions, verify the narration agrees with what is visible. Save the final clip, original references, prompts, and editorial approvals as separate assets so later corrections remain possible.
Use a final safety and disclosure gate
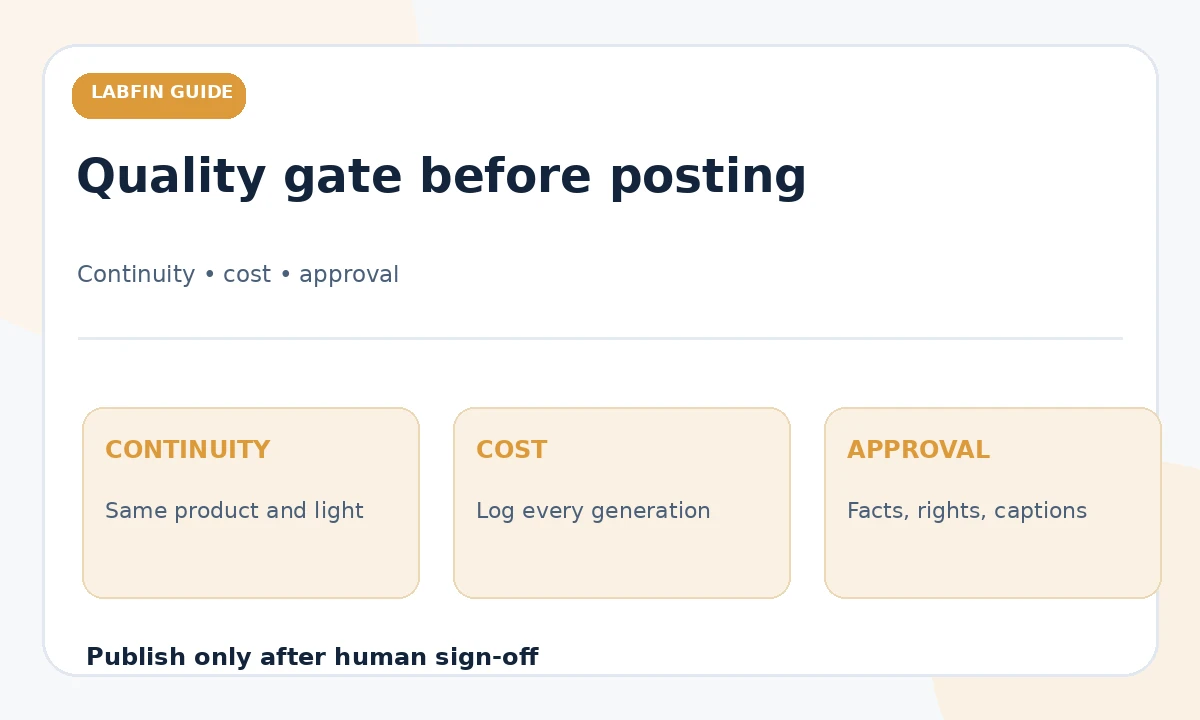
Review likeness permissions, copyrighted reference material, sensitive content, branded objects and product claims. Generated motion can suggest demonstrations that never occurred; do not present synthetic footage as factual documentation of an event. For customer-facing ads, have the product owner verify every depicted feature before release. Follow platform or regulatory disclosure rules where applicable.
A basic sign-off consists of creative acceptance, factual acceptance, accessibility check and destination export test. If any one fails, block publication and revise or replace the shot. A clear storyboard makes this decision less subjective by preserving what the clip was supposed to communicate.
How We Research
We checked Runway’s official image-to-video prompting guide, Gen-4.5 technical details and October 2026 camera-control overview, plus the Google Flow feature matrix. The three-shot notebook example is editorial planning, not a rendered or benchmarked video. We do not assert that a particular generated result was tested or that every model supports the same timing, references or export modes. Primary sources: Runway image-to-video prompting; Runway Gen-4.5 controls; Google Flow model features; Runway 2026 camera-control guidance.
Frequently Asked Questions
Not always, but a storyboard is useful for multiple shots because it documents order, composition, approved references and the purpose of each scene.
Describe subject, environmental and camera motion, including timing. The input image already supplies much of the composition and style.
Some Veo modes support first-and-last-frame generation. Google lists supported features by model, so verify the active option.
Start from approved reference images, keep a continuity sheet and inspect details in each rendered clip. Do not assume perfect consistency.
Budget each model operation and duration, plus retries, editing, sound and export. Compare the estimate with actual account debits.