
AI photo culling promises to shorten the first pass over a wedding, event or sports shoot. But the technically sharpest frame is not always the photograph that tells the story: a split-second expression can matter more than a perfect focus score. This guide uses a fictional dance recital contact sheet to separate technical screening from editorial selection. Adobe now documents Assisted Culling in Lightroom and Lightroom Classic, with eyes, focus and exposure-related criteria. The output here is a reversible shortlist and final human selection record, not a benchmark claiming a particular percentage of time saved.
Set up an import that cannot destroy the originals
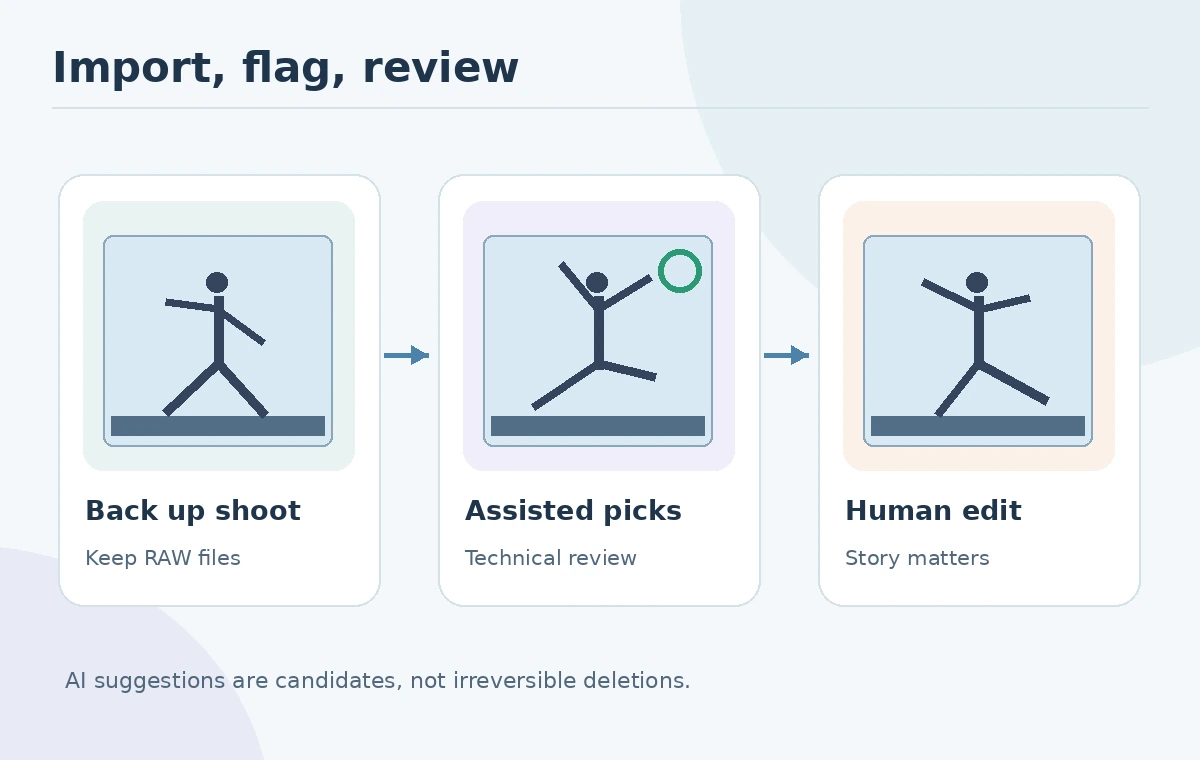
Copy the source photographs to a verified working folder and keep an independent backup before bulk culling. Preserve camera sequence, capture time, burst groups and original RAW files. A fictional recital may contain near-identical jumps, but slight differences in posture and expression are consequential. Do not delete unselected files merely because an algorithm labels them low quality.
Create a policy for the shoot: mandatory group portraits, emotionally important moments, sponsor shots and technically competent alternatives. Note the required final deliverables, such as one wide hero, a handful of close-ups and a small sequence that shows the event. This shot list will correct an AI filter that prefers isolated sharp faces over the story clients actually requested.
Use Lightroom Assisted Culling as a first pass
Adobe’s Lightroom Assisted Culling instructions describe selecting an album and using Cull, then choosing preferred criteria such as Subject Sharpness, Eyes Sharpness and Eyes Open. Its reject criteria include exposure issues, misfires and documents or receipts. After analysis, reviewers can inspect selects, rejects and all images, and choose batch actions.
These controls suggest a sensible workflow: set the focus threshold, analyze a smaller album, inspect false positives and false negatives, and only then apply it to a larger set. Adobe also documents Assisted Culling in Lightroom Classic. Do not assume that every button or threshold appears identically across versions or accounts.
Understand what the technical scores do not know
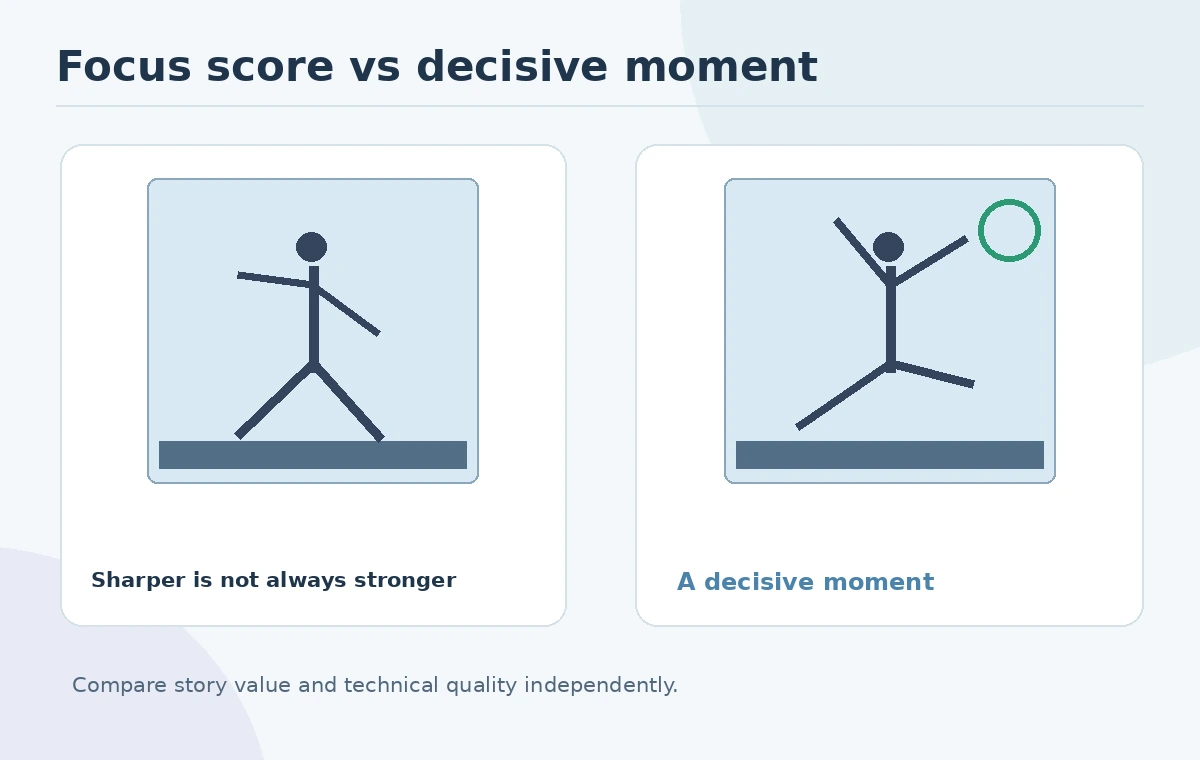
Subject sharpness is helpful for rejecting obvious motion blur, but a sharp background and soft main face can confuse a first pass. Eyes Open can be useful for formal group photos but inappropriate when the subject is singing with eyes closed. A dark frame may be intentional stage lighting rather than failed exposure. Context changes the meaning of almost every screening rule.
For the recital example, compare a precise mid-jump frame with a frame where the dancer turns toward the audience. The technically cleaner photo may lack narrative energy. Keep both until the human editor decides how the sequence works. Use a “story override” label rather than forcing every decision into an automated keep/reject binary.
Inspect bursts as groups and rescue false rejects
Sort images by capture time and camera so bursts remain next to each other. In each burst, choose the frame with the most useful body pose, interaction or expression; only then compare focus and cropping. A burst with five frames might have one acceptable moment even when several have similar exposure scores. Treat this as a practical evaluation, not a claim that Lightroom currently builds all of these groups automatically.
Review a sample of rejected frames after every batch. If high-value moments are frequently in that set, lower the aggressiveness of the criteria or use manual review for that scene. Keep specific overrides with reasons, for example “eyes closed intentionally” or “expressive audience reaction.” That record improves team consistency without inventing machine accuracy statistics.
Apply reversible ratings instead of permanent deletion
Adobe documents organizing analysis results with flags, star ratings, labels or album actions. Start with reversible markers: potential pick, human-review-needed and reject candidate. Confirm that the displayed count and filenames match what you expect before using bulk actions. Be especially cautious with an option that permanently deletes rejected images from the catalog or storage.
A safe example is to flag AI-selected frames as candidates, then add a human star rating after opening at full resolution. Do not equate a high AI score with client approval. Maintain at least one alternate for each required scene, because a crop or print format might rule out the initial favorite later. Save collection snapshots where the software makes that possible.

Build a final contact sheet for the editor
Create a contact sheet with sequence number, subject or scene, technical flags, reviewer choice and the backup frame. Use full-resolution inspection for critical faces, motion and noise, but also review the sequence at thumbnail scale. The two views answer different questions: is this technically usable, and does this frame deserve space in the final story?
For a dance performance, include an establishing frame, one peak action, a reaction and a closing moment. If all chosen images are similar tight portraits, revisit the shot list. This is an editorial framework, not a demonstration that one preset yields the best wedding or event gallery. The selected narrative should be explainable to a client without exposing internal machine scores.
Document the human sign-off and retained backups
The handoff should list original folder, culling criteria, flagged shortlist, overridden rejects, final picks, alternate picks and review owner. Archive source files under the agreed retention policy and preserve the right to revisit an AI reject. If storage is limited, make a deliberate documented retention decision after delivery, not during the automated initial sort.
The successful result is a faster-to-review candidate set that does not sacrifice important moments. Adobe’s feature documents mechanisms for technical selection, while the client’s story and ethical treatment of subjects still require a human. Never claim the filter removes bias or selects the most meaningful emotion automatically. Recheck tool availability and workflow details after software updates.
How We Research
We reviewed Adobe’s Lightroom Assisted Culling and Lightroom Classic instructions on October 27, 2026. The recital example and contact-sheet workflow are proposed editorial safeguards, not hands-on test data, culling speed measurements or an endorsement of deletion automation. Our method was to compare published vendor feature descriptions with the article’s concrete decision checkpoints, avoid unsupported performance claims, and keep fictional illustrations separate from documented product behavior.
Frequently Asked Questions
Adobe documents subject and eye sharpness, whether eyes appear open, exposure-related problems and certain misfires.
No. Review potential false rejects and keep original backups before any irreversible deletion.
Technical criteria do not establish narrative significance; a human editor must make that decision.
Yes. Adobe documents manual selection and rejection controls and subsequent metadata actions.
Preserve originals, a reversible shortlist, final picks, alternates and a named review record.