
A picture generator can create an appealing flower for a tote bag, but it cannot magically turn a pixel image into a reliable embroidery machine file. Thread has direction, density, travel paths, hoop limits, and fabric behavior that a flat illustration does not show. This guide uses a fictional five-petal flower emblem to explain an AI-assisted concept, manual vector cleanup in Inkscape, digitizing with Ink/Stitch, a machine-specific export and a real sew-out. The drawings illustrate decisions only; no machine test or stitch measurements were performed by LabFin.
Simplify the AI concept to thread-friendly shapes
Prompt an AI image generator for a single bold flower on a plain background, with five broad petals, a clear center and no small lettering. Choose a design that stays readable at the intended physical size. Treat soft gradients, realistic shadows, tiny hairs and isolated specks as concept features that may need removal, not as details to reproduce stitch for stitch. Check that reference photographs or existing embroidery designs are licensed for your use. Before tracing, decide how many thread colors the shop actually stocks and what fabric and hoop the project will use. A clean silhouette and a clear center will often survive the conversion better than a photorealistic image packed with microdetails.
Turn raster artwork into an editable SVG
Ink/Stitch’s official workflow starts with editable vector artwork, typically SVG in Inkscape. Import the AI-generated raster as a reference, trace large regions, then reduce excessive nodes and remove accidental fragments. Auto-tracing can create tiny islands and broken outlines, so inspect every path rather than trusting the first trace. In the flower example, create distinct shapes for each petal and its center; do not leave an accidental white gap where overlapping stitch areas should connect. Name the objects by material role rather than treating them as photo layers. Preserve the unmodified AI sketch for comparison, but use the edited SVG as the technical source of truth.

Plan stitch types and sewing order before export
A vector outline does not specify which stitches should secure the motif. Open Ink/Stitch parameters for relevant paths and choose appropriate fills or satin strokes based on width, fabric and design intent. The basic usage documentation shows how paths are parameterized; it does not promise that any arbitrary SVG will work without editing. Decide the intended order: for example upper petals, remaining petals, center, then final outline, while minimizing long jumps across finished regions. Review color changes and trim points in the stitch plan. Avoid prescribing universal stitch density or pull-compensation numbers without the machine, fabric and thread, since those parameters must be tested under actual production conditions.
Use the simulator and print preview to catch routing errors
Ink/Stitch provides a simulator, print preview and stitch-plan view. Use them for different questions: simulator for order and travel, print preview for placement and colors, stitch plan for dense regions and crossings. Look for unnecessary backtracking, jumps across open fabric and narrow shapes that demand excessive satin stitching. A simulated stitch path is not physical evidence that the final fabric will lie flat. At the intended sewn size, small gaps and overly fine outlines may vanish. If a line collapses in preview, redesign it instead of assuming more stitches will help. Save the working SVG after approval so the team can return to the true vector paths.

Export for the actual machine, not a generic extension
According to Ink/Stitch’s file-format list, formats include DST, PES, JEF, EXP and others. That does not mean every embroidery machine reads every output. Match your machine’s documentation and the workshop’s normal transfer method; check hoop size, thread-change behavior, orientation, and any vendor-specific constraints. Save a copy in the chosen embroidery format while retaining the editable SVG master. An icon that looks perfect as an on-screen PNG is not proof that a generated PES or DST is structurally correct. The person running the machine should inspect the exported stitch plan in their usual preview software before putting a needle through material.
Sew a sample on matching fabric and stabilizer
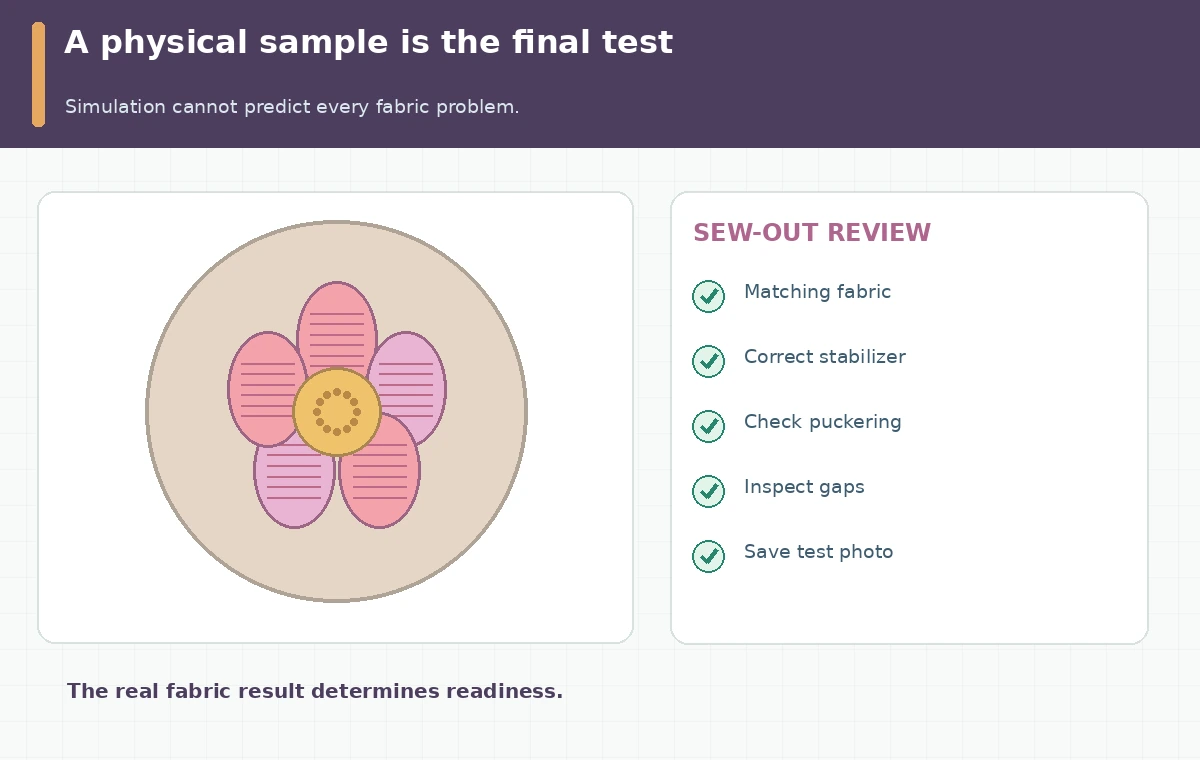
The Ink/Stitch workflow explicitly recommends a real sew-out and subsequent adjustment. Use scrap fabric close to the final tote bag material, with the same stabilizer, thread and needle class intended for production. Check whether the flower pulls out of shape, outlines drift, letters (if any) become unreadable, or dense regions buckle. Record what changed: path geometry, stitch order, density, underlay, pull compensation, or material setup. A paper print is helpful for positioning but not a substitute for stitch testing. If the badge fails, return to the SVG and repeat a controlled adjustment rather than exporting endless variations without observing the machine.
Deliver a production-ready record without overstating AI
Package the cleaned source SVG, the machine-specific stitch file, a stitched sample photograph, the thread-color chart, the intended physical dimensions, and the fabric/stabilizer notes. If you did not perform a sew-out, label the result “design proof only” and keep it out of production. Make sure customer-facing product photos depict actual stitched samples rather than generated fabric effects that exaggerate quality. Credit and license the original artwork where required. A responsible workflow uses AI for concept exploration, Inkscape for editable geometry, Ink/Stitch for digitizing and a real embroidery machine for confirmation. That division makes corrections reproducible and leaves a practical handoff for the next operator.
How We Research
We read Ink/Stitch’s official vector-to-embroidery workflow, parameter setup guide, and supported output format list on October 28, 2026. The documents support vector cleanup, stitch planning, preview, file export and physical testing. The five-petal flower is a conceptual demonstration only: we did not digitize it in the software or sew it on fabric, and no stitch-density values or machine performance scores are claimed. Verify file compatibility, hoop capacity and material settings against the actual machine and production operator before selling embroidery.
Frequently Asked Questions
Not as a reliable stitch plan. Convert and digitize the artwork into an accepted machine stitch format first.
Yes. It uses editable SVG paths in Inkscape to configure and preview embroidery.
No. Choose a format supported by the particular machine and the workshop’s process.
No. A test sew on matching fabric and stabilizer is essential to assess distortion, density and thread behavior.
Keep the cleaned SVG source, plus any source imagery and the versioned machine export.