
A local science club wants a friendly poster and online description for its open lab evening. Canva Magic Write can generate event copy from a short prompt, but its fluency creates a specific problem: it may add accessible parking, sign-language support, or step-free entry that the organizer has never verified. Those details affect whether someone can safely and comfortably attend. This hypothetical guide uses an approved event fact sheet and a claim-by-claim review of generated text. The goal is not to make the event sound less welcoming, but to publish genuinely helpful information, clearly mark what is unknown, and avoid using AI writing as evidence about a real venue.
Build the facts list and separate unknowns
Create an organizer-approved record before opening Magic Write: event title, exact date, start and end time, time zone, ticket cost, venue address, contact email, age restrictions, and confirmed accessibility arrangements. Include a source column noting who verified each item and when. If an accessible restroom or quiet room is not confirmed, leave it unknown rather than defaulting to yes. A contact line for access questions is useful only if somebody is assigned to answer it. Treat phrases like ‘all abilities welcome’ or ‘fully accessible’ as substantive claims requiring evidence, not generic promotional decoration. Preserve the record as the source against which all versions will be audited.
Use Magic Write to draft, not to research the venue
Canva’s official Magic Write help describes generating text from prompts and existing content across parts of Canva, including Docs and other design workflows. Open the permitted design or document and request a short event blurb using only approved facts. For example: ‘Write a 70-word description for an open lab evening on November 14, 6–8 p.m., at a named venue. Do not invent accessibility features, transport, free materials, or activities. Add a line inviting questions to the listed organizer.’ Check the current AI usage limits for your account. The output is a draft, even when it matches your tone or can be inserted directly into the design.

Keep schedule, cost, and venue language exact
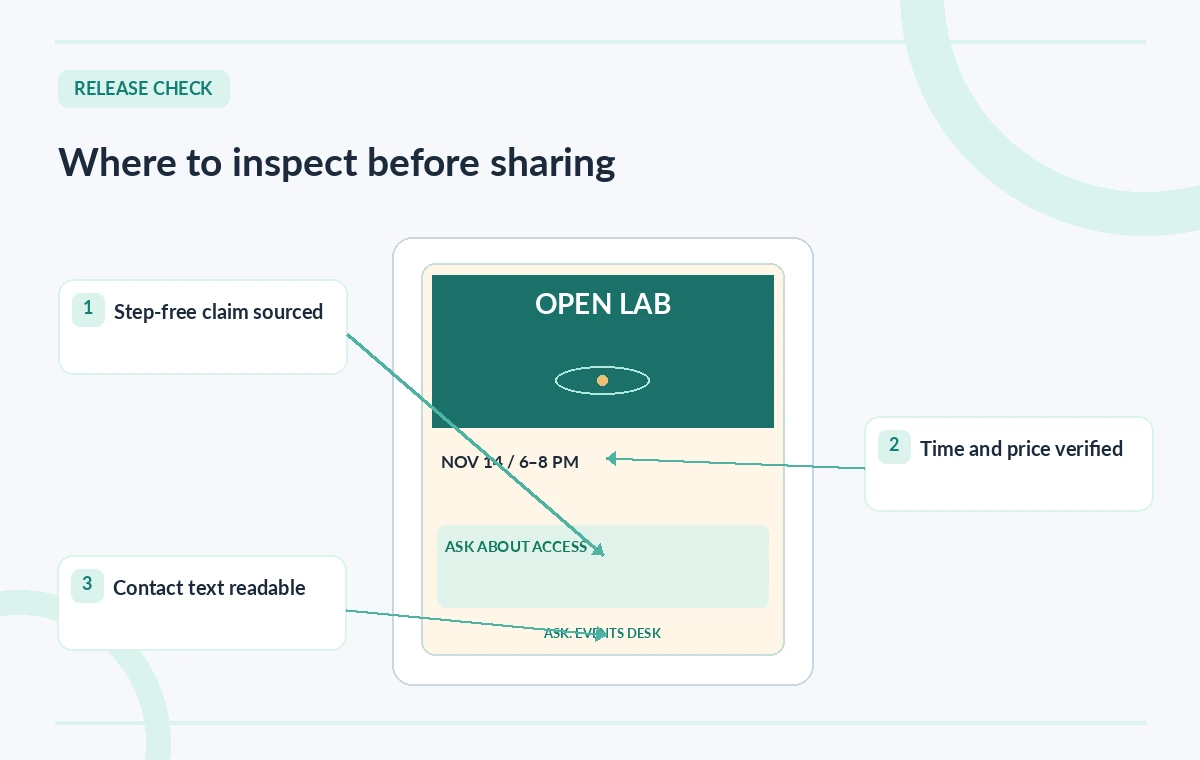
Compare every generated number against the source sheet, including dates, doors-open time, ticket price, and the year. Check common small errors such as reversing month and day, adding a free-admission claim, or presenting a tentative demonstration as guaranteed. If the event involves registration, confirm the web address and deadline before printing anything. Avoid embedding event facts only in decorative graphics: they must survive as readable text in the social caption or accessible event page. If the location is a campus, specify the building and entrance rather than relying on a generic street address that might send someone to the wrong door.
Illustrate the difference between warmth and invention
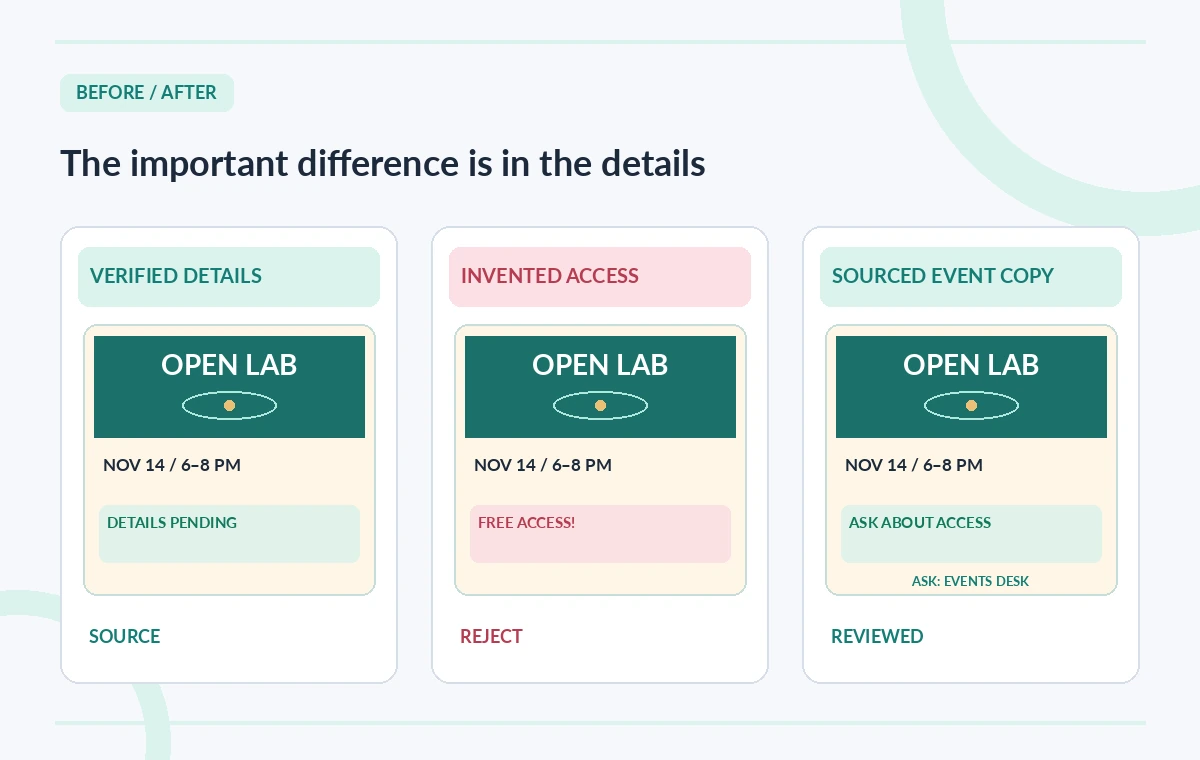
The comparison graphic uses a fictional event flyer. One panel carries confirmed date and venue information; another adds ‘accessible parking and live captions’ without support; the final panel limits itself to verified information and gives a contact for accommodation questions. These are teaching samples, not captured Canva outputs. The middle sentence might look helpful, which is exactly why it is a meaningful editorial risk. Mark every reference to accessibility, transportation, pricing, childcare, refreshments, supervision, and parking during review. Any such phrase needs a named source, a clear caveat, or removal before the listing is released.
Prepare accessible copy as well as attractive design
Readable information does not begin and end with font size. Put the most important practical details in a predictable order and use plain language for arrival instructions. Maintain enough contrast, avoid light text on busy photos, and provide a text equivalent for any information communicated only with icons. Break long paragraphs into short units without dropping important limitations. If a design is shared through social media, include date, time, address, cost, and access contact in the accompanying caption. Generated slogans should not push verified logistics so far down the page that readers miss them. Before export, check text at the size a phone user is likely to see.
Get venue-specific access information from the right owner
Ask the venue operator about step-free routes, door widths, elevators, restrooms, seating and emergency procedures as appropriate for the event. Do not infer these from old photos, reviews, or a venue category. If services such as live captioning or interpretation are offered by reservation, include the actual deadline and process only after confirmation. If the venue has partial access, describe the relevant route or limitation accurately rather than calling it universally accessible. An organizer can always state how to request clarification, but must make sure the mailbox and response responsibility are real. This is an inclusion and safety check, not a decorative SEO enhancement.
Review changes across posters, pages and captions
When the organizer approves the text, make one canonical version and compare each output against it: printable poster, web listing, social card, and short caption. Canva may reflow or shorten copy for smaller layouts, so recheck that dates, prices and accommodation contacts were not cropped or paraphrased into something different. If a layout cannot fit the complete information, link to a maintained event details page and preserve the essential facts prominently. Use version labels and an approval date so a stale poster does not survive after a venue change. Mark intentional edits to the content so reviewers can tell a visual adjustment from a factual change.
Publish with a corrections path and honest method
Have a second person read the exported materials rather than just the editable Canva Doc. The final review checks every fact against the organizer sheet, opens registration links, verifies contact addresses, and confirms the same details in the caption. If an access arrangement changes after publishing, update all channels and notify registrants when the change matters to attendance. Record who approved the correction. The goal is a clear invitation that readers can trust, not the largest amount of AI-generated promotional language. This article uses a fictional venue and illustrative designs; we did not confirm access conditions for a real site or run a user test in Canva.
How We Research
We consulted Canva’s official Learn about Magic Write and Magic Write product guidance for prompts, editing, supported uses and changing AI usage limits. All event particulars, accessibility claim examples and artwork are fictional. No real venue’s accommodations were surveyed and no Canva-generated response is represented as a test result.
Frequently Asked Questions
Yes. Canva documents generating text and outlines from prompts within its design workflows.
No. Confirm route, services, restrictions and contacts with the venue operator before publishing.
Do not assert unverified services. Provide a monitored contact for questions and explain known limitations accurately.
Yes as a starting point, but review each output for cropped dates, distorted instructions and accessibility issues.
No. Canva documents changing AI usage limits and account-specific access, so check its current help pages.