A guest gives a valuable answer just as a nearby phone emits a brief, pitched notification. Cutting the moment would also remove speech, and ordinary broadband noise reduction may not distinguish the tone from the voice. Adobe Audition’s Spectral Frequency Display makes narrow tonal events easier to locate; its Spot Healing Brush can repair suitably small artifacts. Here ‘spectral healing’ means that workflow, not a separately named Audition product module. The example below is an invented interview with drawn spectrograms; no repaired clip or listening result is being claimed.
Determine whether the sound is isolated enough to repair
Hear the original through headphones while reading a rough transcript. Note when the beep begins, whether it overlaps a word, whether it has more than one pitch component, and whether its decay extends into the following sentence. A clean narrow tone between syllables is easier to repair than a sustained alarm across a long vowel. The interviewee’s words and meaning take precedence: never silently remove a word or imply that an interruption did not occur when it changes context. Ask whether a simple edit during a pause would be more transparent. Keep a duplicate of the original file so any spectral operation can be reversed or refined.
Read the two axes of the Spectral Frequency Display
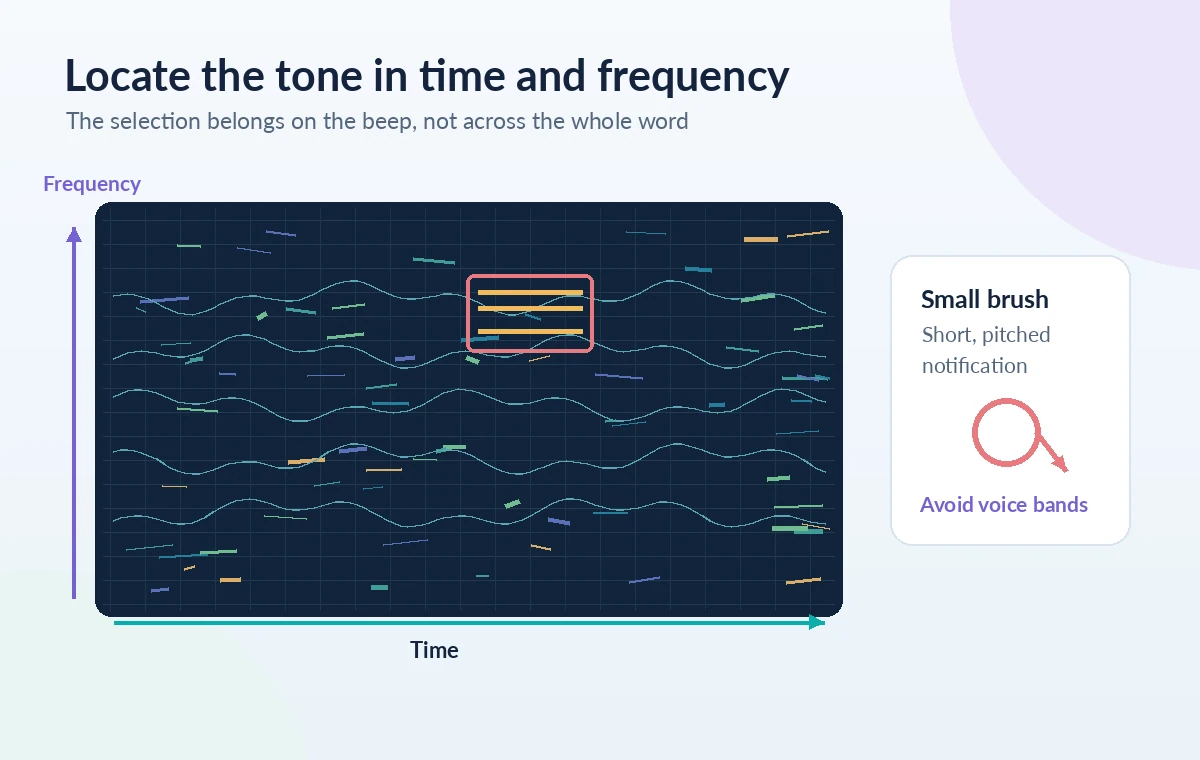
In a spectrogram, time runs horizontally and frequency vertically; stronger energy appears brighter or more saturated. A short high-pitched notification may create a compact horizontal streak or a set of harmonics, while speech produces changing, textured bands. These patterns vary with the source, window settings and overlap, so do not infer a measured pitch from this guide’s illustration. Enable Spectral Frequency Display and zoom to the brief problem area. Keep the accompanying waveform visible if practical because the time envelope helps place an edit relative to consonant attacks. The objective is to select the nuisance, not the entire section of dialogue.
Choose the smallest effective spectral region
Adobe documents rectangular, lasso and paintbrush-style spectral selections, with the ability to change their size and opacity. Start with a compact region around the visible beep and only enough time to cover its tail. If the tone sits under a voiced syllable, avoid selecting all energy at that frequency across the sentence. A sharply bounded selection can leave an abrupt edge, while an overly broad one can erase harmonics that belong to the speaker. Compare the highlighted region to the neighboring audio before applying repair. For an event with several components, a couple of thoughtful local selections can be safer than a large rectangular cut.
Use Spot Healing Brush for a genuinely short artifact
Adobe’s current selecting-audio documentation says the Spot Healing Brush applies the Auto Heal command and is optimized for small artifacts, with a four-second limit for its selection. It is not a promise that a four-second tone can be cleanly removed without affecting speech. Set a brush diameter appropriate to the streak and drag across the unwanted feature. One click may move the playhead instead of repairing, depending on application preferences. Examine the result immediately rather than painting repeatedly over the same spot. If the beep remains prominent or speech becomes phasey, undo and try a narrower selection or another editorial strategy.
Audition the complete speech range, not only the selection
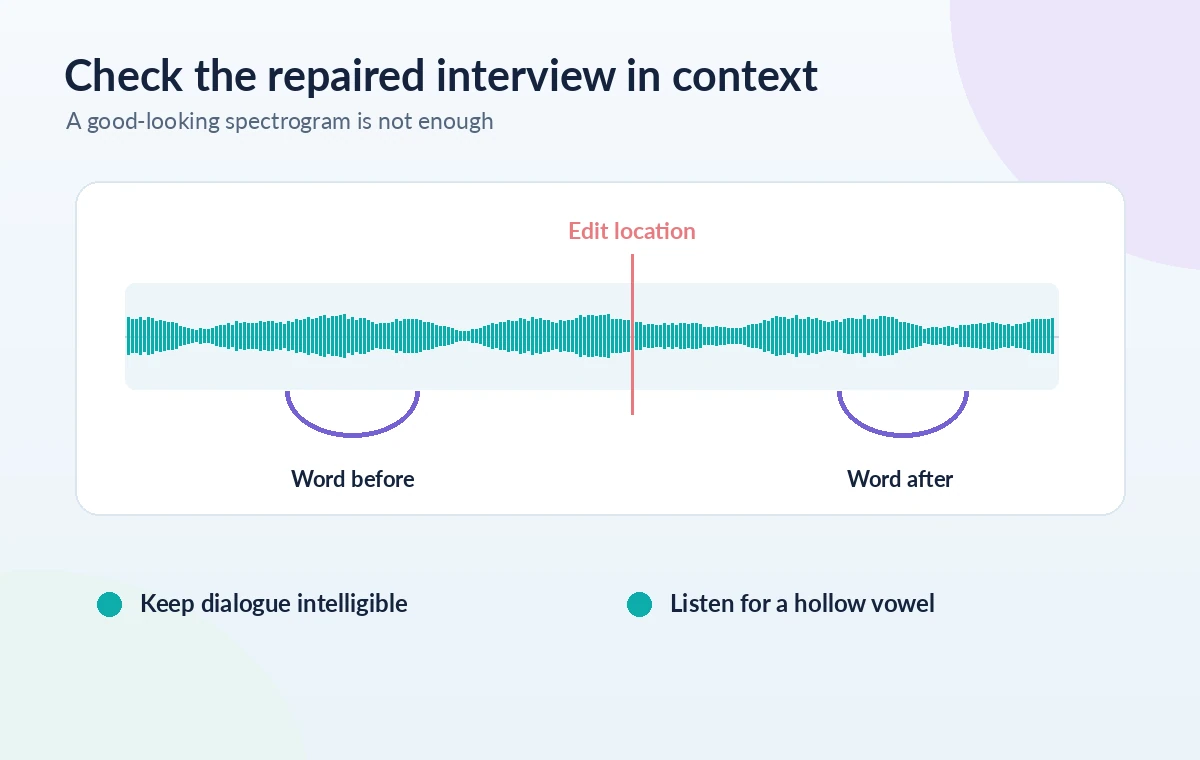
A repaired region can sound fine when soloed yet reveal a hollow vowel when placed back in the interview. Adobe notes that Spectral Selection Only playback may be enabled by default; to hear the full audio in the same range, change that playback behavior as documented. Use both modes deliberately: the isolated frequency region helps you understand what is targeted, while full-band playback shows whether the person still sounds like themselves. Compare the original and candidate at matched volume, especially the consonants before and after the phone beep. A spectrogram is a map for an editor, not an automatic guarantee that a repaired sound is transparent.
Inspect before, selected and repaired versions
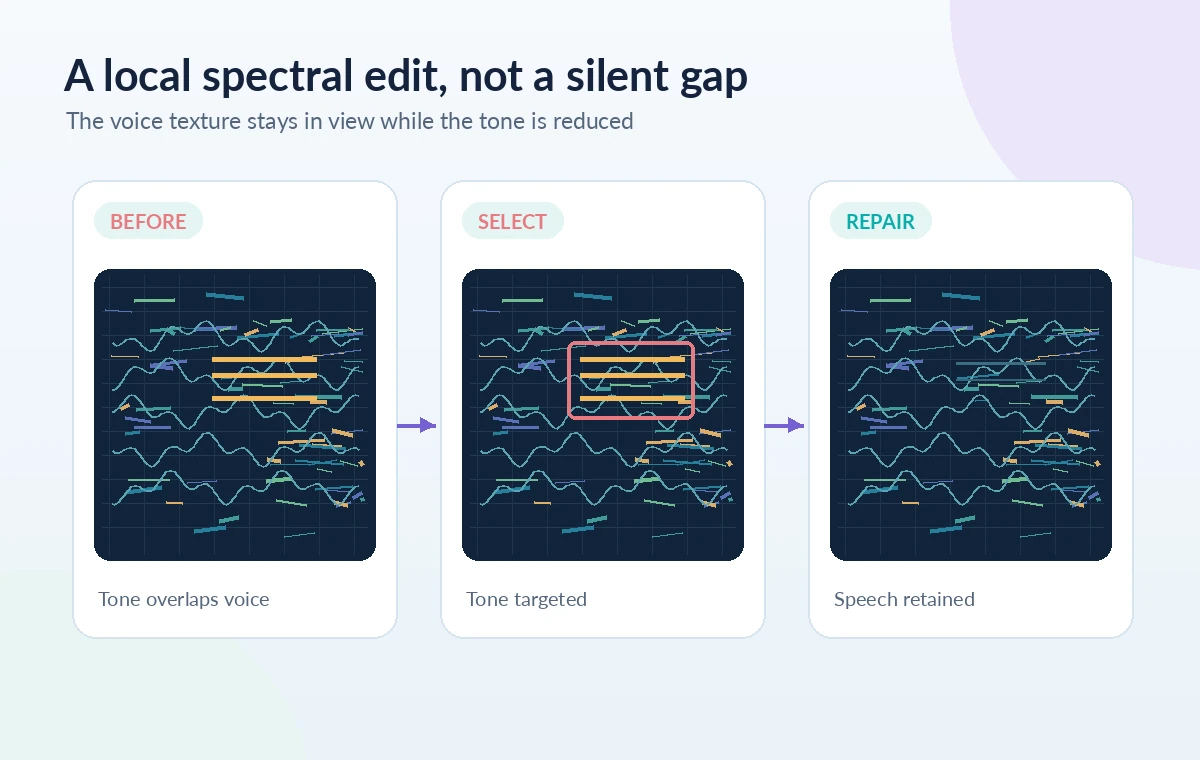
The comparison diagram shows one straight tonal streak highlighted against textured speech bands and a third panel where the streak is reduced locally. Those shapes are explanatory, not measured spectrogram data. In a real session, assess how the event changes in the live display and how the whole phrase sounds. Watch for an unnaturally empty stripe, a digital chirp, or a sudden change in the room tone. If the repair makes the voice less understandable, retain more of the original and consider masking the remaining artifact with natural ambience. A little audible phone tone may be preferable to an unintelligible or misleading sentence.
Preserve room continuity and interview integrity
An interview has acoustic context beyond the words: background ventilation, breaths, vocal resonance, and an interaction rhythm. Do not replace the affected second with silence merely to get rid of the notification. Where the beep happens between phrases, a careful edit using nearby room tone might be more convincing than frequency repair. Where it covers an important statement, mark the segment for closer editorial review and ask for a re-record or clarification when feasible. If the interview is journalistic, consider whether the interruption should remain for accuracy or disclosure. The editing method should serve the recording’s purpose rather than hiding every imperfection.
Run a short release review and keep the original
Listen from several seconds before the event through several seconds after, then replay the clip on ordinary speakers as well as headphones. Confirm that no syllable was changed, no breath was severed, and the apparent timing of the answer remains intact. Save an edit decision note identifying the repaired notification and your selected range. Retain an untouched master and the working session so another editor can evaluate the choice. Do not label a spectral diagram or an edited example as proof of a real successful removal unless you have independently recorded and tested that result. The final acceptance criterion is intelligibility with minimal collateral damage.
How We Research
We reviewed Adobe’s own documentation for frequency-based selections, brush behavior and the stated limit for Auto Heal, along with the official Spectral Frequency Display tutorial. ‘Spectral healing’ is our descriptive term for the process, not the name of a standalone feature. The fictional interview and its illustrated tones do not represent an Adobe screen capture, user file or tested restoration. Our primary documentation sources: Adobe: select audio ranges and use Spot Healing Brush; Adobe: Spectral Frequency Display tutorial. Documentation may change, so verify current plan and interface details before following the steps.
Frequently Asked Questions
Not as a separate feature name in the cited documentation. Use the Spectral Frequency Display and the available selection and Spot Healing Brush tools.
Adobe says Auto Heal is optimized for small artifacts and limits selections to four seconds. A long alarm across dialogue may need a different editorial solution.
A sustained pitch can concentrate spectral energy at particular frequencies over time. Real tones can include harmonics and may not form one perfectly straight line.
Only full-band playback reveals whether repairing the tone also changed consonants, vowels, room tone or the surrounding spoken phrase.
No. Keep it when its presence matters to the meaning or recording integrity, and prioritize the voice over a perfectly clean spectrogram.