
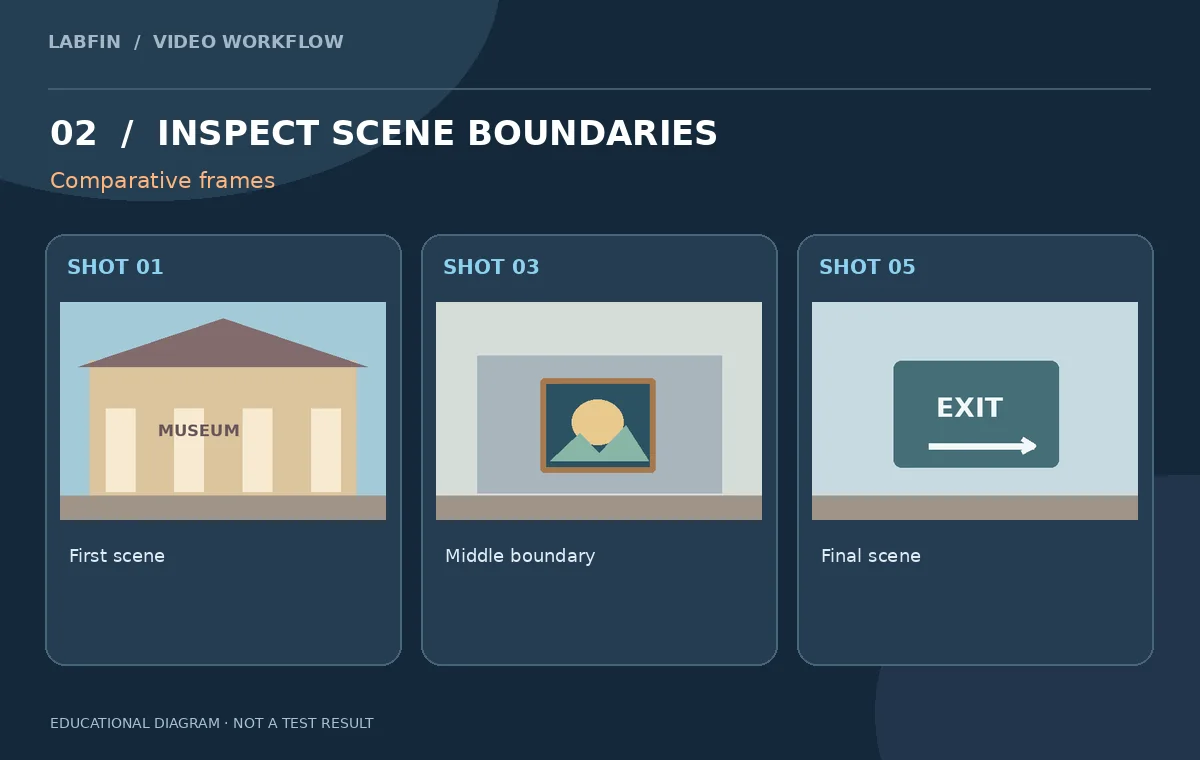
A museum has one completed thirty-second recap but no source timeline. The editor wants to change the caption on the painting shot without applying effects to every other scene. Premiere Scene Edit Detection can locate hard cuts in a flattened video and create timeline edits, subclips, or markers. This is shot-boundary recovery, not restoration of the original camera files or hidden layers. The workflow below shows how to inspect an illustrated five-shot museum recap, choose a non-destructive analysis option, and manually correct false or missed boundaries. The illustrated timeline is conceptual, not evidence of a successful detection test.
Identify what a flattened master can and cannot restore
A single H.264 or other finished export may contain baked-in titles, music, grades, transitions, and sound design. Automatically finding cuts can divide that file into editable segments, but it cannot recreate the original camera negatives, raw color latitude, separate graphics layers, or independent microphones. Write down the desired change: replace one caption on the painting segment and adjust the color only on the sculpture shot. Preserve the complete master as a locked source and use a duplicate working sequence for analysis. If licensed music or client-identifiable visitors appear, retain their release documents alongside the project.
Choose cuts, subclips, or markers deliberately
Adobe’s Premiere Scene Edit Detection guide describes three actions: apply cuts at detected edit points, create a bin of subclips, or place clip markers for review. Add the master to a timeline, open Scene Edit Detection through the documented Clip menu or context menu, and select the action that fits the next editing step. For audit-first work, markers may be the safest first pass. For immediate scene-specific edits, cut points or subclips are useful, but the sequence should be duplicated so a bad detection run never destroys the only copy of the original arrangement.

Construct a shot log before trusting detection
Make a small table with expected scenes in their original order: museum exterior, ticket desk, blue landscape painting, white sculpture, and exit signage. The example contains four intended hard boundaries between five views. Compare the detected markers with a manual first-pass watch. If the system marks a camera flash or sudden lighting change as a cut, flag it as a possible false positive. If it misses a soft dissolve or brief transition, note the time and repair it manually. Do not claim 100 percent detection or a vendor benchmark from one explanatory diagram. Preserve the project’s native frame rate while comparing positions.
Look for hard cuts and gradual transitions separately
Hard cuts are often simple visual discontinuities; dissolves and camera movements can be less obvious. Adobe’s related Firefly cut-detection documentation notes that gradual transitions may still require manual segmentation. Scrub a few frames on both sides of each boundary and verify that neither segment includes frames from its neighbor. The target is not to create as many cuts as possible: unnecessary subdivisions can make color changes and audio adjustments harder to manage. Label uncertain boundaries “manual check.” Keep the intact master underneath or in a protected sequence so the team can compare continuity after trimming.
Keep music and narration from being fragmented accidentally
The Premiere guidance warns that automatic scene cuts can also cut linked audio. If the museum narration or music is one continuous recorded bed, decide whether it should remain whole before applying scene cuts. Separate or unlink audio when appropriate, or repair the audio layout after analysis using the documented options. Listen at the first and last frame of each reconstructed shot for pops, clipped syllables, or changes in ambience. Shot detection identifies image boundaries; it cannot automatically decide where a sentence should begin or end. The final audio continuity should be reviewed independently of the visually recovered segments.
Repair one painting caption without misrepresenting artwork
Work on the isolated painting shot in a duplicate sequence. If the old title is baked into the video, placing a new caption over it may require a careful cover or a cutaway, not just a text-layer edit. Confirm the artwork title and artist against the museum’s approved catalog and keep original spelling and diacritics. Do not use AI fill to invent details behind a removed label and present the repair as an unchanged museum record. A documentary-style tour carries factual obligations even when the editing task sounds straightforward. Keep any synthetic cleanup disclosed in project notes and maintain a version of the original picture.
Apply shot-specific color without erasing continuity
Isolate the sculpture segment and correct exposure or color only if the museum’s photography policy and curator permit it. Compare that shot with the painting view on both sides, watching for an abrupt jump in white balance and contrast. Do not make stone appear to be another material or alter object colors just for visual uniformity. When a grade must carry across a hard cut, perform a controlled A/B check. Re-examine audio waveforms after moving video segments: splitting a flattened master is still an editing operation that can create gaps or sync problems in narration.

Handoff a recovery map, not a fictional source project
Export the new edit and a timecoded scene-boundary log. Include the untouched master, the working Premiere project, the detected-cut setting, and notes on manually adjusted boundaries. State clearly that the scene files are segments of a finished export and may inherit compression, burned-in titles, and audio mixing. If higher-quality sources become available later, replace each segment from the real camera media rather than claiming the recovered shots are originals. Our five-shot diagrams make the process easy to follow but do not prove an exact detection rate for Premiere on real museum footage.
How We Research
This Premiere Scene Edit Detection workflow was prepared as independent editorial guidance grounded in these primary sources: Adobe Premiere: Detect edit points using Scene Edit Detection; Adobe Firefly Video Editor: Detect cuts. The example is a fictional museum tour master with five edited views: exterior entrance, ticket desk, painting, sculpture, and exit sign. All accompanying graphics are original conceptual teaching illustrations; they are not vendor screenshots, actual outputs, measured benchmarks, or evidence that a live software project was run. We compared documented capabilities and limitations, defined a scenario with observable pass-or-fail checks, and identified practical areas requiring human verification including source rights, factual content, consent, accessibility, and continuity. We did not purchase an account, upload private footage, or measure performance. Readers should verify current account access and controls, preserve originals, and test their own exported media before release.
Frequently Asked Questions
No. It can identify edit points in a flattened clip; original camera files, separate layers, and uncompressed media are not restored.
Adobe documents options to add cuts, create subclips in a bin, or create markers at detected scene changes.
No. Review soft transitions and ambiguous scene changes manually and repair any missed or extra boundaries.
Premiere warns that linked audio can be cut as well; plan how continuous music and narration should be preserved.
Deliver the original master, working project, timecoded boundary log, corrected sequence, and notes on remaining baked-in limitations.