
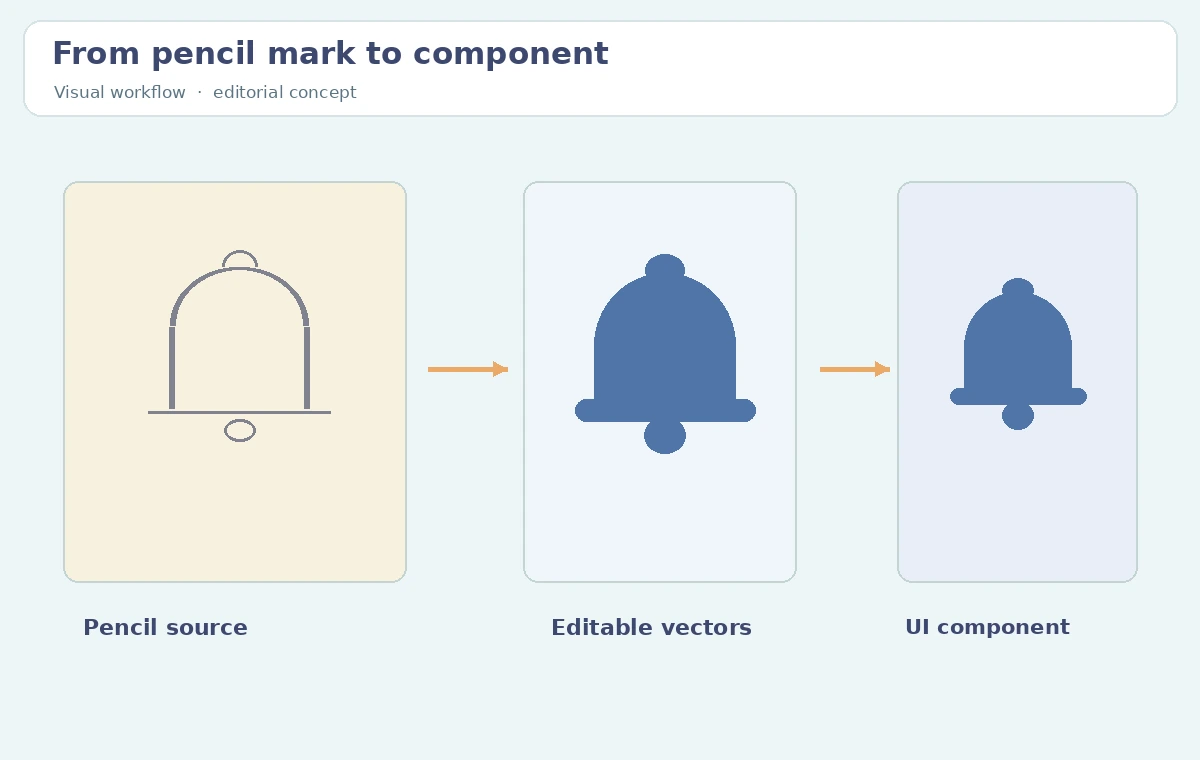
A hand-drawn bell icon can communicate a notification setting, but a photographed sketch is difficult to recolor or align with a design system. Figma AI Vectorize turns a static image into editable vector layers. This guide turns a fictional pencil bell into a clean icon while preserving the original sketch for reference. It emphasizes editing, legibility and predictable component behavior—not an unsupported promise that one click creates a polished product asset.
Clean the source sketch before vectorizing
Begin with an original drawing that you own or have permission to adapt. Photograph or scan the icon straight on; correct perspective and crop away paper edges, notes and other symbols. Aim for one strong bell silhouette with a clapper, a clear handle and no decorative background noise. Keep a separate original image so you can compare the intended stroke shapes with the conversion. Decide the target: for a product toolbar, a single-color icon often survives better than a detailed pencil texture; for an illustrated onboarding screen, a few colors may be justified. Define stroke and padding conventions from your actual design system before opening AI controls. Your goal is not to preserve every grain of paper but to recover the bell’s readable geometry as editable vectors.
Use the documented Figma Vectorize command
The Figma Vectorize help guide instructs editors to select an image layer, choose Vectorize from the secondary toolbar (or Edit > Vectorize in Figma Buzz), then refine the result using Recolor settings. The feature is documented for Figma Design, Draw, Slides and Buzz and requires the relevant edit access and plan. Treat the steps as platform-specific: if your workspace lacks the control, confirm entitlement rather than promising universal availability. Convert a duplicate of the source image so you retain a reliable before-and-after comparison. Figma cautions that complex or low-resolution images may not vectorize well. Do not immediately discard the bitmap; it is the reference for whether the output has introduced wrong angles, gaps or stray traces.
Choose full color, grayscale or black and white deliberately
Figma documents Full color with a color count, Grayscale with a number of grays, and Black and white with a threshold control. For a toolbar bell, start with black and white and adjust the threshold until the clapper is distinct and the handle remains open. For a small decorative illustration, limit full-color output to a tiny intentional palette. Make a three-column comparison: original sketch, black-and-white vector, limited-color vector. Judge contour accuracy and path count as well as aesthetics; a “more detailed” trace can be much harder to edit and less readable. Keep a record of the chosen control values so another team member can rebuild the conversion. Any observed settings in this example are decision criteria, not results from a live Figma test.
Clean paths and convert the vector into a component
Inspect points and closed contours. Remove tiny isolated shapes produced by paper dust, smooth jagged arcs and make the bell body symmetrical only where symmetry matches the intended style. Center the clapper inside the bell and confirm it does not become a filled blob at 16 or 24 CSS pixels. Compare the stroke feeling with nearby icons rather than forcing pixel-perfect geometric similarity in the wrong place. Use consistent bounding-box padding and an appropriate accessible label at the component level. The final icon should be delivered as an editable master component, not just a screenshot. A vector file scales without raster blur, but it can still become visually overcrowded when used in a small mobile button.

Check accessibility, UI state and downstream export
Test the icon in three UI examples: normal, hover or focus, and disabled. Do not encode notification status using color alone; accompany it with accessible text or an appropriate semantic label in the product implementation. Check sufficient contrast against light and dark surfaces, including any theme variants. When exporting SVG, inspect how the receiving app handles strokes, fills and viewBox dimensions, and verify that the smallest visible component still has enough padding. Figma AI credits and access rules can evolve; its AI credit reference gives current per-action ranges, but avoid estimating a fixed project cost without checking your workspace. The real acceptance test is whether the component fits the system reliably and remains editable later.
Maintain a small audit record and the original artwork
Save the source sketch, generated vector draft, cleaned component, export and review note together. Record the original drawing owner, date, desired UI use, color mode, known manual fixes and final approver. If your first sketch repeatedly traces poorly, redraw the source with bolder lines and fewer self-intersections rather than trying to tune thresholds forever. Figma’s docs also suggest background removal or resolution enhancement as possible preprocessing for challenging inputs; such changes should be compared with the actual source, not assumed to preserve detail. Keeping the source makes future revisions possible without treating AI output as authoritative. For a working design system, consistency and clarity matter more than fidelity to every pencil mark.

How We Research
On October 28, 2026 we reviewed the official Figma Vectorize Image documentation and Figma AI credit reference. They establish feature access, available recolor modes and limitations of complex inputs. Our bell sketch, component states and decision matrix are conceptual illustrations; we did not perform a Figma conversion or measure generated path quality. Verify entitlements and costs against the live team workspace.
Frequently Asked Questions
Figma describes converting static image art into editable vector layers.
Try black-and-white conversion, then visually inspect the threshold and clean stray paths.
No. Figma warns that low-resolution and complex images can convert poorly.
The dedicated guide describes the feature as available on paid plans; verify current workspace access.
The permitted original sketch, cleaned editable component, exported SVG and an approval note.