
A Canva AI mood board can speed up the arrangement of design references, but a board full of attractive images is not yet a decision. Teams need to distinguish source photography, generated concept art and actual purchasable products. This guide builds an approval-ready direction board for a fictional neighborhood bakery: one palette, a set of visual motifs, labeled sources and explicit decisions. It is a creative-brief workflow, not a promise that an AI mood board can verify product availability or interior dimensions.
Write a decision statement before collecting pictures
Start with a single sentence: “The new bakery should feel welcoming, warm and modern, with tactile materials and legible signage.” Specify who must approve the direction, what the board is for and which choices are out of scope. A direction board is different from a measured design drawing or furniture purchase order. Note that a generated chair may be physically impossible or unavailable as a product.
Define three fixed categories for references: color and material, visual tone, and typographic hierarchy. This keeps the board from becoming a collection of unrelated inspiration. Collect a few contrasting examples for a deliberate comparison rather than dozens of decorative pictures. Every reference should answer a question or propose a decision.
Choose Canva templates and distinguish AI layout tools
Canva’s mood board template collection provides editable layouts using photos, labels and collaborative design tools. Its Magic Design help says AI helps arrange templates from images and ideas, while separate tools such as Magic Media can generate visual content. Do not describe Magic Design as if every collage image were generated by that feature.
Use a straightforward board grid with a generous annotation margin. Start with approved or licensed references and record where each came from. Add AI-generated concept images only where they answer a real visual question that existing references cannot. If a board is shared externally, secure permission for any photographs and keep the visual source list in the design notes.
Group image choices by what they communicate
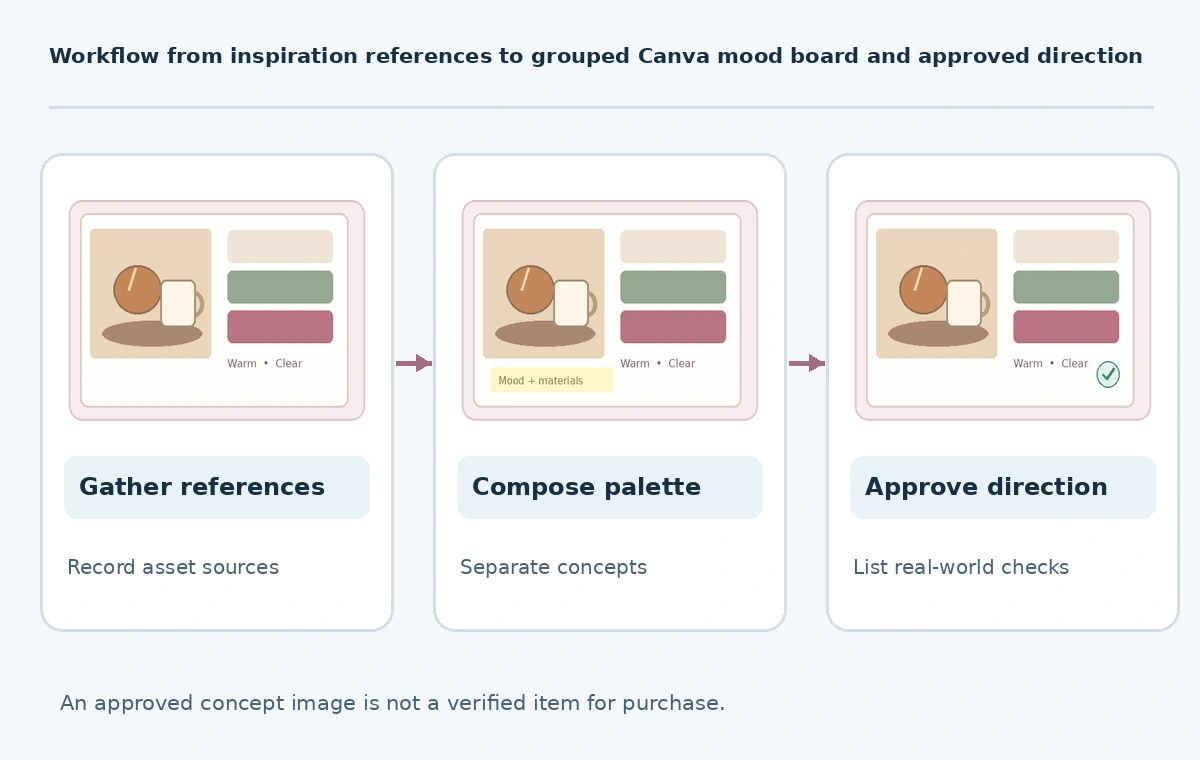
Place color swatches beside one or two representative visuals rather than scattering them through the page. The bakery example might use warm cream, muted olive and a restrained deep pink, with simple hand-drawn food motifs. Explain which colors are for backgrounds, emphasis and typography. These are proposed art-direction choices, not objective psychological effects of specific hues.
Add labels such as “warm light,” “rounded illustration,” or “high-contrast headline.” Remove images whose colors or textures conflict with the chosen direction unless they intentionally present an alternative. For stakeholders, two coherent options are often easier to approve than one giant unsorted collage. Never present a generated image of packaging as proof that a supplier stocks it.
Use AI to explore, not to invent product specifications
If you need a concept visual, prompt for fictional bakery atmosphere with no real signage and no claim of a particular built location. Avoid feeding private customer photos or unreleased client materials into a tool without permission. Mark generated concepts distinctly from licensed photographs, measured drawings or actual product catalog images.
A board can help discuss texture and mood but cannot confirm accessibility compliance, structural feasibility or the actual appearance of a printed color. If a real table, fabric or light fitting is part of the decision, obtain a supplier reference and physical sample. Keep an inventory of sourced versus synthesized images, including versions and license references.

Run a focused stakeholder review
Ask reviewers to make specific choices: which of two visual directions fits the brief; which palette supports legible text; what needs further proof; and what is rejected. Avoid collecting vague comments such as “more premium” without translating them into an actionable visual property. Provide an edit-friendly board and a short summary of decisions so the reviewer can respond without dismantling the layout.
Use a simple status system: proposed, approved, and requires physical verification. Do not treat silence as approval. Save the review date, stakeholders and approved board version. If someone objects to a generated concept, find whether the issue is misleading product representation, license, aesthetics or missing information before revising every image.

Convert the board into an actionable design brief
After approval, extract a short direction sheet: palette roles, accepted illustration motifs, image sourcing rules, headline hierarchy, prohibited elements and required samples. Link to the full mood board for inspiration but make the decisions readable without it. A designer should understand what to build; a buyer should know which materials still need a real supplier confirmation.
Include a small written decision register with each option labeled accepted, rejected, or undecided. For any undecided material, specify the exact next evidence needed, such as a fabric sample under store lighting or a sign mockup at readable distance. This prevents an attractive concept collage from silently becoming an approved production specification. The team can revisit one unresolved item without reopening the entire creative direction or losing the rationale for earlier choices.
Keep the image-origin ledger next to the export. If the project later produces a website, signage or merchandise, re-check image and font licensing for those media. An approved board is a documented creative direction, not blanket permission to reproduce every image in an advertisement or product.
How We Research
We reviewed Canva’s mood board templates, Magic Design documentation, and Canva’s collaborative whiteboard templates on October 27, 2026. Canva confirms template customization and AI-assisted arrangement; the bakery example, source ledger and approval statuses are editorial methods, not tested platform guarantees.
Frequently Asked Questions
No. Templates and Magic Design arrange content, while other tools can generate images; identify each asset’s source.
Not automatically. Check stock, generated-content and third-party image permissions for the final use.
A small number of coherent, clearly differentiated options is easier to discuss than a large unsorted collage.
No. Verify real products through suppliers and physical samples.
The dated board, written decisions, source ledger, palette roles and outstanding verification tasks.