
An AI image enhancer can make a low-resolution asset more pleasant to view, but it cannot retroactively prove what a camera recorded. “Upscale,” “sharpen,” “denoise,” and “restore” refer to different problems. Some tools reconstruct plausible pixels, which may change faces, text, equipment labels or document details. This guide shows how to choose the right operation and when to reject an attractive but inaccurate result. The proposed checks are reproducible editorial procedures, not claims of an in-house product benchmark.
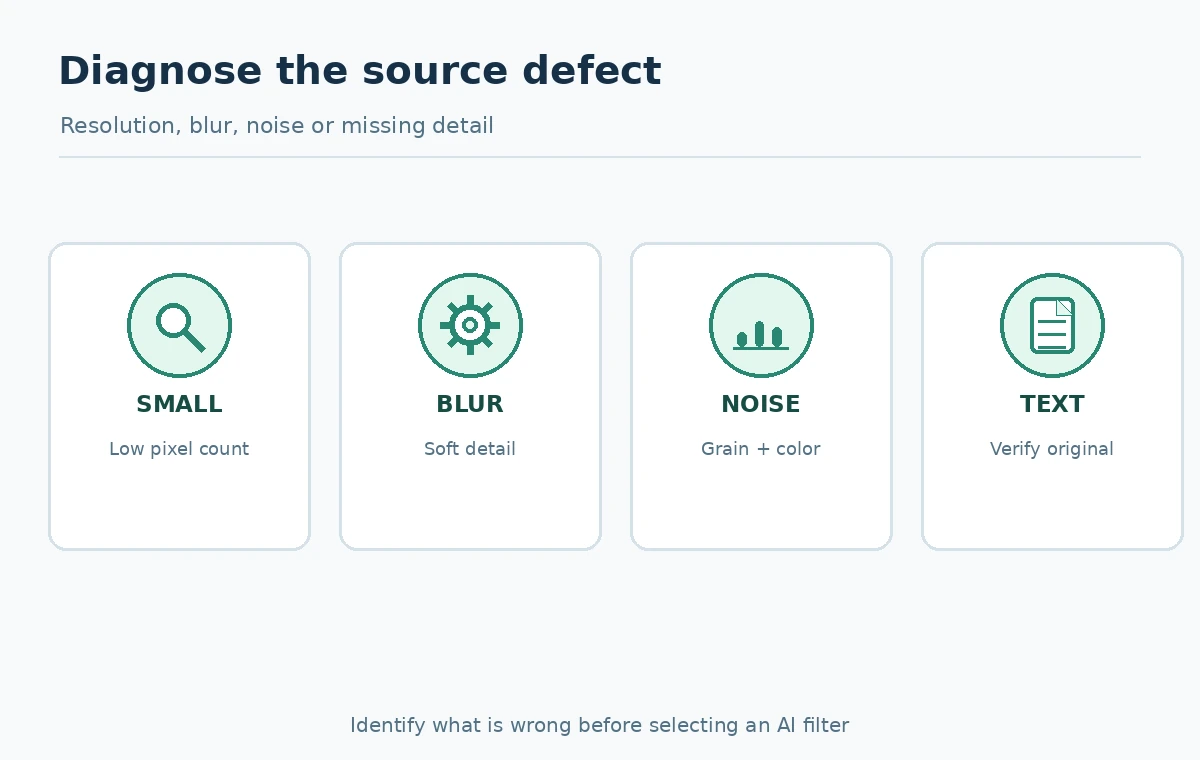
Diagnose the real defect first
At 100% view, identify whether your image suffers from small dimensions, defocus blur, motion blur, sensor noise, heavy compression, or missing subject detail. Enlarging an image with too few pixels is not the same job as fixing a noisy night photo. Write down the original pixel dimensions, source, permission status, and destination size. Preserve an untouched original before processing; do not overwrite the only available evidence.
A 500-pixel-wide illustration that must span a 1,200-pixel article column is an enlargement problem. A correctly sized photograph with smeared faces is a source-quality problem. A blurry scanned invoice with a critical number is a document-verification problem and may require rescanning, not generative enhancement. Name the failure so the edit does not conceal it.
Understand traditional resampling and generative detail
Conventional resizing interpolates between existing pixels; it can enlarge clean art while retaining the rough boundaries of the source. Generative upscaling may infer textures, edges and details that were never captured. This is useful for aesthetic visual assets but dangerous for technical labels, historical documentation, medical images, legal evidence, or proof of a product feature. A convincing eye, serial number or badge might be fabricated by the model.
A sensible rule is to use conservative sharpening and standard resampling first when fidelity matters. Use generative enlargement only when editorial illustration or an expressly non-evidentiary photograph benefits and there is no risk of misrepresenting the source. Never claim an enhancement restored a fact unless an independent original confirms it.
What Adobe Photoshop currently provides
Adobe’s Generative Upscale guide documents 2× and 4× output scale options in Photoshop and describes model choices including Firefly Upscaler, Topaz Gigapixel and Topaz Bloom. It characterizes Bloom as adding creative detail, a feature that should not be mistaken for faithful forensic reconstruction. Adobe also notes that some models are premium and that model-specific output limits apply.
Its separate AI Sharpen and AI Denoise instructions distinguish blur reduction from noise reduction and describe credit-based access. Do not state a flat universal cost per photo; plan, model and pixel size can influence the action. Confirm the currently displayed deduction before using the feature on a production batch.
What Canva enhancement is good for
Canva promotes an AI Photo Enhancer with Upscale for improving images in everyday design work. This can be a convenient option when an approved illustration is already being placed inside a presentation, social card or webpage graphic. The operational benefit is an integrated editor where the resized file can be checked in its real layout rather than treated as a separate abstract benchmark.
Avoid assuming that a “free” feature label means unrestricted commercial rights or unlimited processing. Review your in-account access, third-party images, and original asset permissions. If an AI-enhanced logo looks smoother but now has a changed letterform, stop and use the official vector asset instead. Design convenience does not remove the need for an exact source.

Create a faithful before-and-after inspection grid
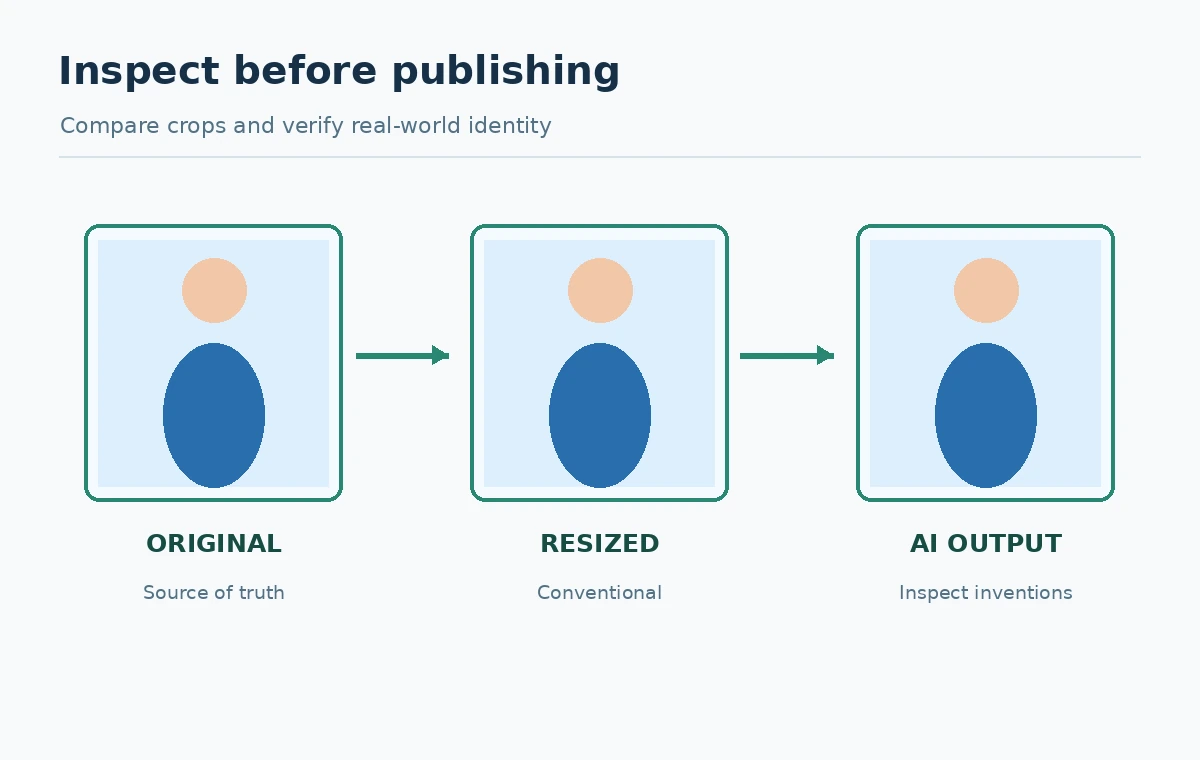
Prepare three views: original at natural size, original resized to the target dimensions with a conventional method, and AI-enhanced result at the same target size. Compare matching 100% crops, not a tiny-before versus giant-after marketing montage. Use regions with hair, edges, patterned fabric, small type, and one flat-color area. Record whether textures become plastic, seams change, or noise is merely transformed into invented detail.
For an illustration, ask whether the enhanced version looks clear and whether the composition is preserved. For a documentary photo, inspect whether the same objects, people and markings remain identifiable. If these checks fail, use the original with a smaller display size or replace it with a better-authenticated source. Visual sharpness alone is an insufficient pass condition.
Treat faces, documents and brand marks as high-risk
Identity-related imagery deserves stricter thresholds. Do not use a generative enhancer to support a claim about what a suspect, employee, customer or medical subject looked like. Avoid reconstructing missing text on a receipt or a blurry product label; transcription must be based on the real source. If a source image lacks sufficient detail, write “not legible” rather than publishing a persuasive-looking hallucination.
For logos, use the brand’s official design file. For product photography, obtain a higher-resolution shot from the authorized owner. If the only option is AI reconstruction for artistic illustration, label it plainly and avoid showing invented model numbers, certifications or compatibility claims. Keep both the original and edited assets in the editorial record.
Use a decision table instead of blanket rankings
For each candidate tool, record the defect it addresses, source preservation, controllable strength, output size, eligible account tier, human review time and the required file format. A one-click option can be fine for a casual mood board; a controllable, layered workflow is better for publication where corrections must be traceable. Do not compare an AI Bloom creative reconstruction with plain bicubic interpolation as if the goal were the same.
Test the minimum action that fixes the actual problem. If 2× enlargement meets the destination requirement, a 4× pass may waste credits and exaggerate artifacts. If a source is already large enough, try noise reduction rather than enlarging it. The most useful tool is the one that changes the fewest things necessary for the approved result.
Export and document the approved image
Keep a master copy with the original dimensions and provenance. Export at the actual target width and format; for web use, check compression artifacts and file size alongside sharpness. Preview at mobile width because thin synthetic lines and fine textures can disappear. Preserve the alt text and the fact-check notes outside the generated picture; never embed fake “AI verified” stickers or performance statistics into the output.
Record the enhancement method, settings, reviewer, and date. If the resulting image could be mistaken for documentation, disclose the modification in an appropriate editorial caption. A successful enhancement improves communication without silently creating a new version of reality.
How We Research
Source verification date: October 27, 2026. We checked these official product instructions: Adobe: Photoshop Generative Upscale, Canva: AI Photo Enhancer, Adobe: AI Sharpen and Denoise. The checklists and illustrative methods in this guide are editorial frameworks for readers, not claims of purchased subscriptions, hands-on output benchmarks, testing private accounts, or legal advice. Current model availability, allowances, licensing and access may depend on account status and can change; verify the live account and terms before relying on them.
Frequently Asked Questions
It may generate plausible-looking letters, but those are not verified original text. Obtain the source document instead.
No. Use only enough enlargement for the destination and check for invented or oversmoothed detail.
Adobe describes Bloom as adding creative detail; do not use it to substantiate factual or identity claims.
Canva offers integrated photo enhancement, but confirm account access and inspect the result at its actual layout size.
Keep the untouched original, provenance, selected settings, approved export and review notes.